Why Popcorn Ceiling Removal Now Costs $800+
Popcorn ceilings once offered a textured finish that concealed imperfections and dampened sound. Many homeowners now view them as outdated and seek smoother, modern surfaces. Professional removal services commonly begin at $800 for smaller rooms because labor rates, safety protocols, and finish expectations have all increased.
Project Overview
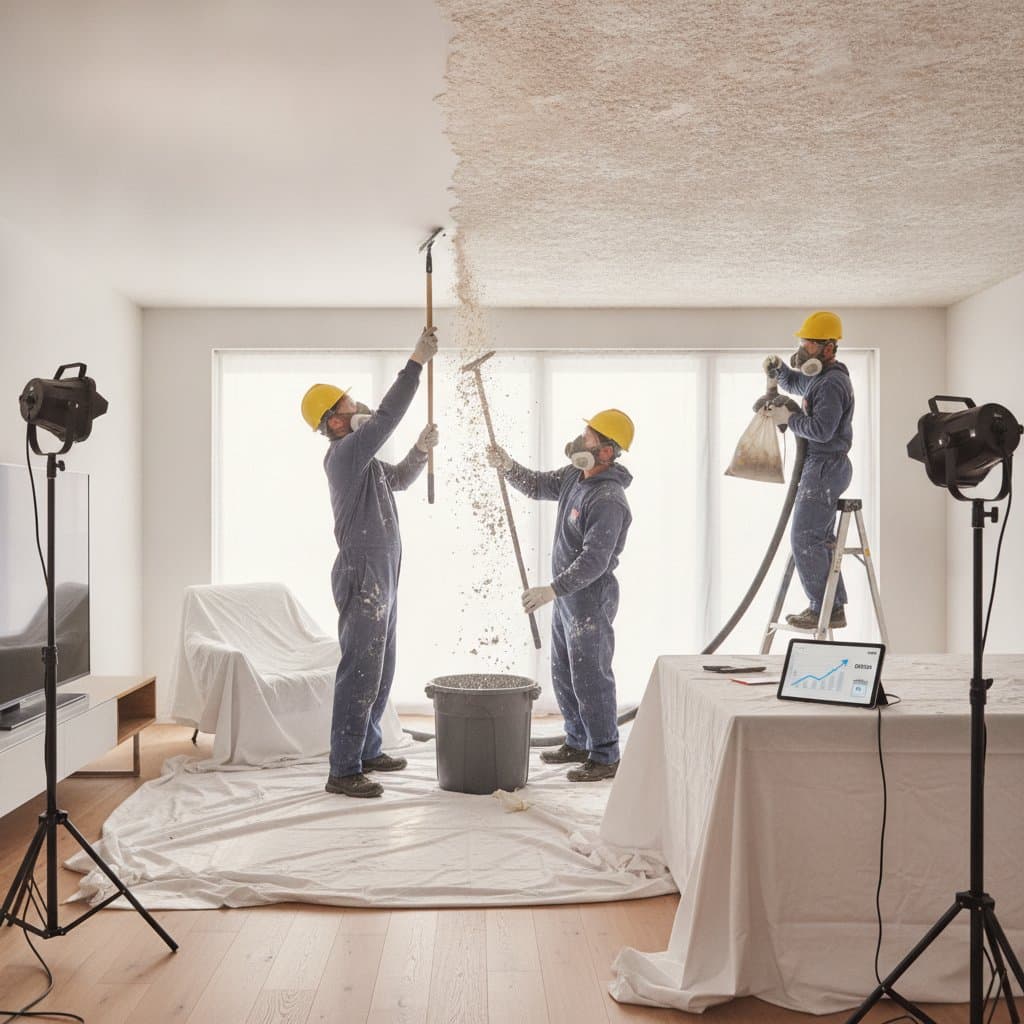
Popcorn ceiling removal requires scraping the texture, repairing the surface, and applying a new finish. Professionals contain dust, test for hazardous materials, and complete multiple repair stages. These steps turn a seemingly simple task into a multi-day process that demands specialized skills and equipment.
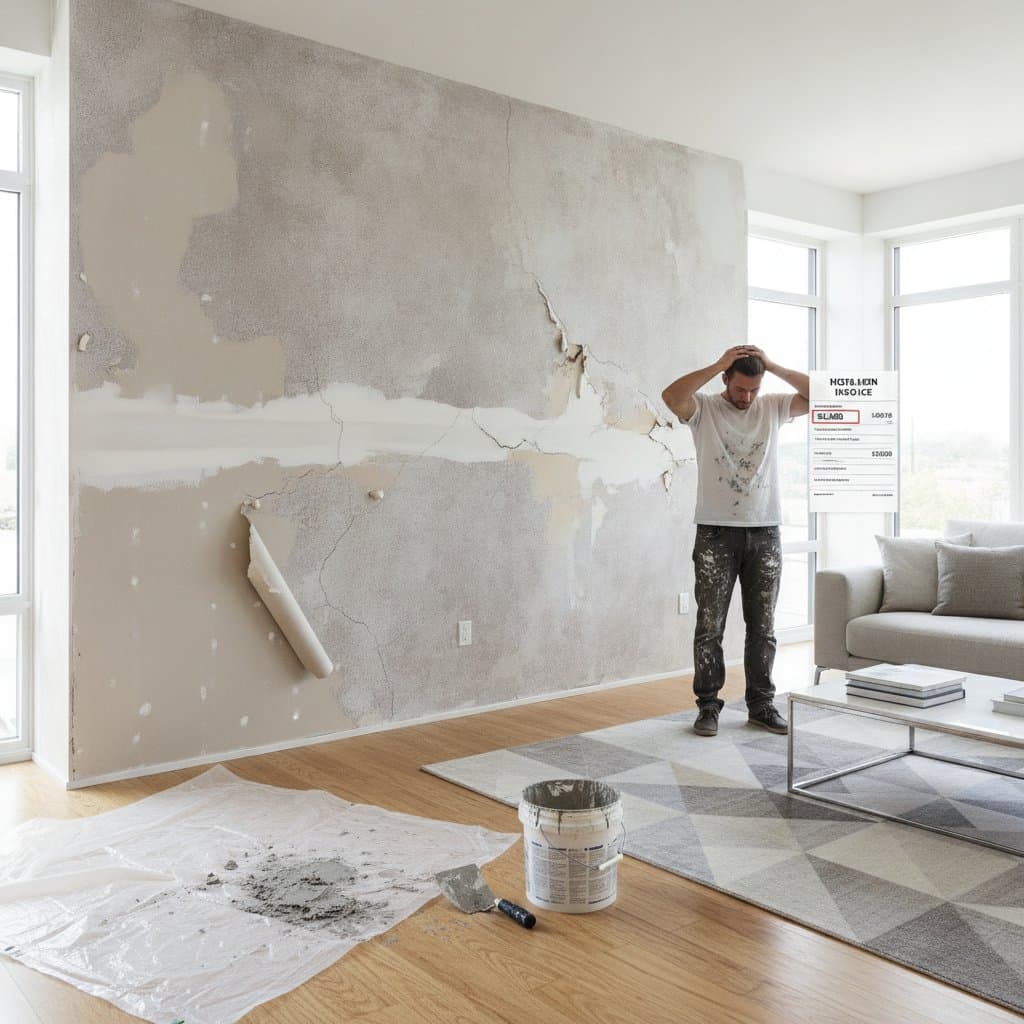
Project costs reflect the labor involved, regulatory compliance, and the smooth results homeowners expect from experienced teams. The condition of the ceiling underneath also matters. Older drywall may show taped seams, nail pops, stains, or previous repairs once the texture is removed. Contractors must correct these issues before painting, since a smooth surface makes every flaw more visible.
Project Cost Breakdown
Average Cost Ranges
- Basic project: $800 to $1,200
- Standard project: $1,200 to $2,000
- Premium project: $2,000 to $3,000 and higher
What's Included
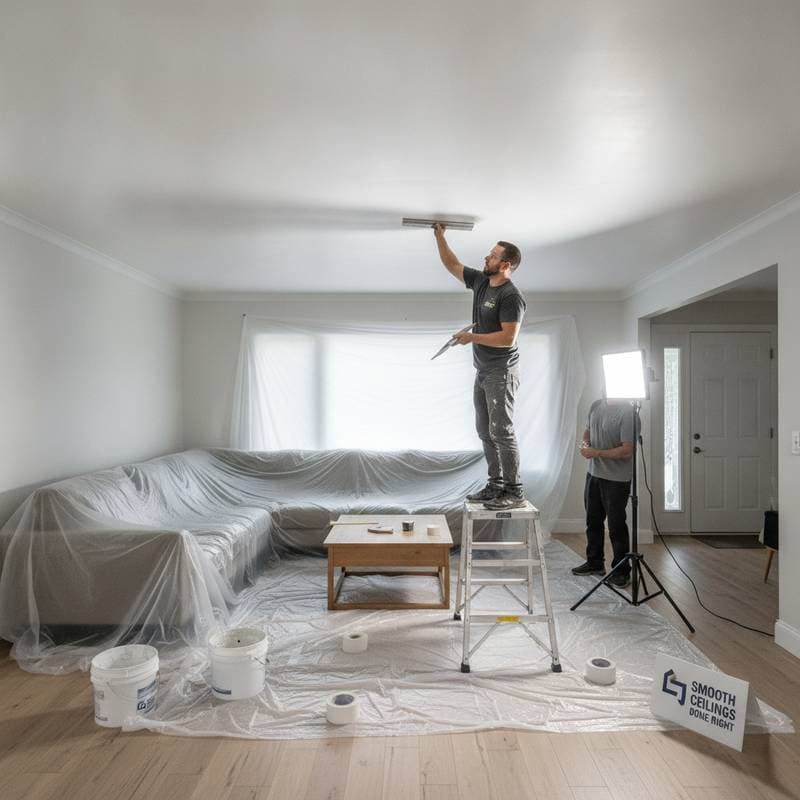
- Site preparation with plastic sheeting to protect surfaces
- Asbestos testing and safe handling when needed
- Texture scraping and surface repairs
- Primer application and new ceiling finish
- Full cleanup and final inspection
What Costs Extra
- Additional asbestos abatement beyond initial sampling ranges from $200 to $500
- Scaffolding for high or vaulted ceilings adds $300 to $700
- Level-five skim coating costs $1 to $2 per square foot extra
- Post-removal painting runs $1 to $3 per square foot
- Fixture removal and reinstallation costs $100 to $250
Factors That Affect Final Cost
| Factor | Cost Impact | Examples |
|---|---|---|
| Ceiling height | Increases labor and equipment | Vaulted spaces |
| Existing damage | Extends preparation time | Water stains or cracks |
| Texture thickness | Raises scraping effort | Heavy coatings |
| Hazard testing | Adds upfront expense | Asbestos checks |
| Finish type | Alters material and labor | Smooth versus textured |
Room layout can affect the estimate as well. Kitchens, hallways, and spaces with built-in shelving require additional masking and careful cutting around cabinets, trim, and lighting. A ceiling with several fans or recessed fixtures takes longer to prepare than an empty room. Homeowners can reduce delays by deciding in advance whether fixtures will remain in place or be removed.
Why Prices Have Increased
Labor shortages in construction trades have raised wages for skilled workers. Tighter safety rules around older materials increase testing and disposal expenses. Material costs for compounds, primers, and protective equipment continue to climb.
Homeowners now request flawless smooth finishes rather than basic scraping. Achieving this result requires extra sanding, multiple skim coats, and careful detailing. Contractors also adjust rates to cover insurance, licensing, and overhead that unqualified providers often avoid.
A smooth ceiling can also involve several inspection points. After scraping, the surface may need sealing to prevent stains from bleeding through the new paint. Joints and repaired areas must dry fully before additional compound is applied. Skipping these steps may produce flashing, visible patches, or peeling paint, which can create higher repair costs later.
Timeline Expectations
An average room requires one to three days. The sequence includes preparation, testing, removal, repairs, priming, and cleanup. Homeowners should plan for temporary room closures and allow drying time between coats.
Professional vs. DIY Considerations
DIY removal appears straightforward yet carries notable risks. It remains viable only after asbestos testing confirms safety and when proper tools and respirators are available.
DIY Requirements
- Plastic sheeting, scrapers, and eye protection
- Respirators rated for fine dust
- Sturdy ladders and strong lighting
- Time for repeated sanding and finishing
Challenges of DIY Removal
- Dust spreads quickly without industrial containment
- Uneven scraping leaves visible flaws
- Repairs demand drywall experience
- Project duration often extends beyond expectations
Professional Advantages
- Certified testing and safe procedures
- Industrial vacuums and full containment
- Consistent, high-quality surfaces
- Insurance and workmanship warranties
Homeowners without drywall finishing experience benefit from professional service. Quality differences and cleanup efficiency typically justify the expense. DIY work can also become more expensive when homeowners must purchase sanding equipment, repair compound, protective materials, and paint. If the surface requires professional correction, the original savings may disappear.
Choosing the Right Contractor
Research begins with verification of credentials. Request references, compare multiple quotes, and confirm asbestos handling protocols. Review contracts for complete cost listings and cleanup responsibilities.
Ask whether the estimate includes primer, paint, fixture protection, debris disposal, and repairs beyond ordinary scraping. A trustworthy contractor should explain what happens if hidden damage appears and should identify any excluded services in writing. Comparing detailed proposals is more useful than choosing the lowest initial price.
Planning Your Project
Prepare the space by moving furniture and covering fixtures. Budget for possible repairs and coordinate painting or lighting work immediately afterward. Removing the texture improves light reflection and raises resale value.