Venetian Plaster: $400 DIY Kit vs $6K Pro Install Cost
Venetian plaster creates a stone like finish that adds depth and light reflection to walls. Homeowners often face a wide price gap between a $400 DIY kit and a $6,000 professional job. This difference stems from materials, labor, and finish quality.
Core Elements of Venetian Plaster
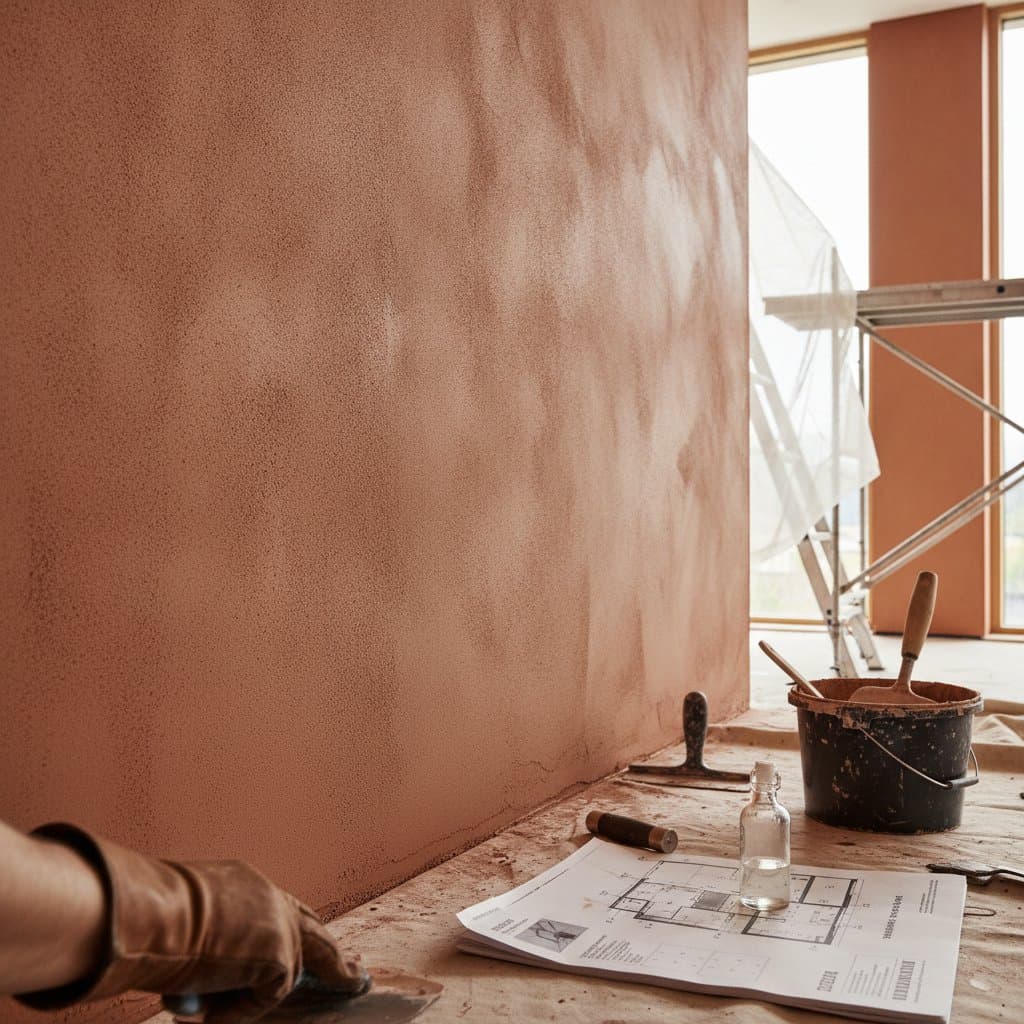
The material consists of lime putty and marble dust applied in thin layers. Each layer dries before the next application, followed by burnishing for sheen. Traditional versions remain breathable and durable over decades.
Modern kits often substitute synthetic additives for easier spreading. These versions reduce drying time but limit the natural depth achieved with lime based products. Skill in timing and trowel pressure determines the final surface consistency.
Venetian plaster also responds strongly to lighting. Natural light can emphasize movement in the finish, while recessed lighting may reveal trowel marks or uneven transitions. Choosing the wall carefully helps the material become an intentional design feature rather than an expensive surface repair.
Cost Ranges and Inclusions
Basic DIY kits run from $350 to $450 and cover 100 to 150 square feet. Contractor projects average $4,000 to $6,000 for 400 to 600 square feet. Premium work with custom effects reaches $6,000 to $10,000.
DIY kits supply plaster, primer, sealer, and one trowel. Professional service covers surface repairs, multiple coats, color blending, burnishing, and cleanup.
Extra charges arise for wall patching, metallic accents, high ceilings, or imported lime. Geographic labor rates also shift totals. Homeowners should also budget for sample boards, additional tools, drop cloths, sanding supplies, and extra material if the first application does not meet expectations.
Factors Influencing Price
- Wall size directly scales material and labor needs.
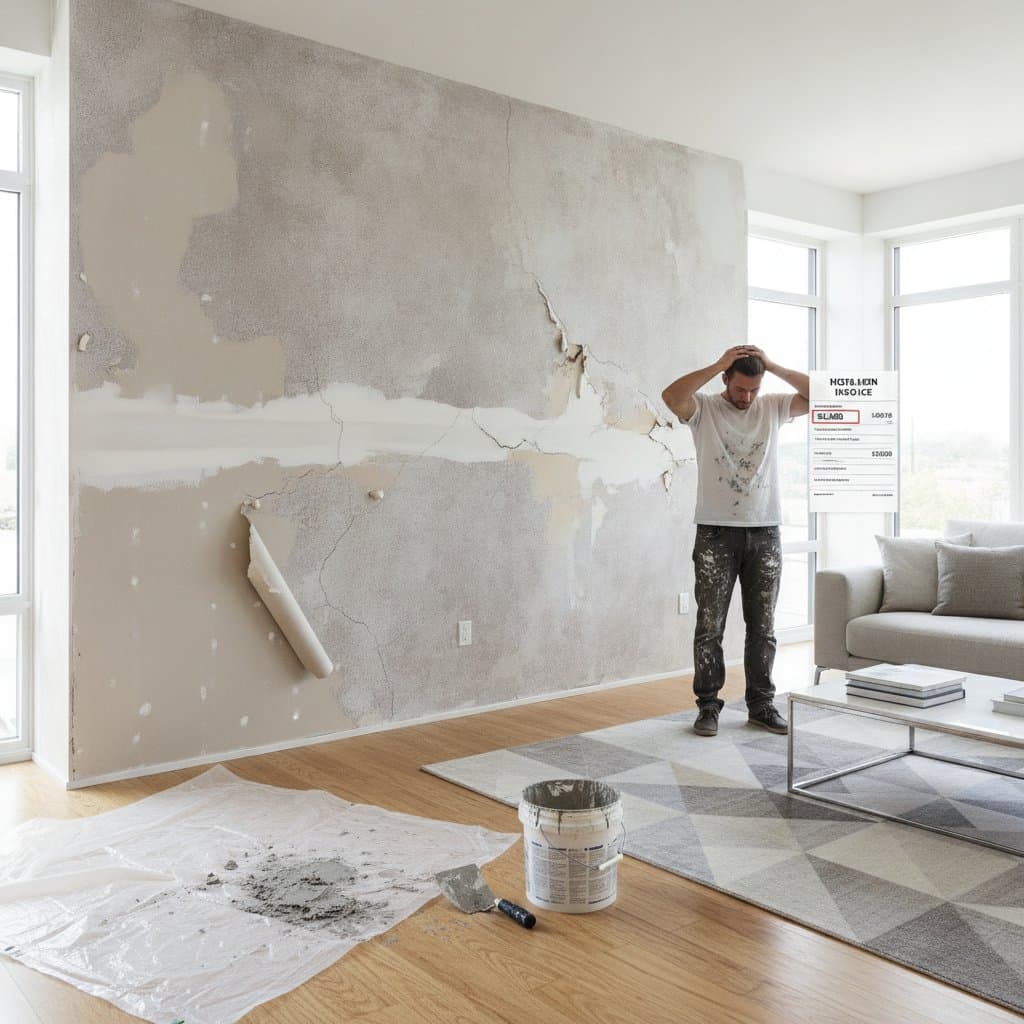
- Surface condition adds preparation time when cracks or glossy paint exist.
- Finish complexity increases hours for multi tone blends or high gloss results.
- Material grade affects longevity, with authentic lime outperforming synthetics.
- Room access affects labor when crews must protect cabinets, flooring, trim, or built in shelving.
- Color selection influences cost when several pigments are blended to create a cloudy stone appearance.
DIY Kit Limitations and Benefits
Kits suit accent walls or small rooms where texture variation remains acceptable. Application takes several days including drying intervals. Results show moderate durability and require periodic resealing.
Homeowners supply all labor and accept a learning curve. Synthetic formulas spread quickly yet lack the reflective depth of hand polished lime. Practice on sample boards reduces visible errors.
A DIY project offers greater control over the budget and allows gradual work around other household projects. It can also be a satisfying way to create a feature wall in a bedroom, entryway, powder room, or reading nook. However, stopping and restarting can produce visible differences in sheen, so mixing enough material for each continuous wall is important.
Professional Process and Value
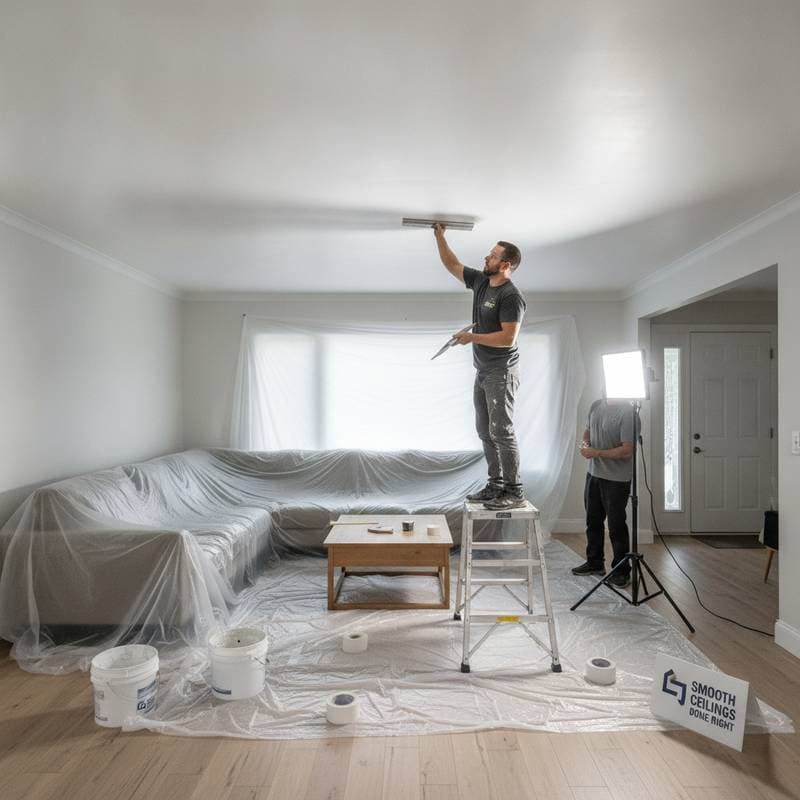
Artisans begin with inspection and repairs. They apply base coats, adjust pigments for depth, burnish each layer, and seal the surface. Natural lime from established sources forms the core material.
The sequence spans five days for typical rooms. Consistent texture across corners and trim details requires trained hand control. Finished surfaces last decades with minimal upkeep.
Professional value extends beyond application speed. Experienced installers know how to correct uneven absorption, manage color changes, and create smooth transitions around outlets and architectural details. They can also recommend a finish suited to moisture, traffic, and cleaning requirements. This expertise reduces the risk of stripping failed plaster and paying for a second installation.
Side by Side Comparison
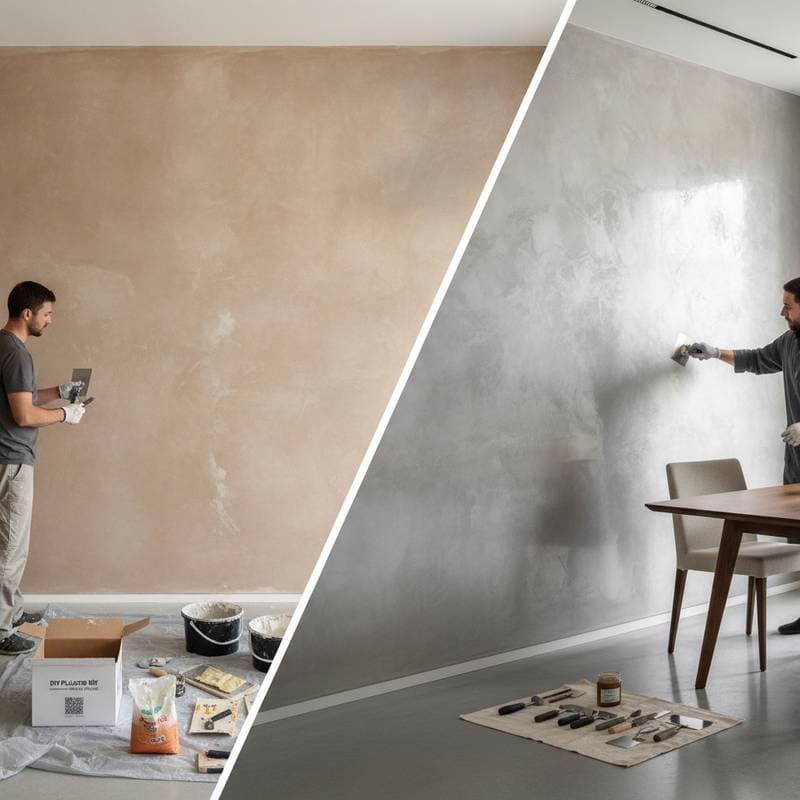
- Approximate cost: $400 for DIY versus $4,000 to $6,000 for professional work.
- Coverage: 100 to 150 square feet versus 400 to 600 square feet.
- Finish quality: functional for small areas versus deep and uniform.
- Durability: moderate versus high with easy spot repairs.
- Time: several days to a week versus three to five days.
- Skill level: moderate practice versus expert execution.
Project Timeline Details
DIY work requires one day each for prep, first coat, second coat, and final polish. Humidity or corrections extend the schedule. Professional crews manage overlapping drying cycles across multiple surfaces.
Drying conditions matter throughout the project. Excess moisture can slow curing, while forced heat may create uneven drying or premature surface problems. Keep the room ventilated according to product instructions, and avoid touching the finish between coats.
Suitable Conditions for Each Option
Choose DIY when the surface is flat, the area is small, and texture variation fits the design. Opt for professional service on large walls, detailed architecture, or high gloss expectations. Many owners test a single wall before committing to full room work.
DIY is less suitable for heavily damaged drywall, stairwells, vaulted ceilings, and rooms where several walls meet under strong directional lighting. Professional installation is usually more practical when the finish must coordinate across multiple connected surfaces.
Preparation Steps
Clear furniture and protect floors. Patch imperfections and remove gloss from existing paint. Maintain even lighting during application to catch inconsistencies early. Clean tools between coats to avoid surface scratches.
After sealing, wait several days before cleaning. Inspect under varied light. Reseal high contact zones every few years.
Use painter’s tape carefully around trim, but do not rely on tape to hide poor edges. Remove switch plates, label hardware, and check that the primer is compatible with the plaster system. A smooth, stable base is the best protection against peeling, cracking, and uneven color.