Skim Coat Popcorn Ceilings for $1,500: A Smooth Finish Without the Mess
A smooth ceiling can fit a $1,500 budget. Skim coating popcorn texture offers a smart alternative to full popcorn ceiling removal, especially when the existing surface is firmly attached and free from hazardous materials.
The process covers the texture with thin layers of joint compound, creating a clean surface ready for primer and paint. It takes patience, careful prep, and a good eye for imperfections. The reward is a brighter room, cleaner lines, and a finish that looks fantastic in photos and everyday life.
At OConnor Painting LLC, we believe everyone deserves a beautiful, functional home at any budget. Here is how to make that budget work.
Skim Coating or Popcorn Ceiling Removal
Traditional popcorn ceiling removal involves wetting the texture, scraping it away, repairing the drywall, sanding, priming, and painting. That method can produce a beautiful result, but it creates considerable dust and debris. It can also expose weak drywall paper or reveal seams that need extensive repair.
Skim coating takes a different path. The texture stays in place, and a smooth compound covers it. This method can save labor and disposal costs. It also reduces the risk of damaging the ceiling surface during scraping.
Skim coating is a good fit when the popcorn texture is securely bonded, the ceiling has minor dents or uneven areas, the room needs a cleaner, updated appearance, you want to limit dust and demolition, and testing confirms the texture is safe to disturb.
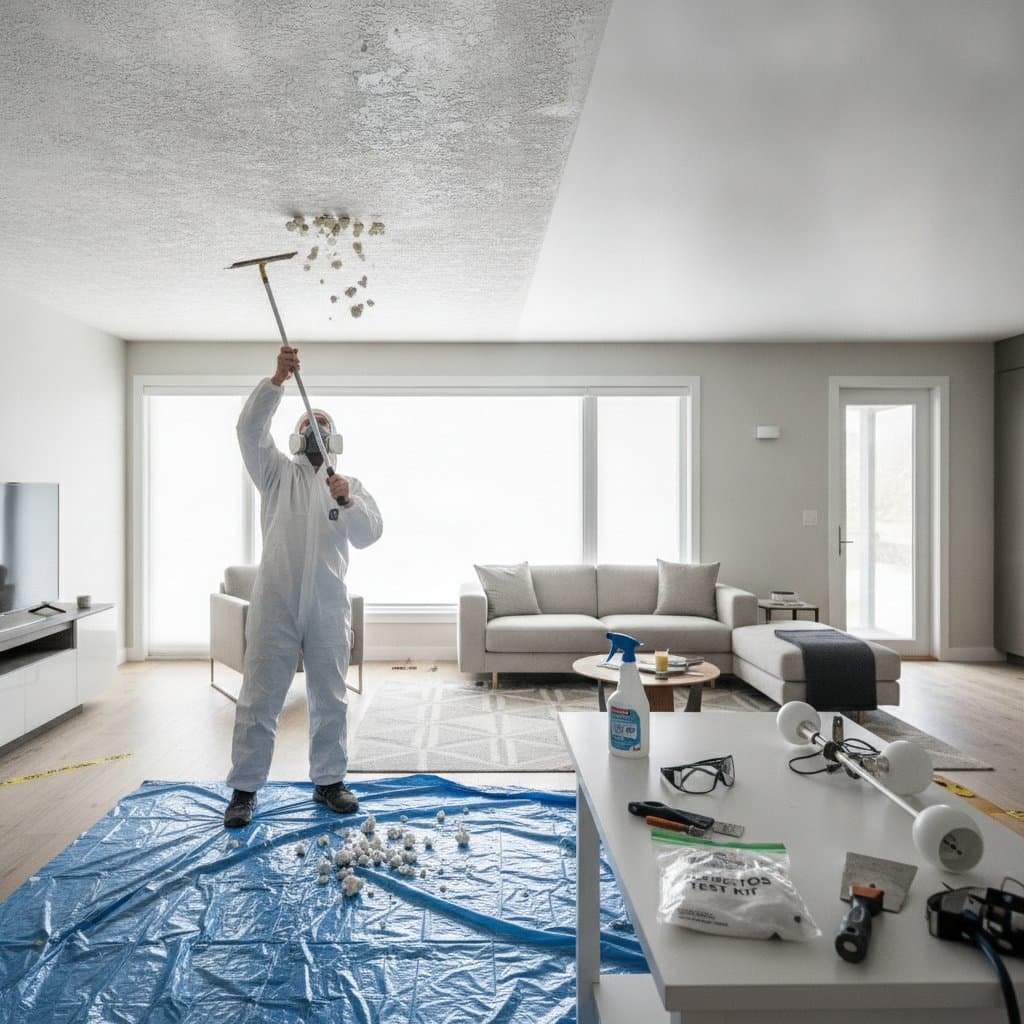
A professional should inspect the ceiling before work begins. Older textured ceilings can contain asbestos, and testing is the safest way to identify that risk. Never sand, scrape, or disturb questionable material without proper evaluation.
What a $1,500 Budget Can Cover
Your skim-coating cost depends on room size, ceiling height, repairs, access, paint color, and the number of coats needed. A $1,500 budget often works well for a modest living room, bedroom, hallway, or connected space with manageable repairs.
A typical budget may include surface protection and room preparation, minor drywall repairs, bonding primer, two or more skim coats, sanding and detail correction, ceiling primer, two finish coats of paint, and labor, cleanup, and disposal.
A low-cost approach may use a homeowner for furniture removal and basic preparation, while a professional handles the compound work and painting. A mid-range plan includes full professional preparation and finishing. A higher-cost plan may cover extensive repairs, tall ceilings, complex layouts, or premium paint.
Ask for a written scope that lists repair allowances, coat expectations, paint products, cleanup, and exclusions. Clear details prevent surprises and make each quote easier to compare.
The Professional Process
Step One: Inspect and Test
The ceiling needs a close inspection under strong side lighting. This reveals loose texture, stains, cracks, fastener pops, and previous patchwork. If the texture is loose or water damaged, removal may be safer than covering it.
Testing comes before disturbance. A qualified professional can guide the process when asbestos or lead based coatings are possible.
Step Two: Protect the Room
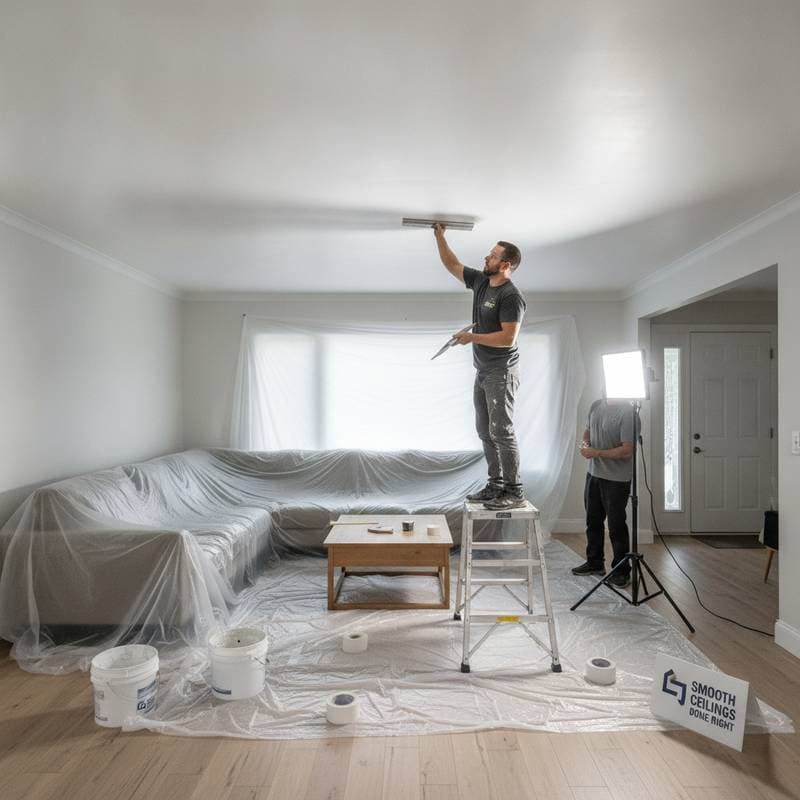
Plastic sheeting, canvas drop cloths, painter's tape, and sealed doorways keep the work contained. Ceiling work is messy, even when the texture stays in place.
Remove light fixtures when possible. Cover anything that remains. Protect vents so compound dust does not travel through the heating and cooling system.
Step Three: Seal and Repair
Stains need an appropriate stain blocking primer. Water damage requires correction at its source before cosmetic work begins. Cracks, holes, and loose areas receive repair compound or patching material.
A bonding primer helps the skim coat grip the existing finish. This step matters. Applying compound over dusty, glossy, or unstable texture can lead to peeling and ridges.
Step Four: Apply Thin Coats
Skim coating works best in thin layers. A wide drywall knife or professional finishing blade spreads the compound across the ceiling while reducing heavy buildup.
The first coat fills the texture. Later coats refine the surface. Each layer needs enough drying time before sanding or recoating. Rushing can trap moisture, create soft spots, or pull the earlier layer loose.
Strong lighting from the side helps identify ridges. Small imperfections are much easier to correct before primer goes on.
Step Five: Prime and Paint
Once the surface feels smooth and stable, apply ceiling primer. Primer helps control porosity and creates an even base for paint.
A flat ceiling paint hides minor surface variation and limits glare. Satin or eggshell finishes reflect more light and can highlight flaws. For most ceilings, flat paint delivers the most forgiving appearance.
Making the Finish Look Great on Camera
Television sets teach a valuable lesson. Light reveals everything. A ceiling that looks smooth from the center of a room may show ridges near a window or under a bright fixture.
Use these checks before painting. Shine a work light across the surface. View the ceiling from several corners. Run a clean hand across repaired areas. Confirm that seams and patches do not telegraph through. Inspect around vents, corners, and light boxes.
A centered ceiling fixture can act as a focal point, while layered lamps reduce harsh shadows. Fresh white paint can brighten a room, but a soft warm white may feel more comfortable in spaces with warm wood or colorful furnishings.
Three Ways to Stay on Budget
Little or No Extra Spending
Handle furniture removal, wall protection, and fixture cleaning yourself. Keep the room clear and provide easy access. These tasks save labor without compromising the finish.
Do not cut corners on testing, primer, or safety equipment. Those items protect the project.
Midrange Value
Choose standard joint compound, a reliable bonding primer, and durable ceiling paint. Professional application delivers the best value when the ceiling has broad texture or several repair areas.
Ask the contractor to combine preparation and painting in one scope. Fewer handoffs can reduce scheduling problems and inconsistent results.
Higher Finish Investment
Spend more when the ceiling has tall areas, complicated angles, extensive cracks, or visible water damage. Premium materials and experienced finishing work can reduce callbacks and improve long-term durability.
Custom lighting can also amplify the result, but install or modify fixtures only with qualified electrical help.
Renter Friendly and Accessible Options
A renter may not be able to skim coat permanently. Removable improvements can still soften the room. Use brighter lamps, tall curtains, a large rug, and artwork that draws attention toward the walls. These moves do not hide the ceiling, but they balance the visual field.
For residents with limited mobility, professional preparation is especially helpful. Request low odor products, clear walk paths, and daily cleanup. A good crew should protect floors, communicate changes, and leave the space usable whenever possible.
Troubleshooting Common Issues
Cracks return when the movement may come from framing, moisture, or an unaddressed joint. Cosmetic compound alone will not solve a structural cause.
Peeling appears from poor adhesion, moisture, or an unstable popcorn layer. Stop and have the area evaluated.
Ridges show after painting when side lighting often reveals them. Light sanding and spot skim coating can correct small flaws, while widespread ridges may require another finish coat.
Living with Your Design
A smooth ceiling transforms how a room feels and functions. The investment pays off through better lighting, easier cleaning, and a space that feels current rather than dated.
Plan your project during seasons when windows can stay open for ventilation. Schedule work when you can be away from the space for several days. Keep a simple record of the products used so future touch-ups match the original finish.
The result is a ceiling that supports the rest of your design choices instead of competing with them.