DIY Popcorn Ceiling Removal: Avoid the $3K Mistake
Popcorn ceilings once served practical purposes by softening sound and hiding imperfections. Today many homeowners seek to update these textures for a smoother appearance. The decision to remove them requires careful planning to avoid health hazards and unexpected expenses.
The Hidden Risk: Asbestos in Popcorn Texture
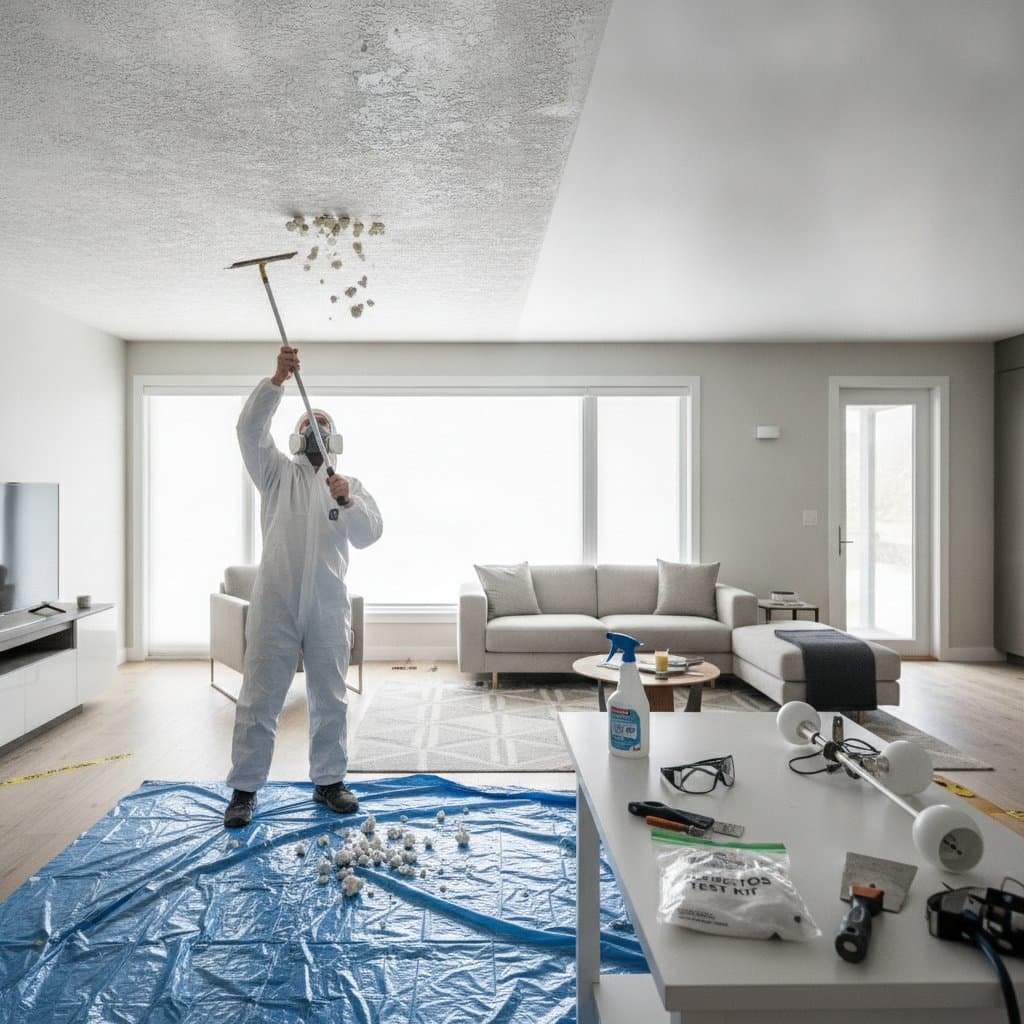
Test for asbestos before any removal work begins. Older textured finishes may contain asbestos fibers that become hazardous when disturbed. Collect a small sample after wetting the area, place it in a sealed bag, and submit it to a certified laboratory for analysis.
If the test returns positive results, engage a licensed abatement contractor rather than proceeding independently. This step prevents health complications and regulatory penalties. A negative result allows safe continuation of the project.
Why DIY Can Go Wrong and Cost More
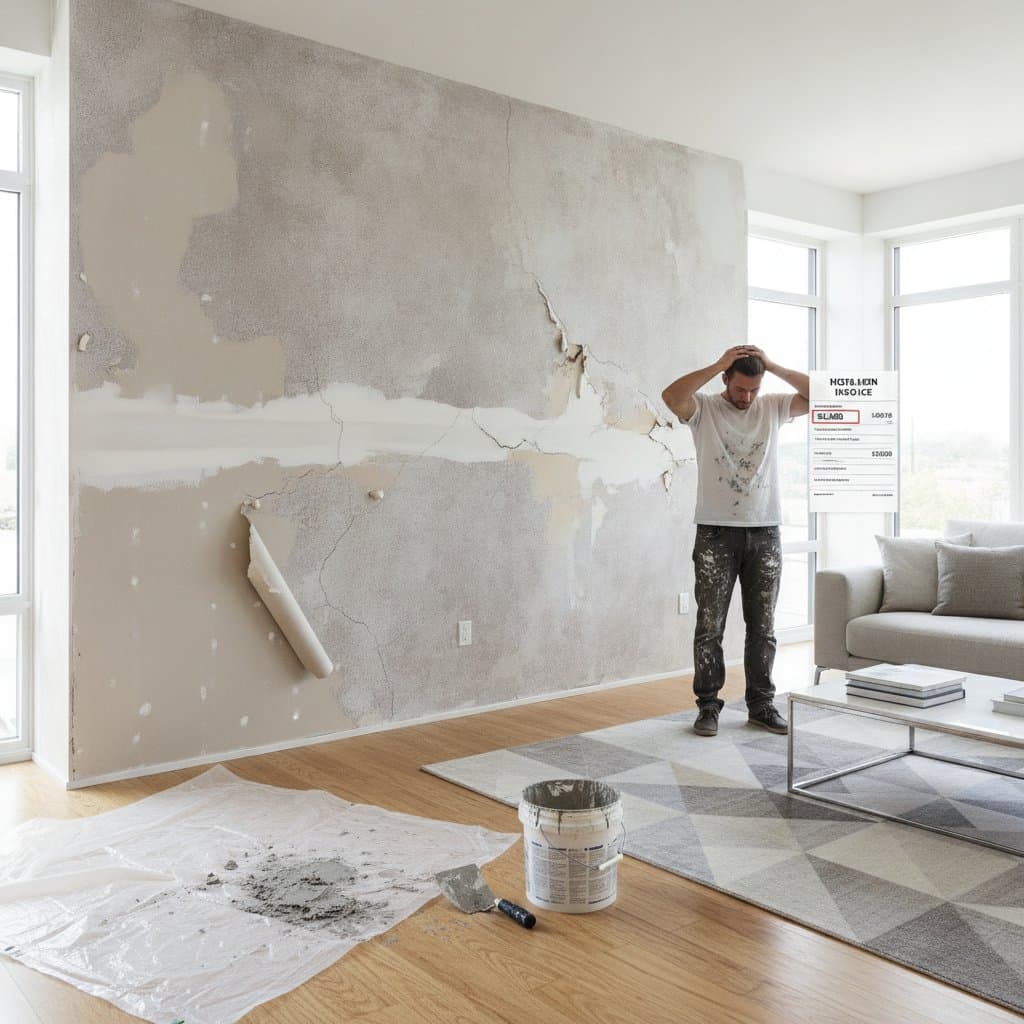
Ceiling removal projects often exceed initial estimates due to inadequate preparation. Common errors include scraping dry material, failing to protect electrical components, and applying finishes before surfaces dry completely. Each mistake leads to additional repairs that increase total costs.
Proper containment protects flooring, furniture, and HVAC systems from debris. Turning off power to the room before introducing moisture reduces electrical risks. These measures limit damage and maintain project timelines.
The Smart Setup: Contain, Protect, and Plan
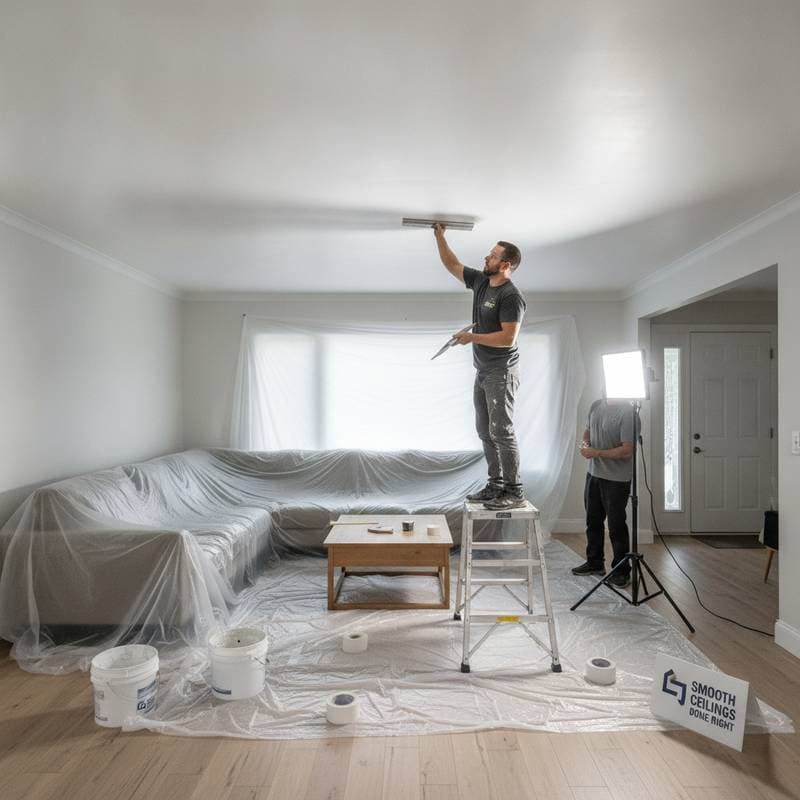
Assemble necessary materials before starting. Plastic sheeting, painter tape, a garden sprayer, wide scrapers, respirators, and joint compound form the basic kit. Cover all surfaces thoroughly and seal edges to contain moisture and particles.
Remove light fixtures after disconnecting power. Position a waste container nearby for immediate debris collection. This organization reduces cleanup time and maintains a controlled work environment.
Step-by-Step: How to Remove Popcorn Texture Like a Pro
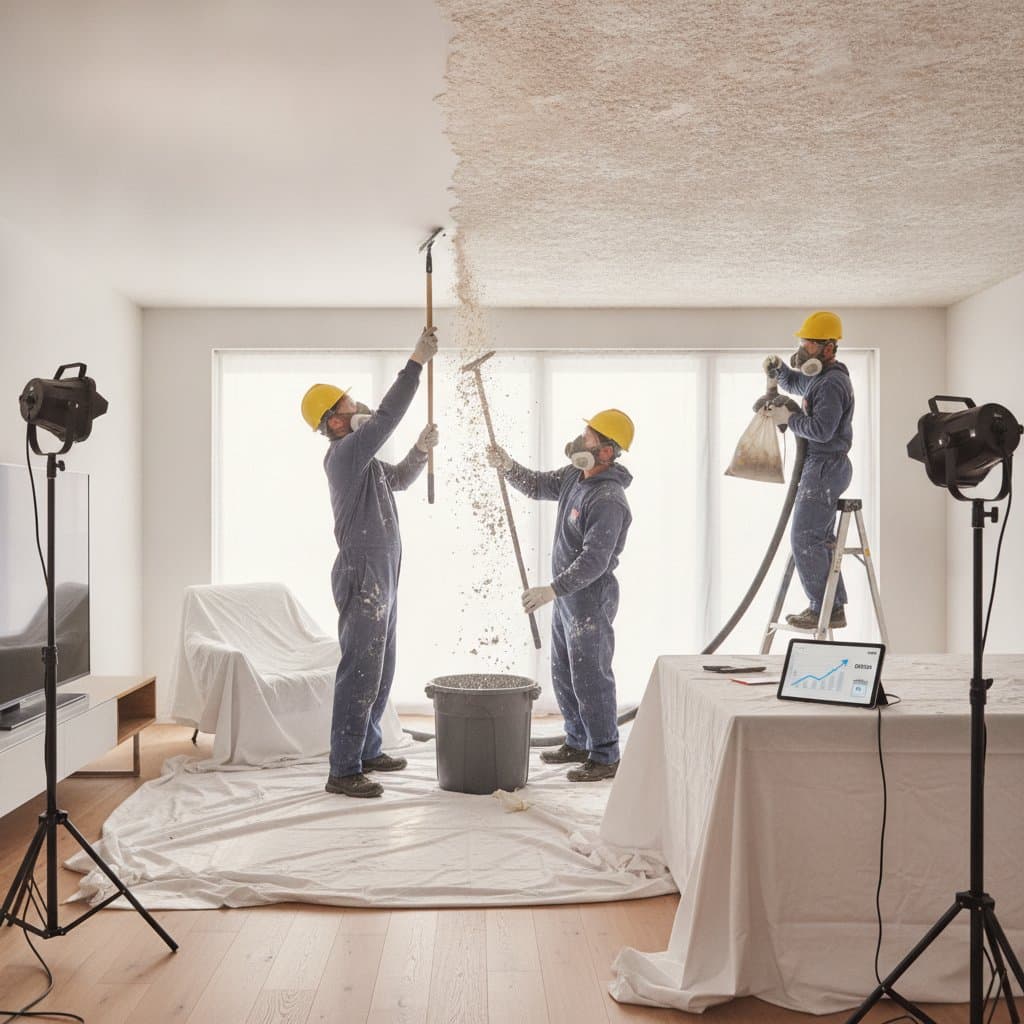
Mist a small section with warm water and allow ten minutes for softening. Scrape at a shallow angle once the texture yields easily. Repeat misting as needed without oversaturating the drywall.
Inspect the exposed surface for imperfections and apply joint compound where required. Sand smooth after drying and apply a high-bond primer. This sequence prepares the ceiling for paint or alternative finishes.
Budget Tiers: From DIY Minimal to Luxe Finish
Homeowners can select approaches based on available resources. The lowest tier relies on manual labor with basic tools and existing supplies for small spaces. Mid-range options incorporate rented equipment and upgraded coatings for improved durability.
Higher investments cover professional assistance for skim coats and premium materials in larger areas. Each level balances effort against desired outcomes while delivering measurable improvements in appearance.
When to Bring in the Pros
Professional teams become advantageous for high ceilings, multiple rooms, or previously painted surfaces. They supply specialized equipment that minimizes dust and identifies underlying issues quickly. Bundled services often include repair and finishing under a single agreement.
On-Camera Tricks for Flawless Results
Flat paint finishes reduce visible imperfections under direct lighting. Test surfaces by directing a work light across them at various angles before final application. Clean edges at wall junctions create consistent visual transitions throughout the space.
Avoiding Common DIY Pitfalls
Limit water application to prevent damage to drywall tape. Address any discoloration from prior moisture before refinishing. Schedule regular breaks to maintain precision during overhead work. Adequate ventilation supports proper curing of all materials.
Pro Tips for Success
Verify texture readiness and primer performance on test sections first. Clean tools frequently to avoid surface gouges. Multiple light sanding passes often resolve minor irregularities that appear after initial coating.
Living with Your Design
A finished smooth ceiling improves light distribution and simplifies future maintenance. Regular dusting preserves the surface while touch-up painting integrates seamlessly on even substrates.