The $800 Sanding Mistake Ruining Paint Adhesion
Surface preparation forms the foundation of every successful painting project. Yet it remains the step homeowners rush most often. One of the costliest errors involves improper sanding before painting. This mistake frequently produces peeling, bubbling, and weak adhesion that requires expensive rework.
Many homeowners spend several hundred dollars, and sometimes close to $800, to correct adhesion failures. Proper sanding technique and careful attention prevent these issues. This guide explains how sanding errors affect paint performance, how to spot and fix them, and what repairs actually cost. It also shares practical steps to avoid the sanding mistake that ruins paint adhesion.
Why Sanding Matters Before Painting
Sanding creates the mechanical bond between old surfaces and new paint layers. Without it, paint cannot grip properly. Whether refinishing cabinets, repainting trim, or coating drywall, sanding leaves the surface smooth, clean, and slightly textured. This microscopic texture allows primers and paints to adhere securely.
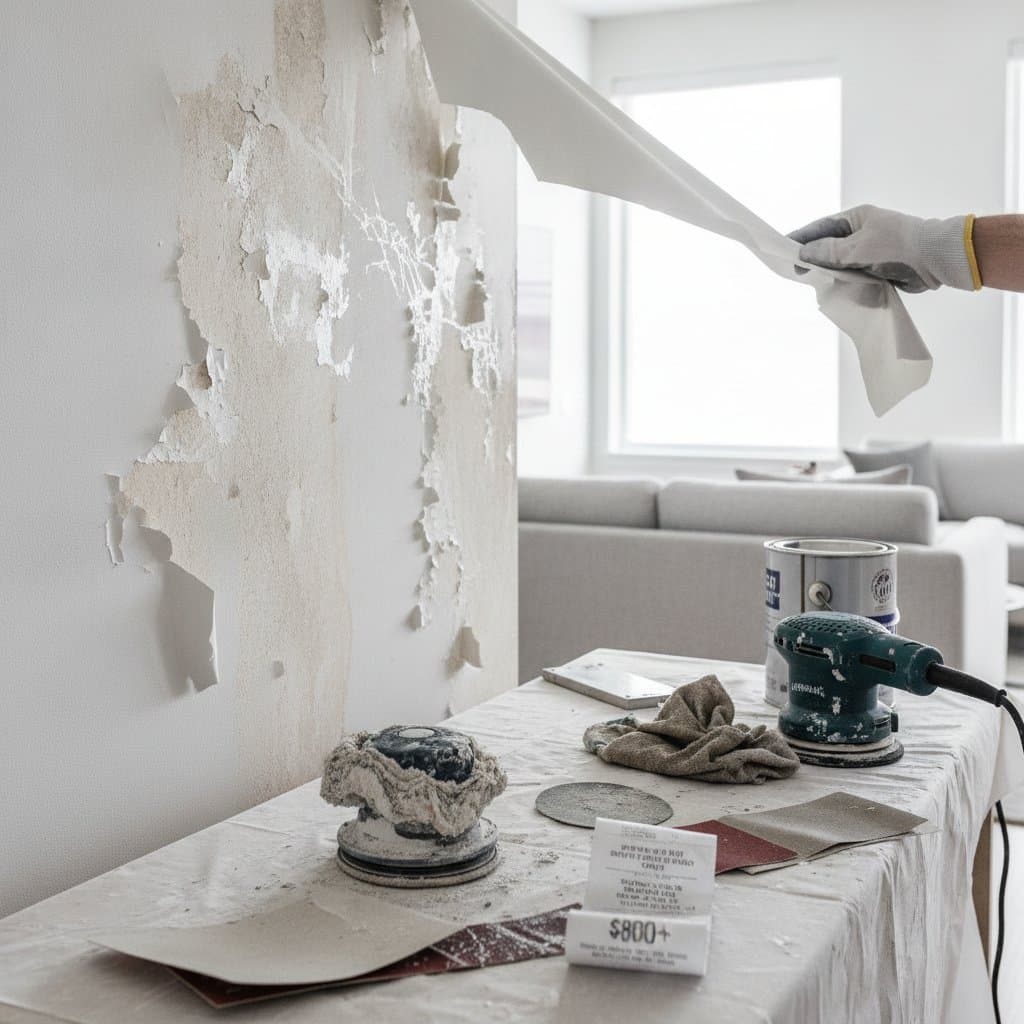
Skipping or rushing sanding leaves behind oil, dust, or gloss from previous coatings. These residues block new paint from bonding and cause early peeling. The financial impact grows once repainting and labor costs accumulate.
Average Cost of Adhesion Failure Repairs
When paint fails due to poor sanding, homeowners often need complete surface removal and repainting. Professional correction averages between $500 and $800 for a medium-sized room. Exterior surfaces or detailed cabinetry can exceed $1,200.
Here is a general breakdown of typical repair costs:
| Repair Scope | Estimated Cost Range | What It Includes |
|---|---|---|
| Small indoor wall section | $200 - $400 | Spot repair, sanding, and repainting |
| Medium room (walls and trim) | $500 - $800 | Full sanding, priming, and repainting |
| Exterior wall or porch | $700 - $1,200 | Paint removal, surface prep, and two-coat system |
| Cabinet refinishing | $800 - $1,500 | Full strip, sanding, primer, and finish coats |
These figures cover surface preparation, materials, and labor. Prices vary by region, accessibility, and the size of the failed area.
What Causes the $800 Sanding Mistake
The sanding mistake usually stems from three issues: using the wrong grit, skipping grit progression, or failing to clean the surface afterward. Each problem weakens the bond between paint and substrate.
1. Incorrect Grit Selection
Using sandpaper that is too coarse gouges the surface and leaves scratches visible through the paint. Using grit that is too fine polishes the surface and closes the pores paint needs for grip. For most walls and trim, start with 120-grit and finish with 180- to 220-grit. Furniture and cabinetry often require 240-grit for smooth results.
2. Skipping Grit Progression
Jumping from coarse to fine grit without intermediate steps leaves uneven surfaces. Deeper scratches from earlier stages remain visible after paint application. Proper sanding moves gradually through each grit level to refine the surface evenly.
3. Poor Surface Cleaning
After sanding, tiny dust particles cling to the surface. If not removed, they interfere with primer adhesion. Always vacuum, wipe with a tack cloth, and let the surface dry completely before priming. This step is often skipped and ranks among the leading reasons freshly painted surfaces peel within months.
Detailed Cost Analysis by Surface Type
| Surface Type | Basic Repair Range | Standard Range | Premium Range | Key Differences |
|---|---|---|---|---|
| Drywall interior walls | $400 - $600 | $600 - $900 | $900 - $1,200 | Premium includes full repaint and higher-grade paints |
| Trim and molding | $300 - $500 | $500 - $800 | $800 - $1,100 | Premium covers detailed sanding and enamel finishes |
| Cabinets | $800 - $1,200 | $1,200 - $1,600 | $1,600 - $2,200 | Premium includes multi-layer finish and professional spraying |
| Exterior siding | $700 - $1,000 | $1,000 - $1,400 | $1,400 - $2,000 | Premium incorporates weatherproof coating and full prep |
These costs reflect both materials and labor. Additional repairs apply if damage extends beyond peeling paint, such as wood swelling or plaster cracking.
Factors Affecting Sanding and Paint Adhesion Costs
Surface Material
Different materials respond differently to sanding. Wood and metal require specific grit sequences and primers. Drywall is softer and more sensitive to over-sanding.
Condition of Existing Finish
Glossy or oil-based finishes require more aggressive sanding or chemical deglossers to create a bondable surface. Older finishes may contain contaminants that must be fully removed before painting.
Moisture and Temperature
Humidity affects both sanding dust and paint curing. Sanding in a damp environment allows dust to cake on the surface and weakens adhesion.
Labor and Skill Level
Professional painters charge higher labor rates than DIY projects, yet their expertise often reduces long-term costs by preventing adhesion failures. DIY mistakes frequently lead to full repainting that costs more than hiring professionals from the start.
Project Size
Larger areas require more time and materials, which increase total cost. Sanding and repainting a single door might cost $150, while a full kitchen cabinet set can exceed $1,000.
Value and ROI Considerations
Proper sanding improves appearance and extends the life of paint while preserving the underlying surface. A professional-grade paint job lasts several years longer than a rushed one. This produces better return on investment because repainting cycles occur less often.
For homeowners preparing to sell, adhesion quality matters. Peeling or uneven paint lowers visual appeal and can reduce perceived home value. Spending a few hundred dollars on proper preparation yields greater value than cutting corners on sanding.
Money-Saving Strategies for Better Sanding and Adhesion
- Handle the prep work yourself. Homeowners who complete light sanding and cleaning before painters arrive can save 10 to 20 percent on labor costs.
- Use quality abrasives. Cheap sandpaper wears out quickly and produces uneven results. Investing in high-quality sanding materials ensures smoother finishes.
- Follow grit progression. Move gradually from coarse to fine grits instead of skipping steps.
- Clean thoroughly. Vacuum, wipe, and double-check for dust before applying primer.
- Prime carefully. Use the correct primer for the surface type. Adhesion primers are worth the extra cost for glossy or previously painted surfaces.
- Avoid humid conditions. Wait for dry weather to sand or paint, especially on exteriors.
Planning Your Budget
For any painting project, allocate at least 10 percent of the total budget to surface preparation. This covers sanding, cleaning, patching, and priming. When contracting professionals, request a written breakdown of prep costs to confirm sanding is included.
For DIY projects, factor in the cost of sandpaper and sanding blocks ($20-$60), dust masks and protective gear ($10-$30), vacuum or tack cloths ($10-$25), and primer and paint ($80-$200 for a medium room). Adding a small contingency fund of 15 percent helps cover unexpected repairs discovered during sanding, such as cracks, nail pops, or uneven patches.
Frequently Asked Questions
1. What is the average cost to fix poor paint adhesion caused by bad sanding?
Most homeowners spend between $500 and $800 to correct adhesion issues in a medium-sized room. The cost depends on the extent of peeling and whether full repainting is required.
2. What are the main causes of paint not sticking after sanding?
The most common causes are using the wrong grit, skipping grit steps, and failing to remove sanding dust. Each mistake leaves the surface either too smooth or too contaminated for proper adhesion.
3. How can I prevent sanding mistakes that ruin paint adhesion?
Use the correct grit sequence, clean the surface thoroughly, and ensure it is dry before priming. Avoid over-sanding glossy surfaces and always use a primer suited to the material.
4. Should I hire a professional for sanding and prep work?
If the surface has multiple layers of old paint or damage, hiring a professional is recommended. They have the tools and experience to achieve consistent results and avoid costly rework.
5. What should I include in my painting budget for proper sanding?
Include at least 10 to 15 percent of your total project budget for sanding and preparation. This ensures enough allowance for materials, tools, and any minor surface repairs.
6. When is the best time to sand and paint for the best adhesion?
Dry, moderate weather conditions are ideal. Avoid extremely humid or cold days since moisture interferes with sanding dust removal and paint curing.