Sanding Methods That Ensure Paint Stays Stuck for Years
Getting paint to last beautifully starts long before you open the can. It begins with sanding. This step separates a quick cover-up from a professional finish. Whether you are refreshing trim, a deck, or kitchen cabinets, sanding decides how strong your bond will be.
Why Sanding Matters So Much
Paint needs something to grip. A smooth but slightly textured surface gives it that perfect hold. Skip sanding, and even the best primer can peel. Over sanding weakens the surface instead. The goal is a clean, consistent texture that feels velvety rather than glossy or rough.
Step One: Know Your Surface
Different materials call for different sanding approaches.
- Wood: Start with 120 grit paper to remove old finish. Then move to 180 or 220 grit for a smooth base.
- Metal: Use a fine grit sanding block or scuff pad to break the glaze. When rust appears, switch to a wire brush before re sanding.
- Drywall or Plaster: Lightly sand with 220 grit to remove bumps or dust nibs. Avoid pressing too hard. Gentle circles work best.
A quick water damp test can help. Wipe the surface. If water beads, you need more sanding. If it absorbs evenly, you are ready.
Step Two: Choose the Right Tools
Every budget has a great option.
- Low Spend: Hand sanding blocks or sheets work well for touch ups, trim, and small projects.
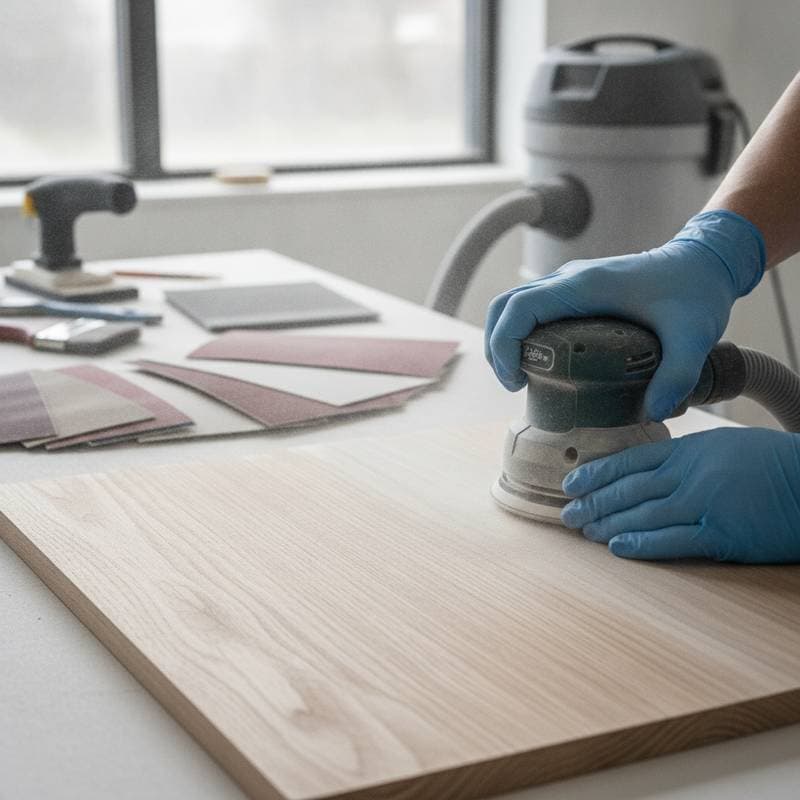
- Mid Spend: A simple orbital sander saves time on cabinets, doors, and furniture.
- Higher Spend: A variable speed sander with dust collection keeps large jobs clean and consistent.
Always pair your tool with the right grit sequence. Start coarser to level imperfections. Then step up to finer grits for that paint ready finish.
Step Three: Clean Like a Pro
Even expert sanding means nothing if dust lingers. Dust is slippery, and paint hates it. Use a vacuum with a brush attachment. Follow with a tack cloth or microfiber wipe. For larger surfaces, a slightly damp rag works well. Let the surface dry completely before priming or painting.
Under bright lights, dust hides in corners. Angle a light sideways and check again. This trick comes straight from production studios where every flaw shows on camera.
Step Four: Prime Smartly
A sanded surface still needs primer. It locks in the texture and adds a bonding layer. For glossy or tricky surfaces, use bonding primer. For raw wood, choose a stain blocking formula. Always sand lightly between primer coats with 220 grit paper to keep things silky and strong.
Step Five: Respect Dry Time
After sanding and priming, patience pays off. Let each layer cure fully before painting again. You can touch the surface gently. If it feels cool and firm, it is ready. Rushing can trap moisture or dust, and that leads to peeling.
Achieving a Durable Finish
Once painted, your surface should feel smooth, clean, and secure. Run your hand across it. No bumps. No grit. Just a perfect, lasting finish that looks as good as it feels. Whether you used a sanding block from the hardware store or a high end orbital sander, what matters most is care and consistency. Everyone can achieve a strong, beautiful paint bond with thoughtful prep, a little patience, and a commitment to quality.