Reviving Victorian Style With Lime Wash or Distemper
Victorian architecture and interiors continue to inspire homeowners who appreciate craftsmanship, character, and depth of color. The textures and finishes that once defined this period are being rediscovered for their natural beauty and sustainability. Two finishes that stand out for restoring historical authenticity are lime wash and distemper. Both are breathable, mineral-based paints that create timeless walls with subtle variation and charm.
Understanding Lime Wash and Distemper
What Is Lime Wash
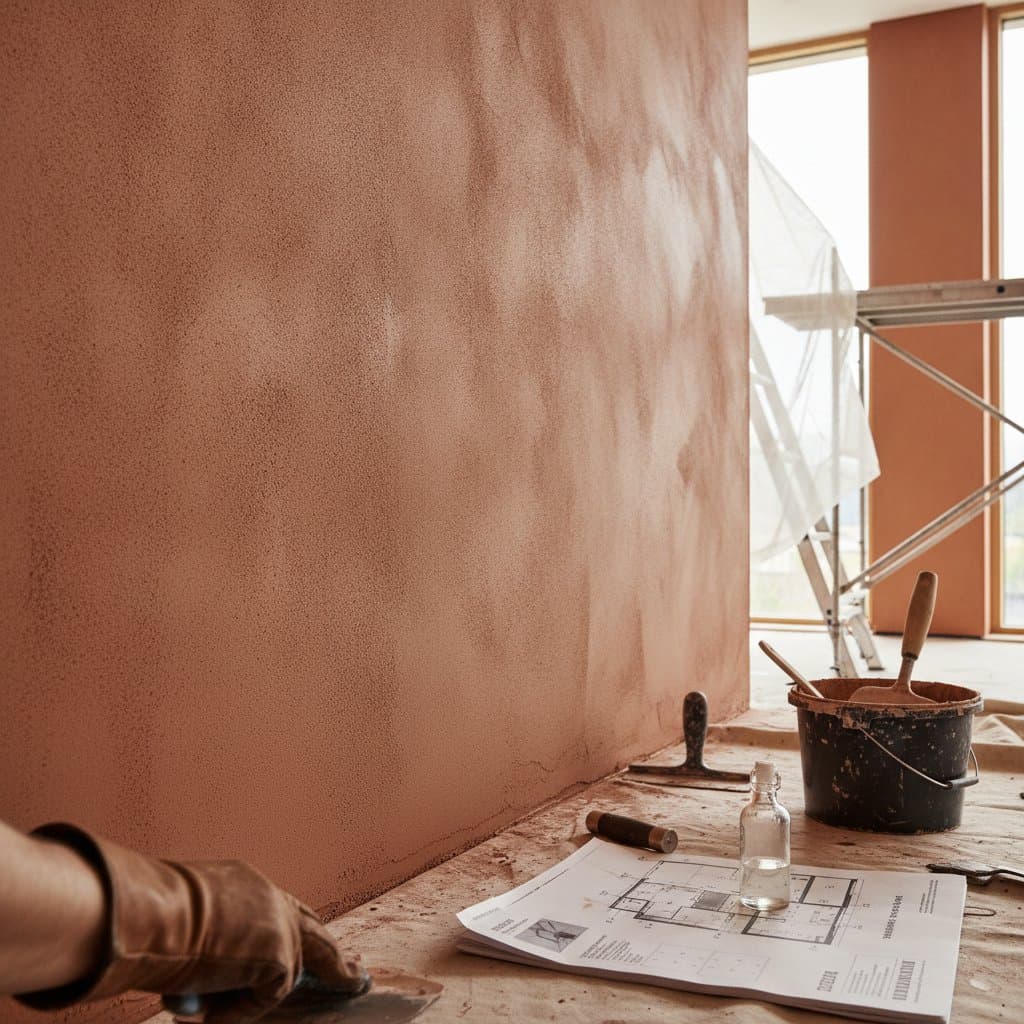
Lime wash is made from slaked lime, water, and natural pigments. When applied to a surface, it absorbs into the material rather than sitting on top. As it cures, it reacts with carbon dioxide in the air to form a durable, chalky finish that allows the wall to breathe. This makes it ideal for brick, stone, and plaster surfaces often found in older homes.
The beauty of lime wash lies in its translucency and depth. Each coat dries with gentle movement in tone, giving walls a soft, natural variation that modern synthetic paints rarely achieve. It is both decorative and functional, providing mild antiseptic qualities that help prevent mold and mildew in damp environments.
What Is Distemper
Distemper is another traditional paint made with chalk, natural pigments, and a binder such as animal glue or casein. It creates a matte, powdery surface that feels velvety to the touch. Distemper is less absorbent than lime wash, which makes it suitable for interior plaster or ceilings rather than exterior masonry.
This finish was a hallmark of Victorian interiors, often used in drawing rooms, bedrooms, and hallways. It provides a gentle glow and softness that complements ornate trims, wainscoting, and decorative plasterwork. Modern versions of distemper use synthetic binders for easier maintenance, yet they retain the same breathable quality and visual warmth.
Project Cost Breakdown
Average Cost Ranges
- Basic project: 2500 to 4000 dollars for small interior rooms using lime wash or distemper on existing plaster.
- Standard project: 4500 to 8000 dollars for medium-sized areas that may need surface preparation or minor patching.
- Premium project: 9000 to 15000 dollars for large or complex projects involving multiple rooms, decorative finishes, or exterior restoration.
What Is Included
Surface cleaning and preparation. Minor repairs to plaster or masonry. Application of multiple coats of lime wash or distemper. Pigment mixing and color matching. Final touch-ups and cleanup.
What Costs Extra
Full plaster restoration or replacement. Specialty finishes or custom tinting using historical pigments. Protective sealers for high-moisture areas. Scaffolding or access equipment for tall walls or ceilings.
Factors That Affect Final Cost
| Factor | Cost Impact | Examples |
|---|---|---|
| Surface condition | Moderate to high | Cracked or crumbling plaster needs repair before painting |
| Pigment type | Low to moderate | Natural pigments cost more than modern colorants |
| Number of coats | Moderate | Lime wash often requires three to four coats for full coverage |
| Location | Moderate | Regional labor rates and material availability vary |
| Decorative detailing | High | Stenciling or layered color effects increase labor time |
Process and Timeline
Step 1: Surface Preparation
Both lime wash and distemper require clean, dry, and stable surfaces. Old paint must be removed, and damaged plaster should be repaired. In heritage homes, professionals often use traditional lime plaster to maintain breathability. Preparation can take several days depending on the extent of repair work.
Step 2: Mixing and Testing
Lime wash and distemper are mixed fresh for each project. The painter tests small patches to evaluate color and absorption. Since both finishes dry lighter than they appear when wet, test areas help ensure accurate results.
Step 3: Application
Lime wash is brushed on in thin coats using broad strokes that overlap slightly. Each layer must dry fully before the next is applied. The finish gradually builds depth, with subtle tonal movement that softens architectural features. Distemper is applied in two or three coats using a natural bristle brush or roller, producing a smooth, matte surface.
Step 4: Drying and Curing
Lime wash cures through carbonation, a process that continues for several days. During this time, the surface should be protected from direct water and dust. Distemper dries faster but remains sensitive to moisture until fully set. Proper ventilation and stable temperatures help both finishes achieve their best appearance.
Step 5: Inspection and Touch-Up
Once dry, painters inspect for uneven patches or missed areas. Minor touch-ups are made using the same batch mixture to maintain color consistency. The result is a breathable, historically accurate finish that enhances the natural character of the building.
Lime Wash vs. Distemper: Choosing the Right Finish
| Feature | Lime Wash | Distemper |
|---|---|---|
| Best for | Brick, stone, lime plaster | Interior plaster, ceilings, wood moldings |
| Finish | Slightly chalky with natural movement | Smooth, matte, powdery surface |
| Breathability | Excellent | Very good |
| Durability | High on mineral surfaces | Moderate, less scrub-resistant |
| Maintenance | Low, touch up as needed | Requires careful cleaning |
| Historical use | Exterior walls and basements | Interior decorative rooms |
Lime wash excels on exterior or interior masonry where breathability and moisture management matter. Distemper shines in decorative spaces where authenticity and tactile appeal are priorities. Many Victorian homes used both, with lime wash on structural walls and distemper for interior decoration.
Professional vs. DIY Application
When to Hire a Professional
Projects involving historical plaster, large wall areas, or exterior masonry benefit from professional expertise. Lime wash and distemper require controlled mixing ratios, correct environmental conditions, and knowledge of traditional materials. Professionals also understand how to achieve subtle color variations that look natural rather than streaky.
When DIY May Work
Small interior spaces with sound plaster can be manageable for homeowners who enjoy hands-on projects. Distemper is easier to apply than lime wash, though it still requires care. DIY painters should use natural bristle brushes, prepare surfaces meticulously, and plan for multiple coats. Protective clothing and ventilation are essential since lime can irritate skin and eyes during mixing.
Cost Comparison
DIY can reduce labor expenses, but material waste and uneven results often offset savings. Professional application typically costs 3 to 7 dollars per square foot, while DIY material costs range from 1 to 2 dollars per square foot. For heritage homes, hiring a specialist often ensures longevity and historical accuracy.
Maintenance and Longevity
Both finishes are breathable, allowing moisture to escape rather than trapping it behind paint layers. This helps prevent peeling and blistering. Lime wash naturally weathers over time, fading gracefully rather than chipping. It can be refreshed with a single maintenance coat every few years. Distemper is more delicate but can be touched up or recoated easily without stripping old layers.
Routine care involves gentle dusting and avoiding harsh cleaners. In high-traffic areas, consider applying a protective water-based glaze to improve washability without sealing the surface completely.
Color and Aesthetic Considerations
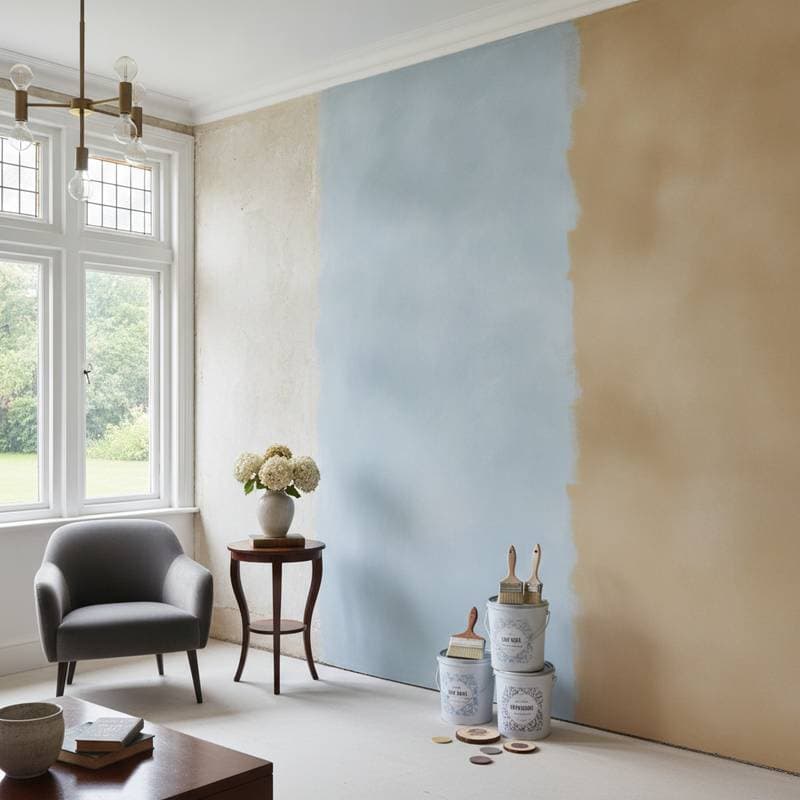
Victorian interiors often featured earthy tones such as ochre, stone gray, and muted green. Lime wash produces soft, mottled effects that shift subtly with light. Distemper offers richer color saturation, perfect for creating contrast with ornate woodwork or wallpaper. Pigments can be blended to match historical palettes or customized for modern interpretations.
For a cohesive look, pair lime-washed walls with matte trim paints or natural woods. In rooms with decorative moldings, distemper can highlight architectural details while maintaining a breathable surface.
Environmental and Health Benefits
Both lime wash and distemper are eco-friendly compared to synthetic paints. They contain no harmful solvents, release minimal odor, and are fully biodegradable. Their breathability supports healthy indoor air by regulating humidity and reducing mold risk. These qualities align with the growing interest in sustainable home restoration and natural materials.
Planning Your Project
Successful restoration begins with understanding the building materials and condition. Homeowners should assess whether surfaces are compatible with breathable finishes. Cement-based plasters or sealed walls may require removal or priming with mineral-based products before application. Budgeting should include surface preparation, labor, materials, and protective equipment.
Professional painters experienced in historical finishes can evaluate the site and recommend the best approach. They can also help match colors to existing heritage schemes or suggest modern interpretations that respect the building character.
Common Problems and Prevention
Uneven color or streaking occurs if surfaces are not properly prepared or if coats dry too quickly. Work in consistent light and temperature conditions, and keep surfaces slightly damp during application. Flaking can result from applying over sealed surfaces, so ensure breathability before painting. Hiring experienced professionals helps prevent these issues and ensures lasting results.