Vapor Barriers Failing? Avoid $5K Moisture Damage Now
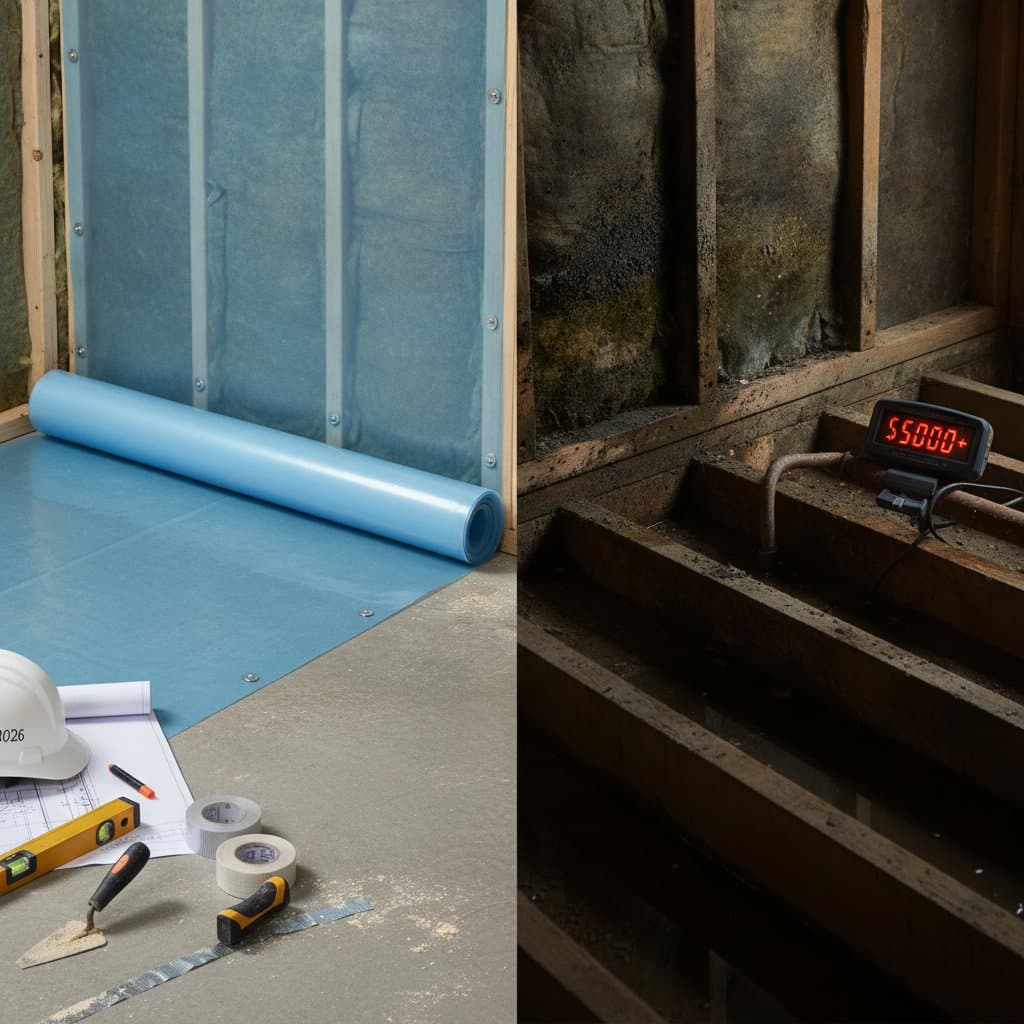
A failing vapor barrier can quietly cause thousands of dollars in damage before any visible warning signs appear. Floors buckle, paint peels, and insulation loses effectiveness as moisture seeps into places it does not belong. The cost of repairing water-damaged materials can easily exceed $5,000. Understanding how vapor barriers work and what affects their performance helps homeowners avoid that expense entirely.
This guide explains vapor barrier costs, what influences pricing, and how to plan preventive maintenance that protects your home from expensive moisture damage.
Factors Affecting Vapor Barrier Costs
Several key variables influence the final cost of a vapor barrier installation. Understanding these helps homeowners make informed decisions before hiring a contractor.
1. Material Type
Vapor barriers come in plastic sheeting, foil-faced insulation, and specialty membranes. Plastic sheeting is affordable and effective for basic protection. Multi-layer membranes with built-in insulation or reflective foil cost more but offer better longevity and thermal performance.
2. Location and Accessibility
Installing a vapor barrier in a crawl space or under a slab requires more preparation and labor than interior wall or ceiling installations. Tight or hard-to-reach areas increase setup time, which raises labor costs.
3. Moisture Level and Existing Damage
If moisture has already damaged subflooring, insulation, or drywall, those materials must be replaced before the new barrier can be installed. Repairs can add $500 to $2,000 to the total project cost.
4. Labor and Regional Rates
Local labor costs vary by region. Areas with high demand for skilled trades often see higher hourly rates for installation teams. Urban regions typically cost more than rural areas due to higher overhead and permit fees.
5. Quality of Installation
Professional installation ensures proper sealing and overlap, which prevents air and vapor leaks. DIY approaches can save money upfront but often lead to costly failures if seams or edges are not properly sealed.
Common Warning Signs of a Failing Vapor Barrier
A vapor barrier that no longer performs effectively often shows subtle but costly signs. Recognizing them early can prevent structural damage and mold growth.
- Condensation on walls or floors indicates moisture is passing through the barrier.
- Musty odors suggest trapped humidity beneath flooring or behind drywall.
- Peeling paint or bubbling surfaces result from moisture buildup behind coatings.
- Warped flooring or soft spots often signal long-term moisture exposure.
- Mold or mildew indicates that the barrier has gaps or improper sealing.
Ignoring these signs can lead to rot, insulation replacement, and structural repair costs that exceed the cost of a new vapor barrier by several times.
Money-Saving Strategies
Homeowners can reduce vapor barrier installation costs without compromising quality by using a few strategic approaches.
- Combine with other projects. Pair vapor barrier installation with insulation replacement or waterproofing work to reduce total labor costs.
- Prepare the area in advance. Cleaning and clearing spaces before contractors arrive shortens installation time, which can lower labor charges.
- Choose mid-range materials. Premium membranes are excellent for high-moisture zones, but standard polyethylene sheets perform well in most residential settings.
- Schedule during off-peak seasons. Contractors often offer lower rates when demand is slower.
- Inspect regularly. Routine inspection and sealing of small tears or gaps prevent larger repairs later.
Planning Your Vapor Barrier Installation
Homeowners who address vapor barrier needs early protect structural integrity, maintain energy efficiency, and preserve property value. Professional assessment identifies the right materials and installation methods for each unique space. Regular monitoring after installation keeps the system effective for years.
Frequently Asked Questions
1. What is the average cost for vapor barrier installation?
Most homeowners spend between $1,200 and $5,000, depending on space size, material, and labor rates. The average cost per square foot is $1.50 to $3.50, including preparation and sealing.
2. What factors have the biggest impact on vapor barrier costs?
The main cost drivers include material quality, accessibility of the installation area, existing moisture damage, and regional labor rates. Premium materials or complex installations increase the total cost.
3. How can I save money on vapor barrier installation without sacrificing quality?
Combine the installation with other projects, prepare the area yourself, choose mid-range materials, and schedule during slower seasons. Regular inspections also prevent costly repairs later.
4. Should I hire professionals or attempt this as a DIY project?
Professional installers ensure proper sealing, overlapping, and moisture testing. DIY work can save money on labor but increases the risk of errors that may lead to condensation or mold problems.
5. How do I budget for unexpected costs in vapor barrier projects?
Include a contingency of 10 to 15 percent for issues like hidden moisture damage, material upgrades, or additional sealing work. Always get written estimates that specify what is included.
6. When is the best time to install a vapor barrier for the lowest costs?
Early spring or late fall often offer lower rates since demand is moderate. These periods also provide stable humidity levels that help ensure proper installation and curing of sealants.