Venetian Plaster: Balancing DIY and Professional Results
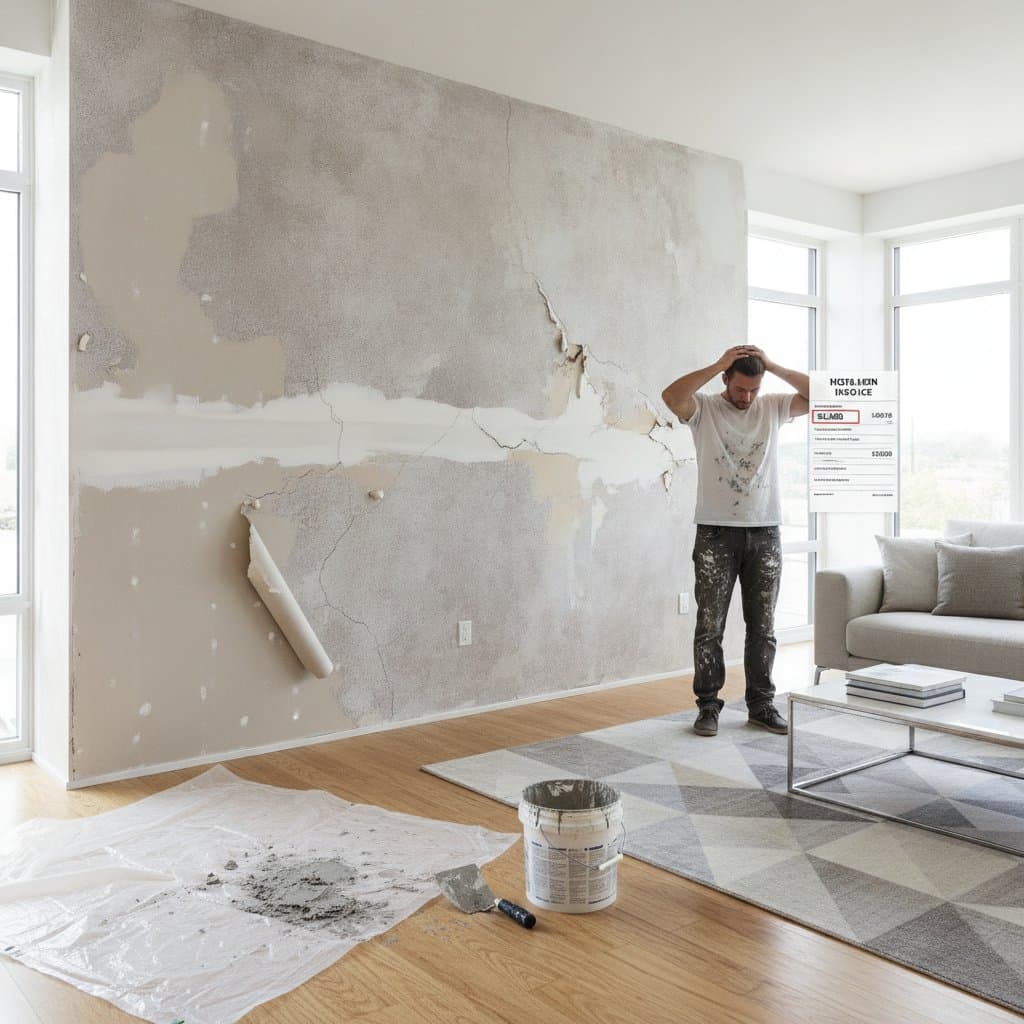
Venetian plaster creates luminous, stone-like surfaces through layered application of tinted plaster. The finish interacts with light to produce depth and movement that standard paint cannot achieve. Homeowners now face a clear choice between attempting the work themselves or engaging skilled artisans.
Modern Materials and Application Basics
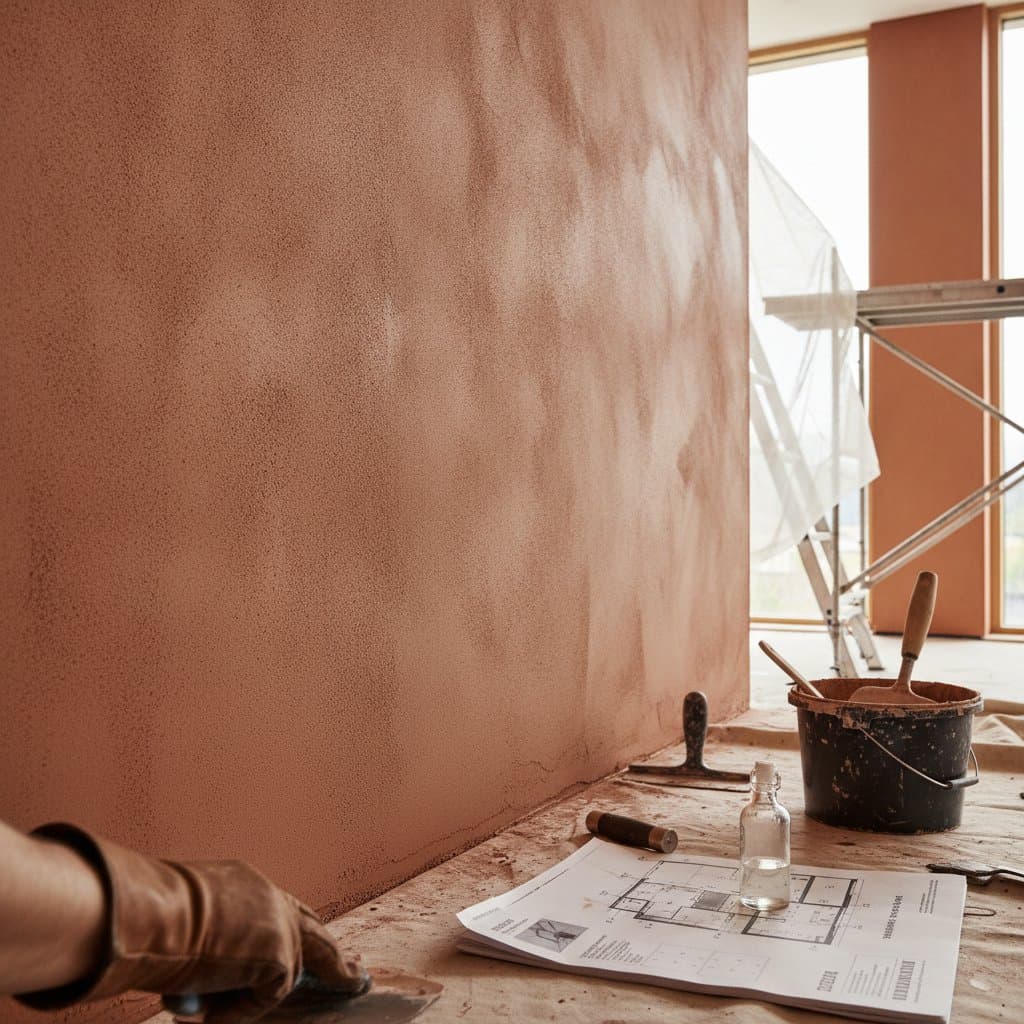
Pre-mixed synthetic plasters offer easier handling and faster drying times for those new to the technique. Natural lime-based formulas provide greater breathability and authentic color variation, though they require more precise timing during application. Both options produce durable results when applied over properly prepared substrates.
Light plays across the finished surface because each trowel pass leaves subtle variations in thickness. These micro-textures catch highlights at different angles throughout the day. The material also resists moisture once sealed and remains cooler to the touch than painted drywall.
Executing a Successful DIY Project
Materials for a small accent wall typically cost a few hundred dollars when purchased from specialty suppliers. Essential tools include a flexible steel trowel, mixing containers, and clean drop cloths. Success depends on maintaining consistent pressure and working in thin, overlapping coats.
Follow these steps to improve outcomes:
- Prepare several sample boards to test color, sheen, and drying behavior before starting on walls.
- Apply the first coat evenly to establish full coverage without ridges.
- Burnish the second coat lightly to begin developing visible movement.
- Complete a third coat and polish the surface once it reaches the desired level of reflectivity.
- Apply a compatible wax or sealer after full curing to protect against moisture and fingerprints.
Sand any rough areas between coats with fine-grit paper. Keep the trowel edge clean to prevent scratches. Minor irregularities often contribute to the organic character of the finish.
Situations That Favor Professional Installation
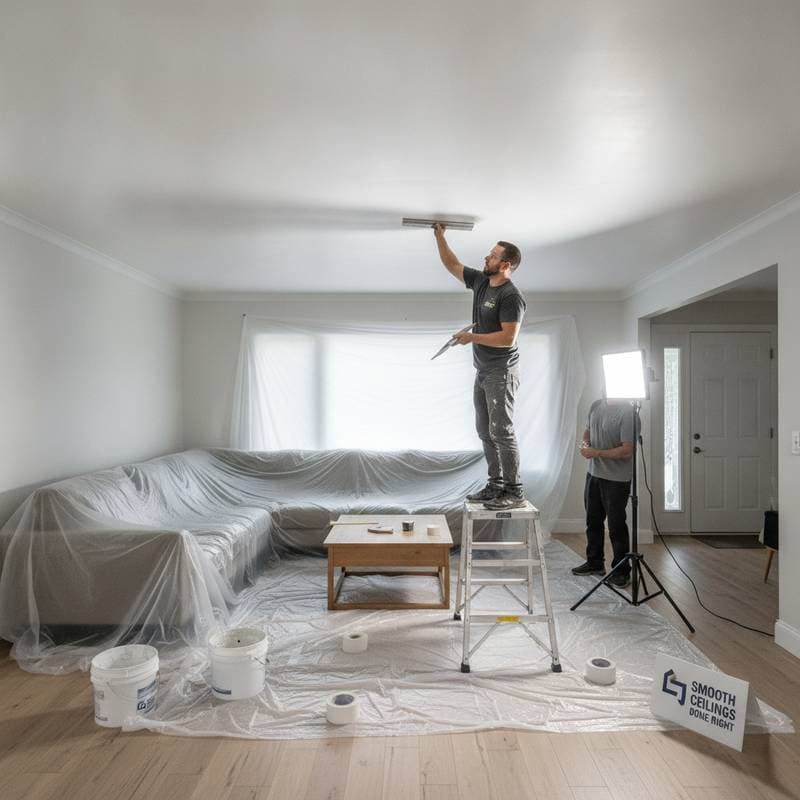
Complex surfaces such as curved walls, vaulted ceilings, or large open-plan areas benefit from professional execution. Artisans control sheen consistency across multiple viewing angles and match custom colors precisely. They also complete work faster, which reduces disruption and ensures uniform curing conditions.
Labor rates vary by region and finish complexity, yet the investment yields predictable results suitable for high-visibility spaces. Professionals maintain access to premium lime products and specialized sealers that extend surface life.
Cost and Quality Comparison
DIY synthetic plaster remains the most economical route for accent walls or small rooms. Lime plaster increases material expense and demands greater skill yet delivers superior depth. Professional synthetic work provides reliable smoothness at a moderate premium, while professional lime finishes command the highest rates for their refined texture and longevity.
The visible difference appears in how evenly light reflects and how the surface feels under direct touch. Many DIY projects achieve satisfying results on limited areas when practitioners practice extensively beforehand.
Current Texture Trends
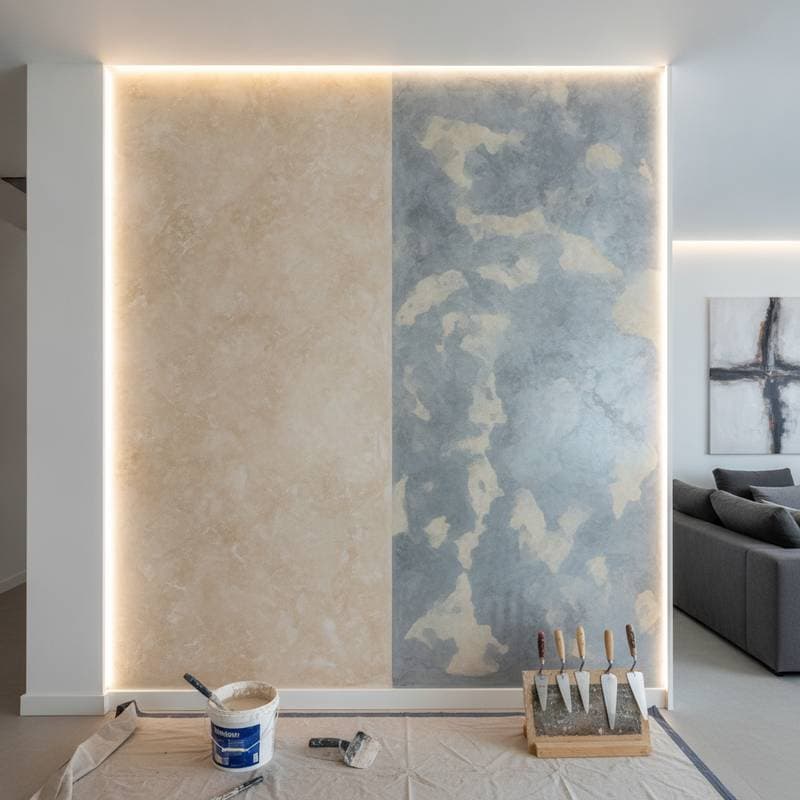
Designers continue to specify Venetian plaster in warm neutrals, soft mineral tones, and matte whites. These finishes complement wood, metal, and natural stone elements in both residential and commercial settings. A single accent wall can refresh a small apartment, while continuous application across multiple rooms creates visual continuity in larger homes.
Color washes or mineral glazes applied over the cured plaster further enhance dimension without overwhelming the space.
Ongoing Care Requirements
Clean sealed surfaces with a soft cloth and mild soap solution. Avoid abrasive pads or strong solvents that can damage the protective layer. Scratches often buff out with light polishing, and wax can be reapplied as needed after several years of use.
Select moisture-resistant sealers for bathrooms and satin wax finishes for kitchens. Allow the full recommended cure period before exposing new plaster to water or heavy cleaning.
Practical Next Steps
Test the technique first on furniture, a fireplace surround, or sample panels to develop trowel control. Once comfortable with timing and pressure, scale up to full walls. The resulting surface ages gracefully, developing subtle patina that increases character over time.