Why Level 5 Drywall Finish Is the Viral $800 Upgrade
Homeowners often spend hours choosing paint colors, fixtures, and flooring. One of the most overlooked upgrades hides beneath the paint itself. The Level 5 drywall finish has become a hot topic among homeowners and contractors. It delivers a flawless appearance and professional grade smoothness that distinguishes a good wall from a perfect one.
The cost typically reaches around $800 for an average sized room. This guide explains the process, cost, and practical reasons why many homeowners select this premium finish. It also helps determine whether the investment suits the next home improvement project.
Understanding Drywall Finishing Levels
Drywall finishing falls into five levels. Each level represents a degree of smoothness and preparation for paint or texture.
- Level 0: Drywall panels are hung with no taping or finishing. This approach suits only temporary spaces.
- Level 1: Tape is embedded in joint compound, but surfaces remain rough. This level appears in attics or unfinished areas.
- Level 2: Joints and screws receive coating but lack full sanding. It works behind tiles or in hidden areas.
- Level 3: Multiple layers of joint compound are applied and surfaces receive light sanding. This finish suits heavy textures or wallpaper.
- Level 4: The standard finish for most homes. Joints and fasteners receive several coats, sanding, and priming for paint.
- Level 5: The highest standard. A skim coat covers the entire surface to remove even microscopic imperfections.
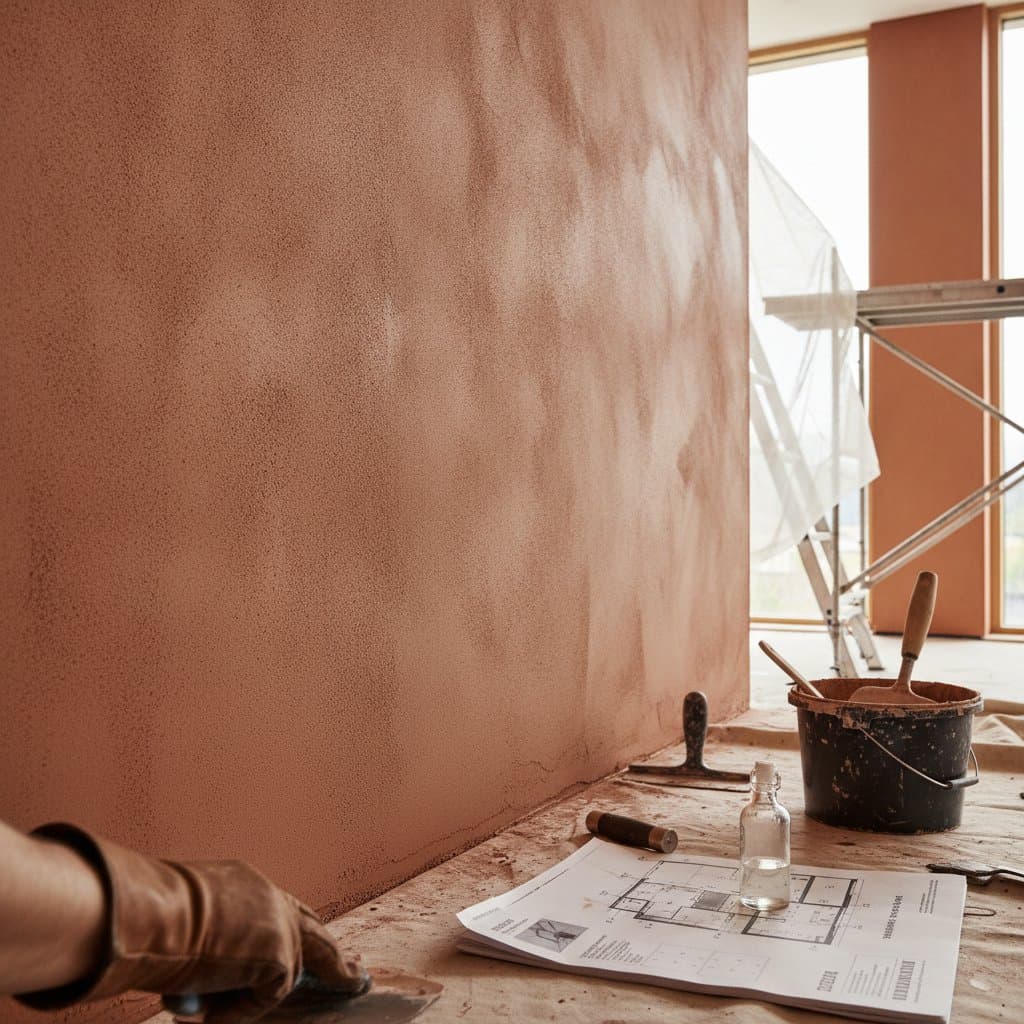
A Level 5 finish eliminates subtle seams visible in daylight and produces a smooth, glass like surface.
Project Cost Breakdown
Average Cost Ranges
- Basic room: $700 to $900
- Medium room or open area: $1,000 to $1,400
- Large or complex space: $1,500 to $2,000
These figures cover labor, materials, and finishing supplies. Costs vary with room size, existing drywall condition, and crew skill.
What Is Included
- Application of joint tape and compound
- Multiple sanding and inspection stages
- Full surface skim coating
- Primer compatible with topcoat paint
- Cleanup and final visual inspection
What Costs Extra
- Wall repairs before finishing, typically $50 to $150 per section
- Specialty primers or high humidity coatings
- Ceilings taller than standard height, which require additional labor
- Furniture moving or protective covering services
Factors That Affect Final Cost
| Factor | Cost Impact | Examples |
|---|---|---|
| Room size | Higher total cost | Larger square footage increases labor time |
| Wall condition | Moderate to high | Damaged drywall or poor taping requires repair |
| Ceiling inclusion | Moderate | Adding ceiling finishing adds time and material |
| Paint choice | Low to moderate | High gloss or reflective paints need smoother surfaces |
| Contractor expertise | High | Experienced finishers charge more but deliver perfect results |
A Level 5 finish requires time, patience, and precision. The process involves refining every surface so light glides evenly without highlighting flaws.
Why the $800 Upgrade Is Worth It
The appeal of a Level 5 finish lies in visual perfection. In rooms with strong natural light or smooth paint, even the smallest imperfection stands out. A Level 4 finish might look smooth under artificial light, yet daylight reveals seams, patches, and texture inconsistencies. The skim coat in a Level 5 application removes these issues.
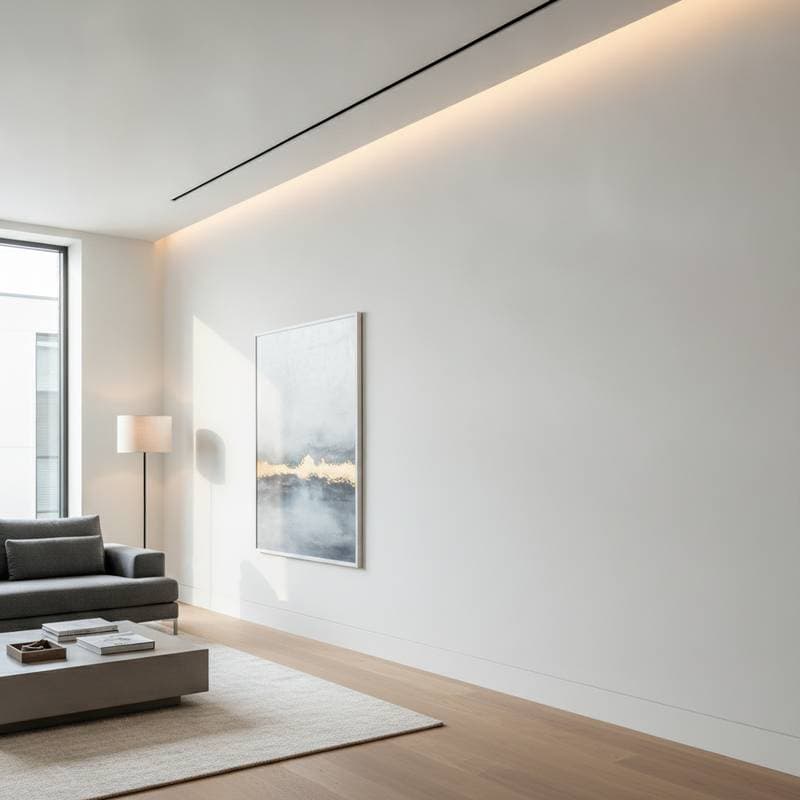
Homeowners who value a clean, modern aesthetic find this finish upgrades the entire feel of the home. It pairs well with matte or satin paints, accent lighting, and minimalist decor. Many luxury homes and high end renovations treat Level 5 finishing as standard.
Timeline Expectations
A typical Level 5 drywall project follows several stages.
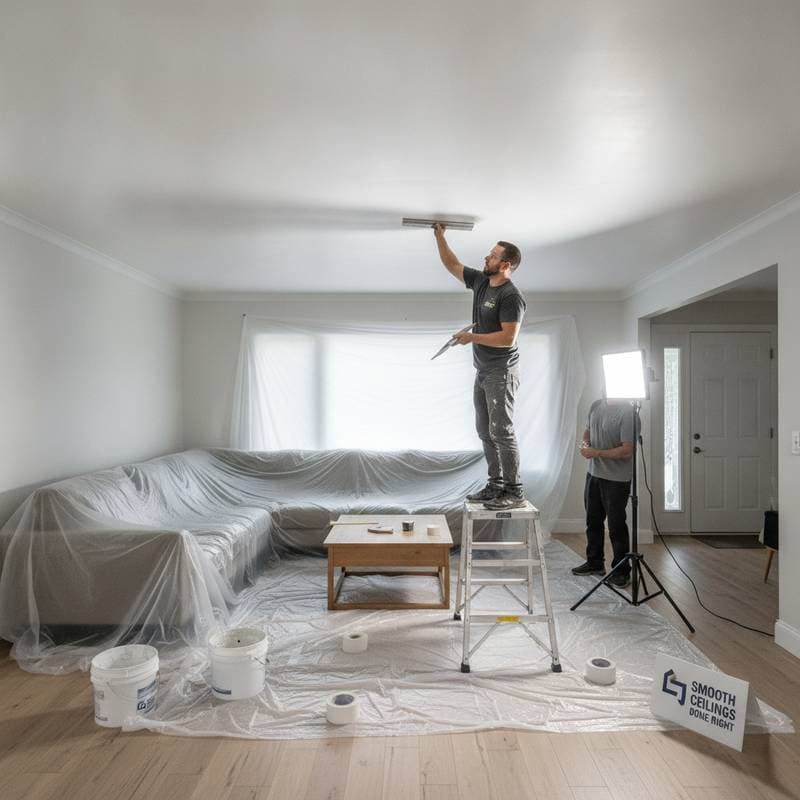
- Preparation: Cover floors, move or protect furniture, and inspect drywall for damage.
- Base Finish: Apply joint tape and compound to seams and screws. Allow to dry.
- Sanding and Inspection: Smooth all surfaces and check for unevenness.
- Skim Coating: Apply a thin, even layer of compound over the entire surface.
- Final Sanding: Once dry, sand again to remove any remaining texture.
- Priming and Cleanup: Apply primer and prepare for painting.
For an average sized room, the process takes three to five days. Drying conditions and the number of coats influence the schedule. Larger projects or high humidity environments may require extra drying time.
Professional vs. DIY Guidance
When DIY Might Work
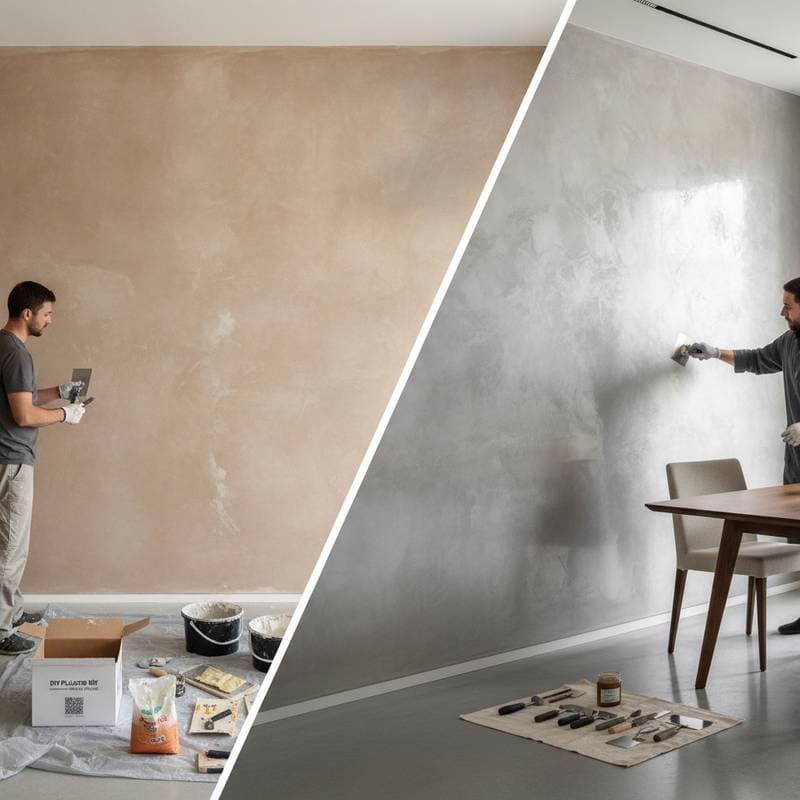
A homeowner with strong drywall experience might attempt a small Level 4 job. A Level 5 finish presents a different challenge. Achieving a uniform skim coat requires advanced technique and specialized tools such as wide trowels and mixing paddles. Small inconsistencies become visible once paint is applied.
When to Hire a Professional
Professional finishers understand how lighting affects texture and how to mix compound to the perfect consistency. They use commercial grade sanding systems that minimize dust and achieve a consistent surface. The cost of hiring a skilled professional often saves time, reduces waste, and delivers a superior finish.
Cost Comparison
- DIY material cost: $200 to $400 (compounds, tools, primer, sandpaper)
- Professional service: $700 to $1,200 per room
While DIY appears cheaper, many homeowners discover that professional quality requires multiple attempts and extra materials. The cost difference narrows once time and potential rework are considered.
How to Choose the Right Contractor
Selecting the right finisher proves crucial for achieving the Level 5 look. Follow these steps to ensure quality results.
Research and Verify
Look for contractors who specialize in drywall finishing rather than general painting. Check online reviews, ask for references, and confirm licensing and insurance.
Request Multiple Quotes
Obtain at least three estimates. Compare price along with the scope of work, materials, and preparation details. A detailed quote shows how many coats will be applied and how the skim coat will be handled.
Ask the Right Questions
- How many Level 5 projects have you completed recently?
- What materials do you use for skim coating?
- How do you manage dust and cleanup?
- What warranty or quality guarantee do you offer?
Review Past Work
A reputable contractor maintains photos or references from previous jobs. Look for even lighting across walls, absence of seams, and consistent texture. Visit a completed space when possible to see the results in person.
Preparing for the Process
Before the contractor arrives, prepare the space. This protects belongings and streamlines the work.
- Clear furniture or move it to the center of the room.
- Cover floors and vents with plastic sheeting.
- Remove wall decor, switch plates, and outlet covers.
- Ensure good ventilation to help compound dry evenly.
- Plan for limited room access during work.
Maintain open communication during the project. Confirm daily progress and ask about drying times before entering the area. Once the primer is applied, inspect the surface under both natural and artificial light before approving final painting.
Quality Standards and Inspection
A proper Level 5 finish meets specific quality benchmarks.
- Uniform texture with no visible seams or ridges.
- Consistent sheen when viewed from multiple angles.
- No visible tool marks or sanding scratches.
- Even primer absorption across the entire surface.
Notice uneven areas or visible patches and ask the contractor to re skim or sand them before painting. Professional finishers expect this level of scrutiny and often include a final walkthrough before completion.
When a Level 5 Finish Makes the Most Sense
While not every project requires this upgrade, certain conditions make it highly beneficial.
- High light rooms where sunlight exposes imperfections.
- Expensive paint finishes such as high gloss or metallic paints.
- Large open spaces with broad wall surfaces.
- Modern design styles that emphasize clean lines and smooth textures.
- Luxury renovations where every detail matters.
Planning Your Project
Frequently Asked Questions
1. How much does a Level 5 drywall finish typically cost?
For most homeowners, the cost ranges from $700 to $1,200 per standard room. Larger or more complex spaces can reach up to $2,000. The final price depends on room size, wall condition, and whether ceilings are included.
2. How long does the process take from start to finish?
Expect three to five days for an average room. This timeline includes drying periods between coats, sanding, and primer application. Humidity and temperature can extend drying times slightly.
3. Can I achieve a Level 5 finish on my own?
While technically possible, it requires professional level skill and specialized tools. For most homeowners, hiring a professional ensures consistent results and avoids costly rework.
4. What should I look for when hiring a drywall contractor?
Verify licensing, insurance, and experience with Level 5 finishes. Ask for detailed estimates and references. A reliable contractor explains the process clearly and provides a written warranty for workmanship.
5. What kind of paint works best with a Level 5 finish?
Smooth, high quality paints such as matte, satin, or semi gloss show the benefits of Level 5 finishing. High gloss paints highlight imperfections, so the flawless surface helps maintain an elegant appearance.
6. What are the most common problems during a Level 5 project?
Uneven drying, over sanding, or poor lighting during inspection can cause visible flaws. Working with experienced professionals and ensuring adequate light throughout the process helps prevent these issues.