Why Pros Spend $300 on Wet Sanding Over Dry Sanders
Professional painters allocate resources for wet sanding systems because the method produces glass smooth surfaces that accept paint evenly and resist wear over time. The approach minimizes dust, controls surface temperature, and removes microscopic imperfections that dry sanding leaves behind. These factors combine to create finishes that last longer and require fewer corrections.
The Science Behind Wet Sanding
Dry sanding generates friction that raises surface temperature and causes paint or primer to soften. Wet sanding introduces water that dissipates heat and flushes away particles before they can create new scratches. The result is a controlled abrasion process that leaves a uniform texture ready for the next coating.
This difference becomes visible under direct light. A wet sanded surface reflects illumination evenly without the micro ripples that appear after dry sanding. The smoother profile also improves mechanical bond strength between primer and finish coats.
Equipment Options Across Investment Levels
Three practical setups match different project scales and experience levels.
- Minimal investment begins with waterproof sandpaper in the 800 to 2000 grit range plus a spray bottle of clean water. Work in small sections and wipe the surface frequently to inspect progress.
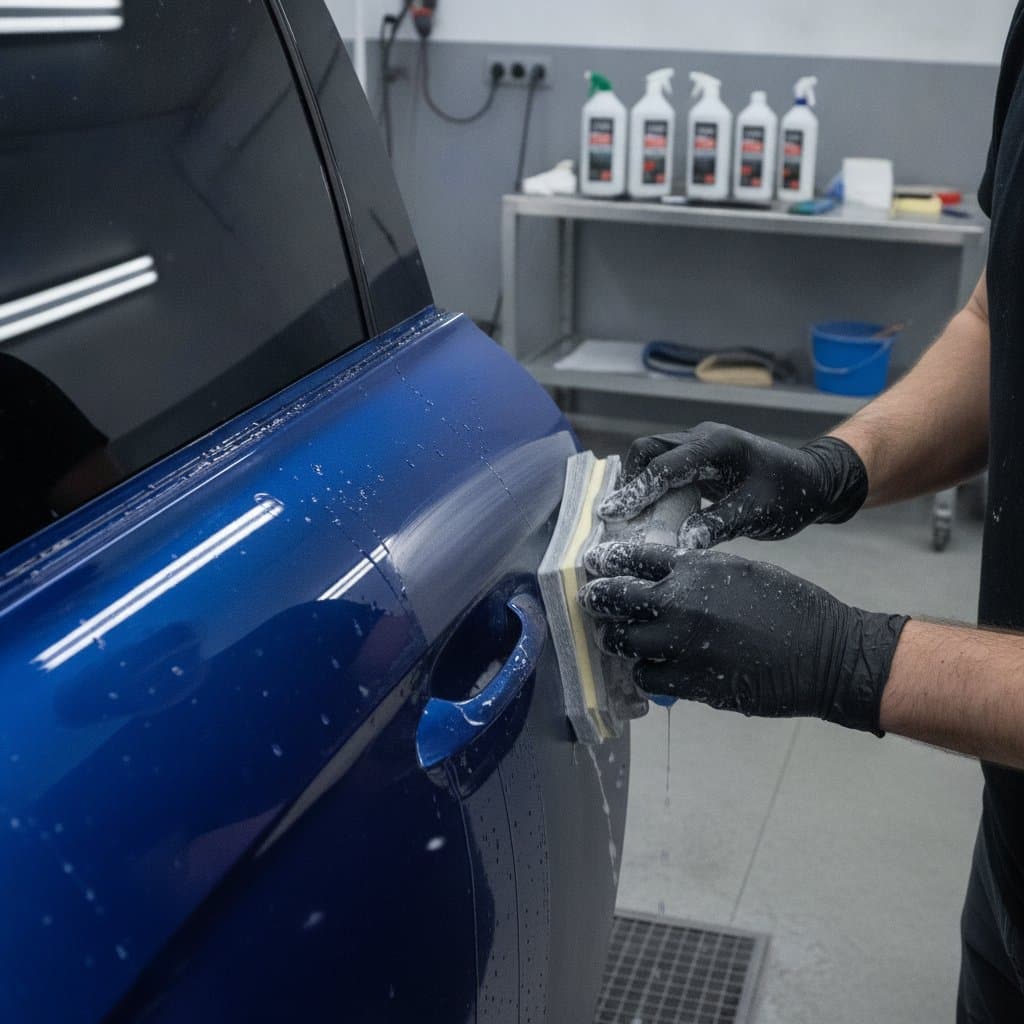
- Moderate investment adds a soft foam sanding block and a wet dry vacuum. These accessories maintain consistent pressure and capture slurry before it dries on surrounding surfaces.
- Professional investment includes powered orbital sanders with integrated water feed. The tools deliver uniform speed and pressure across large areas such as commercial walls or cabinetry.
Each tier produces measurable improvement when operators adjust technique to surface condition and available time.
Techniques from Studio and Set Work
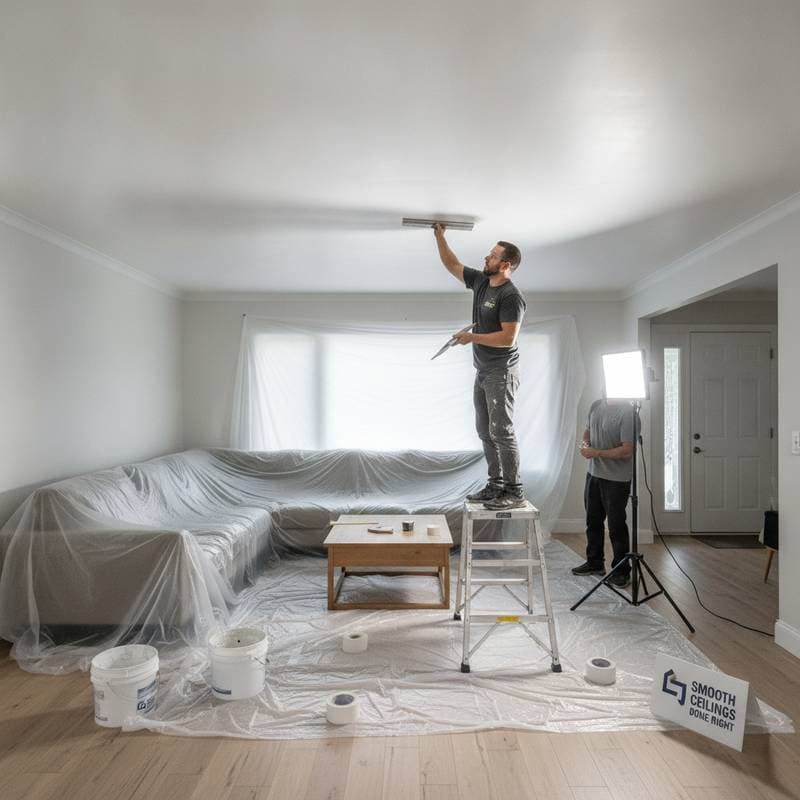
Production schedules often demand rapid transformation of raw drywall into camera ready walls. Wet sanding reduces airborne particles that affect crew comfort and eliminates the static charge that attracts dust to freshly coated surfaces. A final wipe with a lint free cloth after drying yields a subtle sheen that reads well under studio lighting.
The same preparation translates to residential spaces. Hallways and cabinet fronts that receive wet sanding reflect light consistently and resist fingerprints during daily use.
Where Wet Sanding Makes the Biggest Difference
Wet sanding is especially valuable on surfaces exposed to strong side lighting. Windows, recessed fixtures, and wall sconces can reveal shallow ridges that remain invisible in ordinary room lighting. A smooth preparation process helps prevent those flaws from becoming noticeable after the final coat.
Cabinet doors, built ins, trim, and furniture panels also benefit from this approach. These areas are viewed at close range, so uneven edges and sanding marks are easier to detect. On glossy or satin finishes, even a minor scratch can interrupt the reflection. Wet sanding reduces that risk while helping each coating level across the surface.
The method is not limited to new drywall. It can refine properly cured primer, patched plaster, previously painted wood, and select automotive style finishes used on interior cabinetry. The surface must be sound, sealed, and suitable for controlled moisture. Porous materials should not be saturated, and damaged coatings should be repaired before sanding begins.
Return on Investment for Painting Businesses
A single wet sanding setup reduces repeat visits because the finished coating adheres more reliably. Clients notice the even appearance across entire surfaces and associate that quality with the contractor who delivered it. Fewer callbacks preserve both labor hours and material budgets over multiple jobs.
The investment also improves workflow. Dry sanding often requires extensive masking, repeated vacuuming, and pauses while dust settles. Wet sanding changes cleanup from a room wide operation into a localized task. Crews can inspect their work sooner, identify low spots, and correct them before primer or finish paint makes the defect more difficult to fix.
For homeowners, the value appears in durability and appearance. A wall that needs fewer touchups saves paint and reduces disruption. In kitchens and busy corridors, where surfaces receive frequent contact, careful preparation can extend the attractive life of the coating.
Best Practices for Consistent Results
Use light, even pressure and keep the sanding motion broad rather than concentrating on one point. Excess pressure can create depressions, especially in joint compound or soft filler. Begin with the least aggressive abrasive that can correct the visible defect, then move to a finer grade for final refinement.
Clean water is important because dirty water can redeposit fine particles on the surface. Change the water when it becomes cloudy, and rinse sanding sheets frequently. A small squeegee or clean sponge can remove slurry without forcing it into seams and joints.
Work under the same lighting conditions the finished room will use whenever possible. A portable work light held at a shallow angle exposes ridges and scratches that overhead lighting may hide. This inspection step prevents costly surprises after the final coat.
Safety and Equipment Care
Operators should wear nitrile gloves and eye protection to guard against splash. Electrical tools require proper grounding, and cords must remain clear of standing water. Sanding sheets perform best when rinsed often and stored flat between uses.
After sanding, wipe the surface with a damp microfiber cloth and allow complete drying before primer application. This sequence prevents moisture related adhesion failures.