DIY Venetian Plaster Failures Cost Homeowners $1,200
Venetian plaster creates a rich, luminous surface that transforms ordinary walls into custom architectural elements. The material also punishes shortcuts. A project that begins as a cost-saving measure can quickly require professional intervention, with homeowners spending approximately $1,200 to remove failed layers, repair damaged surfaces, and apply new finishes.
The solution lies in treating Venetian plaster as a complete finish system rather than a thick paint. Preparation, product selection, timing, and technique determine success. At O'Connor Painting LLC, we understand that a beautiful result begins long before the final burnishing step. This guide identifies common failures, explains their causes, and outlines safer approaches to achieving lasting results.
Why Venetian Plaster Fails
Authentic Venetian plaster contains fine mineral materials, binders, and pigments. Application occurs in thin coats using a flexible stainless steel trowel. Each layer requires proper surface preparation and adequate curing time before the next coat.
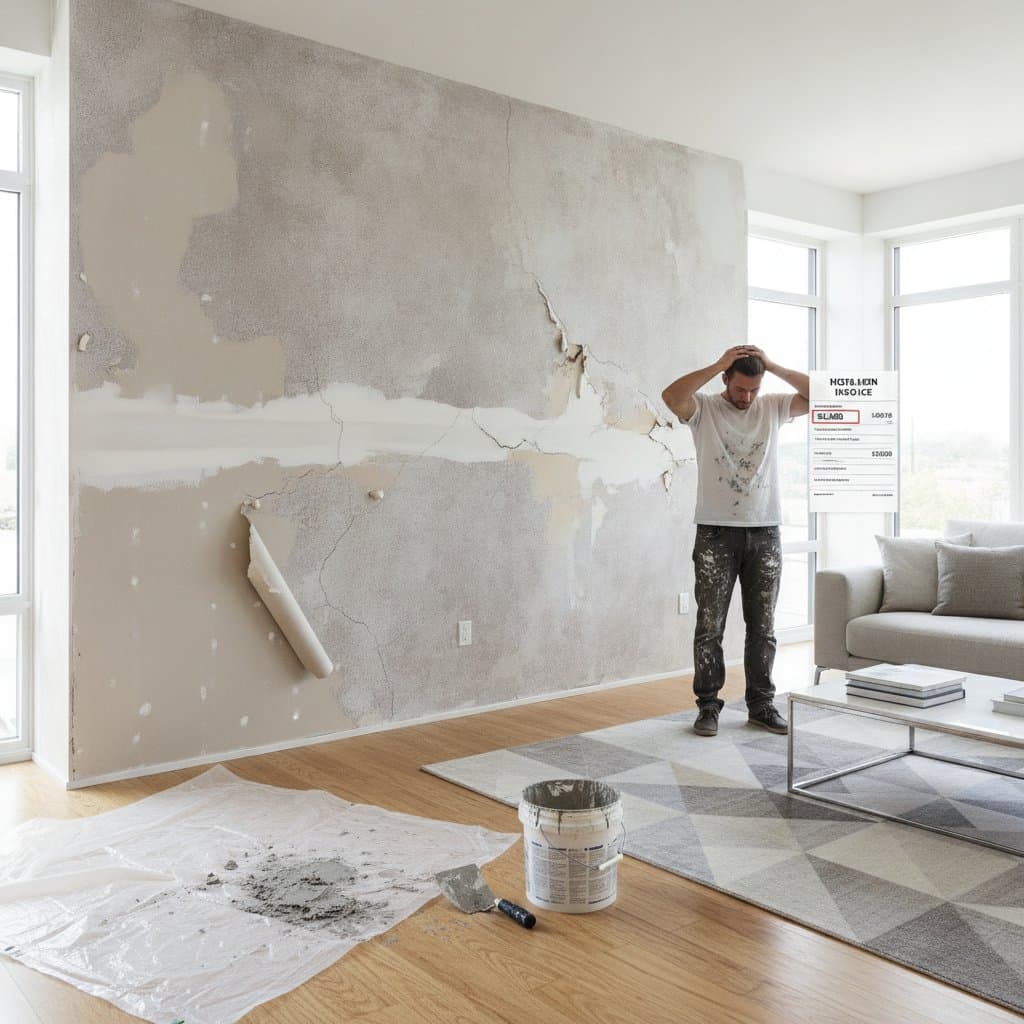
Most DIY failures stem from product mismatch. Homeowners often apply plaster over glossy paint, dusty drywall, patched areas, or textured walls without adequate preparation. The new coating loses adhesion, leading to cracks, peeling, ridges, flashing, and uneven color distribution.
Common failure indicators include:
- Sections that lift when touched
- Visible trowel lines that appear harsh rather than layered
- Dark and light patches across a single wall
- Pinholes, bubbles, or rough spots
- Cracks forming around repairs or wall joints
- A chalky surface that rubs off
- Glossy areas adjacent to dull, cloudy sections
A dramatic finish may appear acceptable under soft lighting yet reveal problems under overhead lighting or in photographs. Production crews discover this reality quickly. Strong lighting exposes every ridge and inconsistent application.
The $1,200 Repair Problem
Repair costs vary based on wall size, access, damage extent, and replacement finish requirements. A small section may need sanding, sealing, and repainting. Larger failed projects require complete removal, skim coating, priming, and multiple finish coats.
A typical repair budget includes:
- Surface protection and labor
- Removal of loose or incompatible material
- Drywall patching or skim coating
- Bonding primer application
- New paint or properly installed plaster
- Cleanup and final touchups
Original DIY savings disappear when professionals must correct the surface before beginning again. Quality design protects the budget by preventing rework.
Three Budget Paths That Make Sense
Little to No Spend
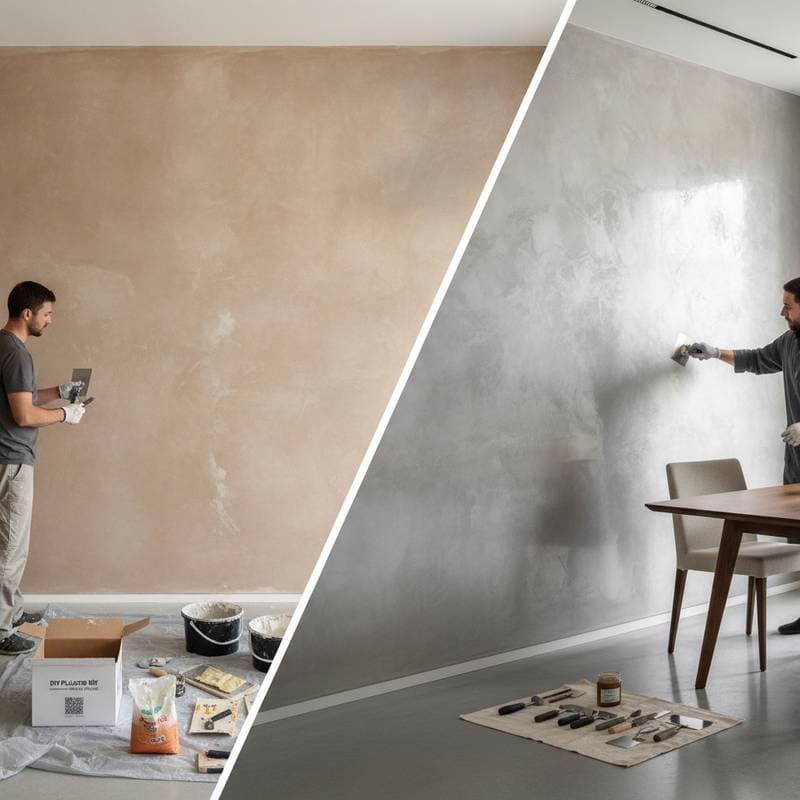
Begin with a test board. Use a scrap piece of drywall, sealed plywood, or heavy artist board. Apply the exact primer, plaster, color, and finish planned for the final project. Allow complete curing, then inspect the sample beside a window and under artificial light.
This test reveals whether the color appears too cool, the texture feels too heavy, or the sheen varies across the surface. It also provides practice with pressure and coverage without risking a full wall.
Clean the existing wall thoroughly. Remove dust, grease, wallpaper paste, and loose paint. Lightly scuff glossy areas. Fill dents, then sand repairs smooth. A clean, uniform surface gives the plaster a fair chance of success.
Midrange Spend
Select a reputable premixed Venetian plaster and compatible primer from the same manufacturer when possible. Product systems undergo testing together, which reduces bonding surprises.
Invest in a quality stainless steel trowel with rounded corners. A sharp, damaged, or overly flexible edge can gouge the surface. Keep a separate clean bucket, sanding sponge, microfiber cloths, and drop cloths nearby.
Apply several very thin coats instead of one heavy coat. Hold the trowel at a low angle, use overlapping strokes, and maintain consistent pressure. Allow each coat to dry according to product instructions. Rushing can trap moisture and create cloudy areas.
Higher Spend
Hire an experienced painter or plaster specialist for large rooms, focal walls, stairwells, and surfaces with previous damage. Request a sample board, written preparation steps, product details, and a clear repair policy.
A professional should explain whether the existing wall needs sealing, skim coating, or removal of old texture. They should also discuss ventilation, furniture protection, color variation, and final sheen.
Custom tinting and specialty tools can create refined finishes, but stock products often deliver excellent value. Reserve custom work for spaces where the visual payoff justifies additional labor.
Techniques That Prevent Texture Fails
Build a Stable Base
Check the wall with a bright work light held at a low angle. Mark dents, ridges, and loose areas with painter's tape. Repair those flaws before applying plaster. A decorative finish cannot hide movement or poor drywall work.
Use the correct primer. Porous joint compound can pull moisture from the plaster too quickly. Glossy paint can prevent adhesion. A bonding or masonry compatible primer may be necessary, depending on the surface and product requirements.
Control the Amount
Too much material creates ridges and drying problems. Scoop a small amount onto the trowel and spread it thinly. Wipe excess material from the edge before it hardens.
Work in manageable sections. Keep a wet edge where instructions permit, but never rework a section that has begun to set. Repeated passes can create dark burn marks and uneven texture.
Burnish With Care
Burnishing means polishing the surface with a clean trowel after the plaster has firmed up. Use light pressure and a clean edge. Aggressive burnishing can expose patches, create shiny streaks, or remove color.
Practice this motion on the sample board first. Stop when the surface develops the desired soft glow. More pressure does not always create more beauty.
Renter Friendly Alternatives
Renters can achieve similar visual effects without applying permanent plaster. Consider removable mural panels, mineral look wallpaper, or large primed canvas mounted with removable hardware. A limewash style paint can also create gentle variation with less commitment.
For a small accent, paint a lightweight panel rather than the wall. This option proves easier to transport, repair, and reuse. It also serves as a smart test for anyone considering future permanent installation.
Shared homes require practical choices. Keep pathways clear during the project, protect floors with non-slip coverings, and schedule dusty work away from household routines. People with limited mobility can use lightweight tools, raised work surfaces, and a helper for high sections.
What Professionals Check Before Starting
A careful contractor inspects moisture, movement, previous coatings, and repair history. They also confirm that the chosen finish suits the room. Bathrooms, kitchens, and areas near windows may need extra protection or a different system.
Ask these questions:
- What preparation does this wall require?
- Which primer and plaster products will you use?
- How will you handle existing cracks?
- Can I approve a sample board?
- What cleaning and maintenance does the finish need?
A trustworthy professional welcomes clear questions. Good communication reduces callbacks and protects the relationship between homeowner, painter, and supplier.
Living With Your Design
Venetian plaster rewards patience, careful preparation, and realistic expectations. Its beauty comes from controlled variation, not perfect uniformity. Small tonal shifts can add depth, while uncontrolled ridges and peeling signal a process problem.
Start small. Test every product. Use the right primer. Keep coats thin, tools clean, and lighting honest.
Everyone deserves a beautiful, functional home, whether the budget supports a DIY accent panel, a carefully tested midrange finish, or a fully managed plaster installation. Smart technique turns texture into a lasting design win.