The $800 Mistake DIYers Make Caulking Before Paint
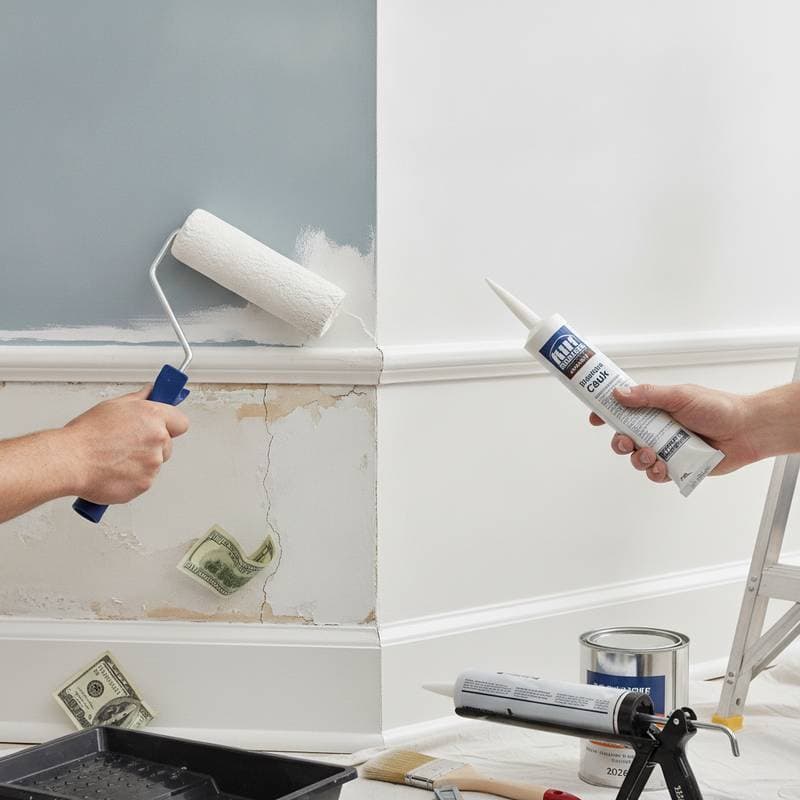
Caulking before painting seems like the responsible approach. Seal the gaps and fill the cracks to create a smooth surface before applying paint. This sequence often leads to costly failures that require extensive rework.
The order of operations determines the final quality. Reversing the proper sequence causes paint and caulk to fail at the bond points. Homeowners frequently discover cracked seams and peeling edges weeks after completion.
Problems Caused by Early Caulking
Caulk requires a stable base to adhere and cure correctly. Application to raw surfaces allows dust and oils to interfere with bonding. Paint applied over uncured caulk then pulls the material away from the substrate.
Several defects appear when this order is reversed:
- Poor adhesion occurs because caulk bonds to loose particles rather than the prepared wood or drywall.
- Uneven absorption creates visible rings where bare surfaces draw oils from the caulk at different rates.
- Shrinkage produces cracks as the material cures beneath an inflexible paint layer.
- Color variation results when paintable caulk dries against unsealed materials.
Recommended Sequence
Follow this order to achieve durable results. Each step builds on the previous one to create stable layers.
- Clean the surface thoroughly to remove all dirt, dust, and oils that could prevent adhesion.
- Apply primer to seal pores and establish a uniform surface for both paint and caulk.
- Apply caulk after the primer has dried. Tool the bead immediately with a damp finger or dedicated tool to create a smooth, consistent line.
- Allow the caulk to cure fully before applying the topcoat. Full cure prevents movement that would crack the finished surface.
Product Selection by Budget
Basic water-based painter caulk performs adequately for most interior trim when applied over primer. Pair it with a standard latex primer for reliable results at minimal cost.
Acrylic latex caulk with silicone additives offers greater flexibility on surfaces subject to seasonal movement. Combine this product with a stain-blocking primer on wood trim to prevent bleed-through.
Hybrid or silicone-enhanced formulas suit kitchens and bathrooms where moisture levels fluctuate. These require a mildew-resistant primer and enamel topcoat to maintain performance over time.
Professional Techniques
Production crews prime before caulking to ensure uniform bonding under demanding conditions. This practice reduces callbacks and maintains consistent appearance across large surfaces.
Keep a damp cloth available during application to remove excess material immediately. Tinted primer that matches the final paint color minimizes the visibility of minor irregularities in the caulk line.
Pre-Paint Verification
Confirm the caulk feels firm and smooth before proceeding. Pass a flashlight across seams to identify gaps or air pockets that require correction.
Apply a test patch of paint on an inconspicuous section. Beading or streaking indicates that additional cure time is necessary.
Ongoing Maintenance
Wipe surfaces regularly with a damp cloth to preserve the finish. Avoid abrasive cleaners near sealed joints. When separation occurs, cut away the damaged section, clean the primed substrate, and apply fresh caulk before repainting.