The Hidden Expenses of DIY Popcorn Ceiling Removal
Homeowners often view popcorn ceiling removal as a straightforward task that requires minimal investment. A basic set of tools and some effort appear sufficient at the outset. However, the project frequently escalates into an $800 expense due to overlooked materials, preparation demands, and finishing requirements.
This article examines the true costs of DIY popcorn removal. It details the breakdown of expenses and outlines steps to assess whether professional assistance offers greater value.
What Is Popcorn Ceiling Removal?
Popcorn ceilings, known also as acoustic or stippled ceilings, gained popularity in mid-century homes for masking surface flaws and dampening noise. These textures now appear outdated and resist routine maintenance. Removal transforms the appearance of a room, yet the procedure demands careful execution.
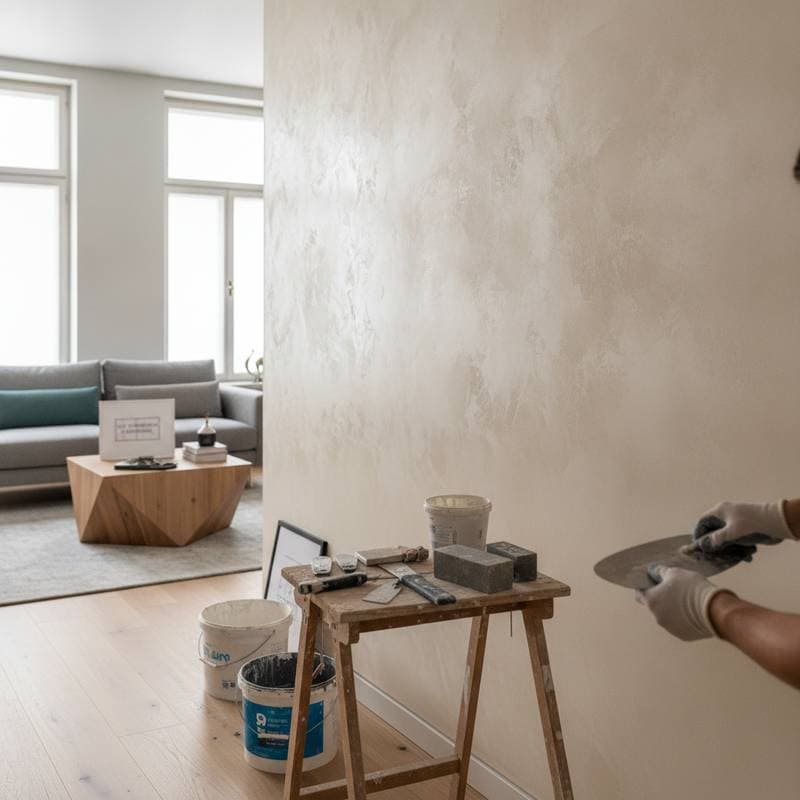
The process entails moistening the texture to loosen it, scraping it away, repairing the underlying surface, and applying a fresh finish such as paint. Preparation forms a critical initial phase, while post-removal smoothing ensures a professional result. Homeowners must account for these elements to avoid incomplete outcomes.
Detailed Cost Analysis
Typical Expense Ranges
- Basic DIY effort: $300 to $500
- Standard DIY including refinishing: $600 to $800
- Professional installation: $1,200 to $2,000 for a standard room
Core Components of Costs
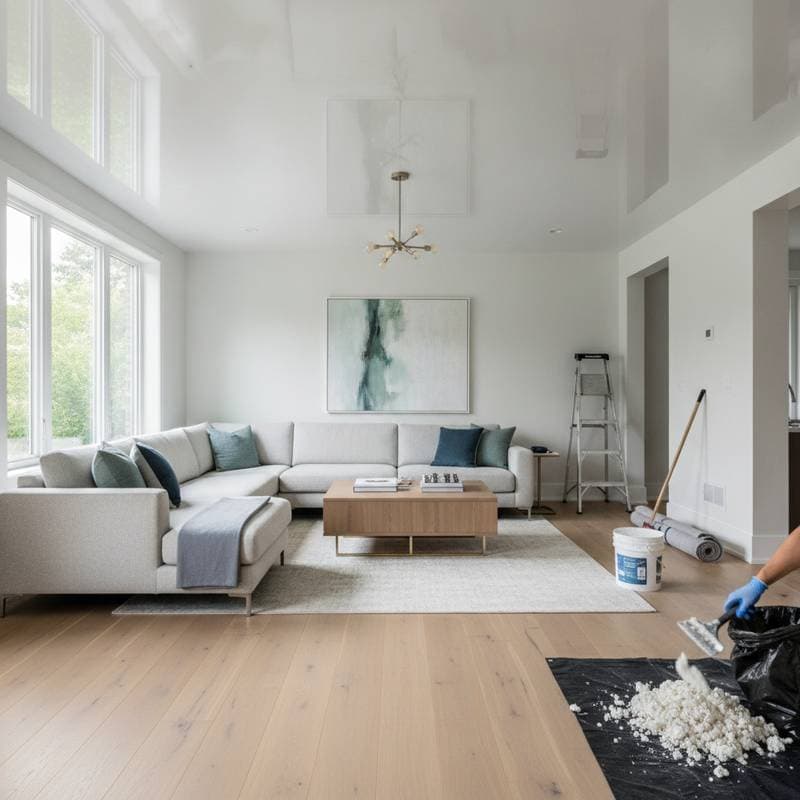
- Surface protection: Plastic sheeting, drop cloths, and adhesive tape to shield walls, floors, and fixtures
- Essential tools and supplies: Scrapers, spray applicators, ladders, protective masks, and joint compound for repairs
- Finishing materials: Primer, paint suitable for ceilings, application rollers, and abrasives for sanding
- Waste management: Heavy-duty bags and filtration devices to handle debris
Additional Expenditures
- Asbestos evaluation: $50 to $150 for each tested sample
- Structural fixes: $150 to $400 to mend cracks or surface damage
- Surface restoration: $200 to $400 based on selected textures or paints
- Equipment leasing: $50 to $100 for advanced sprayers or powered sanders
Influences on Total Expenses
| Factor | Impact on Cost | Specific Examples |
|---|---|---|
| Room dimensions | Scales material use | Expansive areas demand greater quantities and extended effort |
| Elevation level | Elevates gear costs | High placements require extension ladders or platforms |
| Surface state | Introduces fixes | Existing fractures or discoloration necessitate reinforcements |
| Finish selection | Alters supply price | High-end formulations or flawless applications raise outlays |
| Hazardous materials | Triggers compliance fees | Detection mandates expert intervention and certification |
Reasons a Basic Task Reaches $800
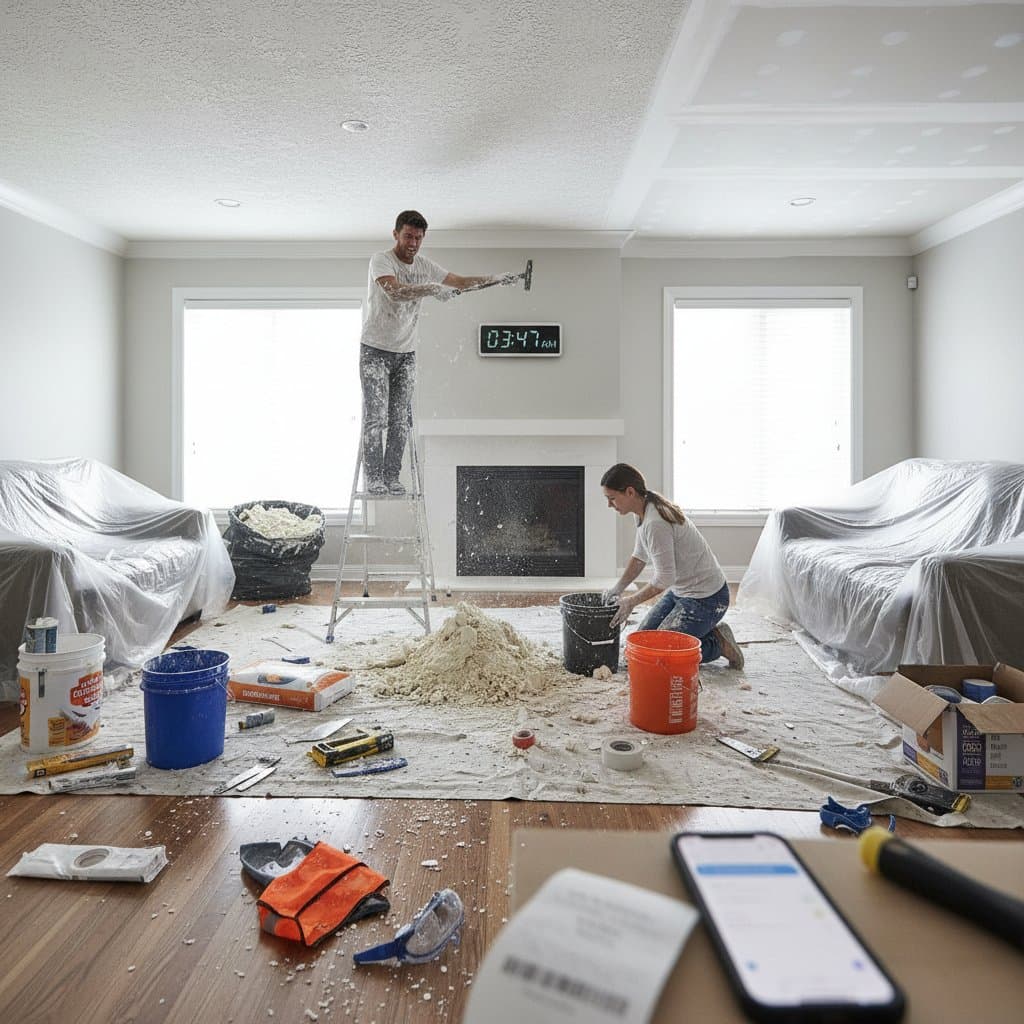
Many underestimate the scope beyond initial scraping. The exposed ceiling often reveals imperfections that require attention, followed by sanding and layered applications for even coverage.
Accumulation of Supplies and Equipment
Protective barriers such as sheeting and tape range from $40 to $80. Basic implements like scrapers and ladders total around $100. Respiratory protection, eye shields, and hand coverings add $50 to $75. Reliable primer and paint contribute $100 to $150. Patching essentials, including compounds and tapes, bring another $50 to $100.
These items accumulate rapidly, approaching $800 without factoring personal effort or potential errors.
Overlooked Effort and Duration
Novices may spend several days on a single room. Phases from setup to final touches extend the timeline significantly. Professionals complete the work efficiently, mitigating risks and delivering superior smoothness at a predictable price.
Projected Timeline
| Stage | Estimated Time | Key Activities |
|---|---|---|
| Initial setup | 1 day | Drape protections over surfaces and secure openings |
| Texture extraction | 1 to 2 days | Moisten and detach material section by section |
| Surface correction | 1 day | Fill voids and level areas with abrasives |
| Coating application | 1 day | Spread primer followed by paint layers |
| Debris removal | 0.5 day | Clear residues and restore the area |
A thorough approach for one room spans four to five days. Haste risks surface harm or inconsistent results.
Comparing DIY and Expert Approaches
Scenarios for DIY Success
Opt for self-managed removal in compact spaces without hazards and with sound underlying structures. This method appeals to those equipped with basic tools and tolerant of meticulous tasks.
Benefits:
- Reduced immediate financial outlay
- Autonomy in scheduling and selections
- Personal accomplishment from the effort
Challenges:
- Extensive disorder and physical demands
- Steep curve for achieving polished edges
- Potential for substrate injury or irregularities
Cases for Professional Engagement
Select experts for broad surfaces, elevated installations, or pre-1980s constructions prone to contaminants. Their access to advanced apparatus and protocols ensures compliance and quality.
Benefits:
- Swift execution with reliable uniformity
- Competent management of health risks
- Expert-level refinement for contemporary aesthetics
Challenges:
- Elevated initial investment of $1,200 to $2,000 per room
- Limited influence on pace and components
Step-by-Step Execution Guide
Preliminary Measures
- Conduct asbestos screening for ceilings from eras lacking current guidelines.
- Relocate or shield furnishings against particulate spread.
- Deactivate air circulation units and mask intakes.
- Assemble required implements to prevent interruptions.
Active Removal Techniques
- Target limited zones, applying moisture to facilitate detachment.
- Maintain a low blade angle to preserve the base layer.
- Employ illumination to identify flaws promptly.
- Permit full drying prior to further treatments.
Final Inspections
After refinishing, evaluate under varied lighting to uncover subtle defects. Correct any discrepancies before the ultimate layer. This diligence yields a seamless appearance.
Strategies for Effective Planning
Accurate foresight determines project feasibility. Calculate square footage to forecast supplies, incorporating a 10 percent buffer for inefficiencies.
Develop a phased schedule, allocating distinct periods for each segment. Such organization accommodates unforeseen issues and eases progression.
Assess comfort with disruption levels. Fine particles persist despite precautions, potentially aggravating sensitivities. In such instances, expert services provide a cleaner alternative.
Weighing Options for Your Home
Evaluate project scale against personal resources. For modest updates, DIY offers economy and involvement. Larger or complex endeavors benefit from professional precision, preserving time and structural integrity.
Common Questions on Popcorn Removal
Why Do DIY Efforts Accumulate Such High Costs?
Expenses arise from diverse incremental purchases. Barriers, adhesives, tools, protections, fillers, and coatings combine to total $600 to $800 for average spaces.
How Much Time Does Removal Require?
One room demands four to five days inclusive of all stages. Variables like scale and condition influence duration. Experts condense this to one or two days with efficient methods.
Can Homeowners Safely Handle Removal?
Safety prevails absent asbestos and with adequate protections. Screening remains essential. Positive findings necessitate licensed specialists for containment or extraction.
Selecting Between a Handyman and Full Contractor?
Handymen suffice for minor, uncomplicated tasks with limited follow-up. Contractors excel in extensive repairs or integrated finishing. Verify coverage and credentials prior to commitment.
What Follows Texture Elimination?
Subsequent steps include mending, abrading, and priming ahead of coating. Newly visible flaws require targeted corrections for uniformity.