TSP Deglosser: No-Sand Prep Cuts Time by 60%
Preparing surfaces for painting or refinishing remains one of the most time-intensive aspects of home improvement projects. Traditional sanding requires hours, particularly on cabinets, trim, and furniture with intricate edges or multiple layers of old finish. A TSP deglosser, known as liquid sandpaper, provides a quicker and cleaner option. This approach allows homeowners and professionals to avoid the dust and noise of sanding while ensuring the surface accepts paint effectively.
This guide details how TSP deglosser functions, its costs, correct application methods, and ideal scenarios for use. It also clarifies situations where traditional sanding proves essential and explains how to combine both techniques for optimal outcomes.
What Is a TSP Deglosser
TSP refers to trisodium phosphate, a potent cleaning agent that eliminates grease, grime, and gloss from previously painted or varnished surfaces. In deglosser formulations, it softens and dulls glossy finishes to promote strong bonding with new paint or primer. Rather than abrading the surface with sandpaper, the chemical action lightly etches the finish, preparing it for coating.
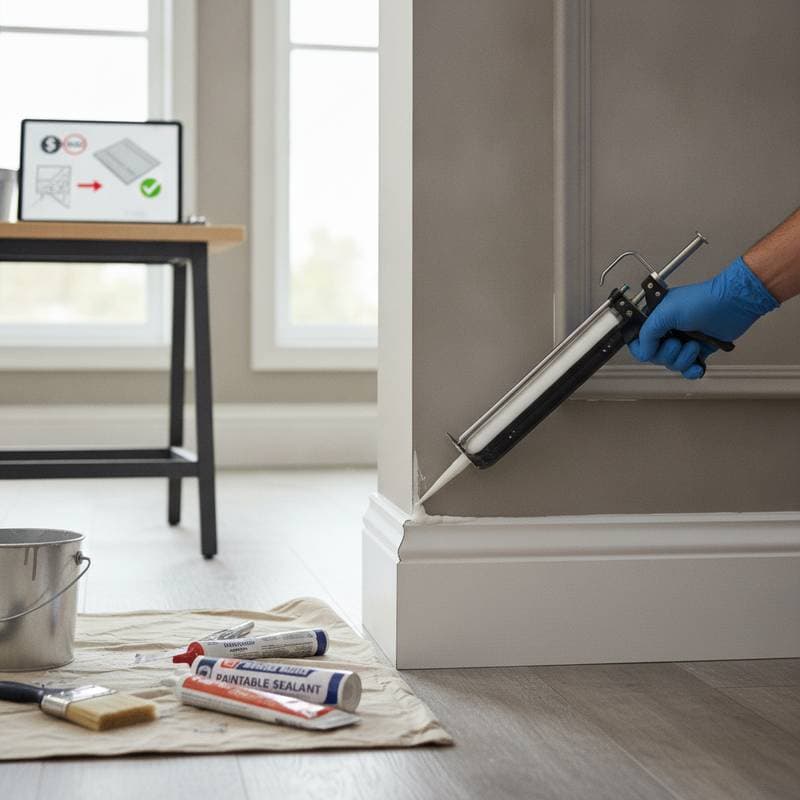
TSP deglosser proves particularly valuable for cabinetry, trim, and furniture, where sanding becomes laborious or risks altering the surface profile. Apply it using a cloth or sponge, then wipe off as per product instructions. The entire process requires only minutes and results in no visible residue after drying.
Project Cost Breakdown
Average Cost Ranges
- Basic project: $15 to $30 for a quart of deglosser, sufficient for a small kitchen or several doors.
- Standard project: $30 to $60, incorporating cleaning supplies, protective gear, and applicators.
- Premium project: $80 to $120, encompassing high-quality deglosser, microfiber cloths, and primer.
What's Included
- TSP or TSP substitute solution.
- Deglosser application and wipe-down.
- Surface cleaning and drying time.
- Basic protective gear, such as gloves and safety glasses.
What Costs Extra
- Primer or bonding agent, required for glossy or varnished surfaces.
- Painter's tape and drop cloths for protection.
- Replacement hardware or cabinet adjustments following refinishing.
Factors That Affect Final Cost
| Factor | Cost Impact | Examples |
|---|---|---|
| Surface size | Higher for large kitchens or multiple rooms | Whole-cabinet refinishing versus small vanity |
| Product quality | Increases with professional-grade deglossers | Industrial TSP substitutes |
| Material type | May require stronger formula | Oil-based paint or polyurethane finishes |
| Prep thoroughness | More time if surfaces are greasy or damaged | Kitchen cabinets near stoves |
Time Savings and Efficiency
TSP deglosser reduces preparation time by up to 60 percent relative to sanding. A standard cabinet project, which might demand several hours of manual sanding, often requires less than half that duration with deglosser. The primary efficiencies arise from eliminating dust vacuuming, residue wiping, and hand-sanding in corners or tight spaces.
For instance, a small bathroom vanity becomes ready for priming in under an hour. A medium-sized kitchen preparation takes three to four hours rather than a full day. The absence of dust accelerates cleanup and minimizes contamination risks in areas intended for fresh painting.
When to Use a Deglosser Instead of Sanding
Deglossers perform optimally on surfaces in good condition that require only enhanced paint adhesion, without the need for smoothing or leveling. Consider it for:
- Cabinets with intact finishes.
- Painted trim or doors exhibiting minor sheen.
- Furniture where sanding might erase decorative details.
- Indoor projects prioritizing dust control.
Traditional sanding remains essential for peeling paint, rough patches, or damaged wood. Sanding addresses texture and imperfections beyond the capabilities of chemical deglossers. Professionals frequently employ both: deglossing to clean and dull, followed by light sanding for smoothness where required.
Application Process
Step 1: Clean the Surface
Wipe the area with a mild soap solution to eliminate dirt and oil. Allow the surface to dry completely before proceeding with deglosser application.
Step 2: Apply the Deglosser
Select a lint-free cloth or sponge. Saturate it lightly and wipe evenly across the surface. Proceed in small sections to ensure uniform coverage.
Step 3: Wait and Wipe
Follow product guidelines for a waiting period, typically a few minutes. Then, wipe the surface dry using a clean cloth. Prevent residue from lingering too long, as this may cause streaks or uneven dulling.
Step 4: Prime and Paint
After the surface dries to the touch, apply primer or paint according to instructions. Certain deglossers permit immediate painting, whereas others necessitate a brief drying interval.
Professional vs. DIY Use
Homeowners frequently apply TSP deglosser for swift cabinet updates or interior painting renewals. This method offers a straightforward solution without specialized tools. For extensive or high-value projects, engaging professionals ensures a balance of chemical preparation and sanding for enduring results.
Professionals deploy deglosser during cabinet or trim repaints in occupied residences, where dust management is crucial. They pair it with bonding primers to yield finishes resistant to peeling and chipping.
Skill Requirements
- Fundamental understanding of surface preparation and paint compatibility.
- Vigilance regarding safety, including gloves and ventilation.
- Patience during drying and wiping phases.
Safety Considerations
TSP-based products possess caustic properties, necessitating gloves and eye protection. Maintain ventilation in the workspace and prevent skin contact. Contemporary phosphate-free alternatives offer milder profiles yet demand similar precautions.
Planning Your Project
Effective planning streamlines no-sand surface preparation and enhances outcomes. Prior to commencement:
- Inspect all surfaces for cracks or loose paint; repair as needed before deglosser application.
- Assemble supplies, including cloths, gloves, deglosser, and primer.
- Safeguard adjacent areas with drop cloths and painter's tape.
- Test the product on an inconspicuous area to verify compatibility with the surface.
- Establish realistic timelines, accounting for drying intervals between cleaning, deglossing, and painting.
A professional painter evaluates whether deglosser suffices for adhesion or if light sanding complements it. Integrating both approaches yields the most dependable results, particularly in high-traffic zones like kitchen cabinetry.
Frequently Asked Questions
1. How much does it cost to use a TSP deglosser instead of sanding?
A quart of deglosser ranges from $15 to $30 and suffices for most cabinet or trim projects. Including cleaning supplies and cloths, the total typically stays below $60, which undercuts the expense of assorted sandpaper grades and dust management tools.
2. How long does the process take from start to finish?
Deglossing a medium kitchen occupies three to four hours, encompassing cleaning, application, and drying. Sanding equivalent space demands a full day. Smaller endeavors, such as doors or vanities, complete deglossing and priming readiness in under an hour.
3. Can I skip sanding completely when using a deglosser?
Yes, provided the surface remains smooth, intact, and devoid of peeling paint. Deglosser eliminates gloss and residue to facilitate new paint bonding. For damaged or uneven surfaces, incorporate light sanding.
4. How do I choose the right TSP deglosser?
Seek products designated as liquid sandpaper or deglosser with integrated cleaning agents. Phosphate-free variants suit indoor applications and plumbing systems better. Review labels for surface compatibility and drying directives.
5. What should I expect when hiring a professional painter for deglossing?
Professionals examine the surface, select appropriate preparation, and apply bonding primer for enduring adhesion. They manage protections, ventilation, and material disposal. Costs integrate into the comprehensive painting quotation.
6. What are common mistakes to avoid when using TSP deglosser?
Refrain from over-applying product, omitting the cleaning phase, or painting prior to full drying. Do not rinse unless specified on the label. Operate in small sections and apply consistent wiping pressure for uniform dulling.
TSP deglosser simplifies preparation, conserving time while upholding quality standards. Proper execution delivers a pristine, paint-adherent surface that endures with minimal effort.