2026 Liquid Deglosser Options: Skip Sanding for Paint Jobs
Homeowners often dread the sanding stage of painting. It is messy, time consuming, and physically demanding. Liquid deglossers have changed surface preparation by offering a faster and cleaner alternative. These products, sometimes called liquid sandpaper, serve both DIY enthusiasts and professional painters who seek efficient prep without dust or heavy effort.
What Liquid Deglosser Does
A liquid deglosser softens and dulls glossy finishes so new paint or primer can adhere properly. It works by chemically breaking down the sheen on varnished, painted, or polyurethane coated surfaces. Instead of grinding away the glossy layer with sandpaper, the liquid reacts with the surface and leaves it slightly tacky and ready for a new coat.
This process suits cabinets, doors, trim, and furniture pieces that are otherwise difficult to sand evenly. It also reaches crevices, carvings, and corners where sandpaper struggles.
Project Cost Breakdown
Average Cost Ranges
- Basic project: 10 to 25 dollars for a small area like furniture or trim
- Standard project: 25 to 60 dollars for full room preparation or cabinetry
- Premium project: 60 to 120 dollars for large scale applications or multiple rooms
What Is Included
- Cost of liquid deglosser products
- Application tools such as lint free cloths and gloves
- Surface cleaning supplies before and after treatment
- Protective coverings to shield floors and surrounding areas
What Costs Extra
- Primer or bonding agent after deglossing
- Professional labor, usually 1.50 to 3.00 dollars per square foot
- Repair or patching work before painting
- Disposal of old finishes or materials containing lead
Factors That Affect Final Cost
| Factor | Cost Impact | Examples |
|---|---|---|
| Surface condition | Moderate | Heavy buildup of oils or wax may require extra cleaning |
| Surface size | High | Larger areas mean more product and labor time |
| Material type | Low to moderate | Hardwoods and laminate need more preparation time |
| Product quality | Moderate | Higher grade deglossers cost more but work faster |
Understanding the Process
Step 1: Cleaning the Surface
Before applying liquid deglosser, surfaces must be free of grease, dirt, and residue. A mild detergent or degreaser ensures the product can reach the finish evenly.
Step 2: Applying the Deglosser
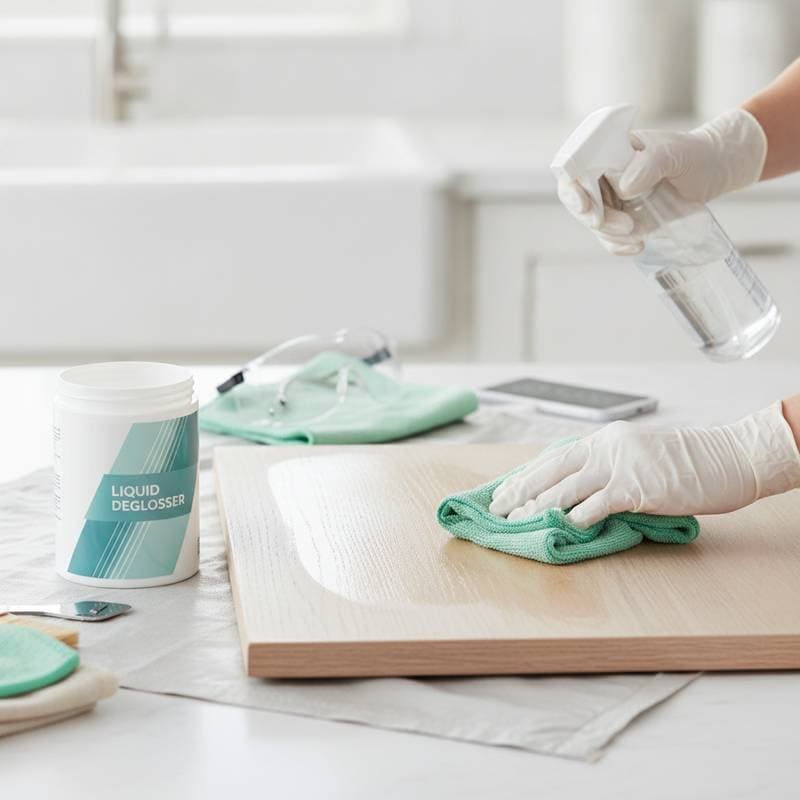
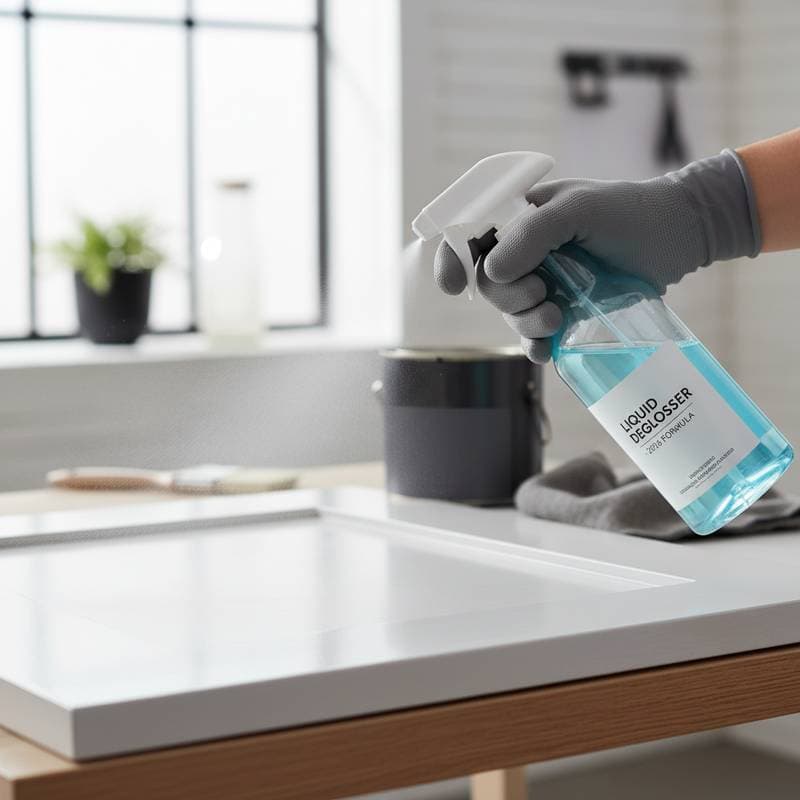
Use a clean cloth or applicator pad to spread the liquid evenly. Wear gloves and ensure proper ventilation. Work in small sections to maintain control and consistency.
Step 3: Drying and Tacky Phase
After application, most products require a short wait time before the surface becomes ready for paint. The finish will feel slightly sticky, which indicates proper bonding preparation.
Step 4: Painting or Priming
Once the surface is tacky, apply primer or paint directly. Some professionals recommend a bonding primer for added durability, especially on glossy or oil based finishes.
Professional vs. DIY
When to Hire a Professional
Contractors are ideal for large projects, intricate trim, or surfaces with existing problems like peeling paint or moisture damage. They also handle proper ventilation, safety gear, and product selection. Professionals can complete prep and painting with consistent quality and appropriate timing.
When DIY Works
Small projects like furniture makeovers or single room trims are manageable for homeowners. Liquid deglosser simplifies prep, so no heavy tools or sanding machines are required. DIY users should still follow product instructions carefully and test a small area first.
Comparing Liquid Deglosser and Traditional Sanding
| Feature | Liquid Deglosser | Sanding |
|---|---|---|
| Time | Faster, usually under an hour | Slower, can take several hours |
| Mess | Minimal dust | High dust and cleanup |
| Skill level | Easy for beginners | Requires consistent pressure |
| Finish quality | Smooth and dull | Smooth but variable by skill |
| Cost | Lower for small projects | Higher for large areas due to labor |
While sanding remains necessary for damaged wood or uneven surfaces, liquid deglosser is a practical option for repainting intact finishes. Many professionals use both methods together by sanding rough areas and deglossing smooth sections for best adhesion.
Safety and Quality Considerations
Liquid deglossers contain solvents that require safe handling. Always read the product label, use gloves, and work in well ventilated spaces. Avoid open flames or electrical sparks near the application area. Dispose of used cloths properly, as they may be flammable.
Quality varies among brands. Higher end products often provide better coverage with less odor and faster drying times. Investing in a good quality deglosser saves time and improves paint durability.
Planning Your Project
Frequently Asked Questions
1. How much liquid deglosser do I need for an average room?
One quart usually covers about 200 to 300 square feet. Rough or glossy surfaces may require a second application for consistent dulling.
2. How long should I wait to paint after using liquid deglosser?
Most products are ready for paint within an hour. Always check the instructions, as drying times vary by brand and temperature.
3. Can liquid deglosser replace sanding completely?
It can replace sanding in many repainting projects where the surface is smooth and intact. Deep scratches, cracks, or uneven textures still need light sanding before using deglosser.
4. What surfaces work best with liquid deglosser?
Wood, laminate, and painted metal surfaces respond well. Avoid using it on unfinished wood, as the chemicals may absorb unevenly.
5. Is liquid deglosser safe to use indoors?
Yes, but ventilation is necessary. Open windows or use fans to circulate air. Wear gloves and avoid prolonged skin contact.
6. How do I know if the deglosser worked correctly?
The surface should look dull and feel slightly tacky. If it remains shiny, apply another coat and allow extra drying time before painting.
Achieve Flawless Finishes with Less Effort
Liquid deglosser streamlines preparation and delivers reliable results across common household surfaces. Proper application and safety steps lead to durable paint jobs that hold up over time.