Why Homeowners Remove Popcorn Ceilings in 2025
Popcorn ceilings, with their distinctive bumpy texture, gained popularity in mid-century homes for their acoustic benefits and easy application. In 2025, however, these features symbolize outdated aesthetics and potential health risks. Homeowners increasingly opt for removal to create sleek, contemporary spaces that enhance light reflection and visual appeal. This guide examines the motivations behind this trend, cost considerations, and practical steps for achieving a flawless finish.
Understanding the Appeal of Removal
The decision to remove popcorn ceilings stems from several key factors. First, modern design trends favor smooth surfaces that align with minimalist and open-concept interiors. Second, textured ceilings can harbor dust, mold, and allergens, complicating cleaning efforts. Third, removal often reveals the true height of rooms, making spaces feel larger and more inviting. For many, the transformation justifies the investment in time and resources.
Homeowners also consider the long-term value. A refinished ceiling boosts property appeal, potentially increasing resale prices by up to 5 percent in competitive markets. Professional real estate staging experts note that smooth ceilings provide a neutral backdrop for bold wall colors and fixtures. As sustainability gains traction, removing old textures reduces the need for frequent repaints, aligning with eco-conscious renovations.
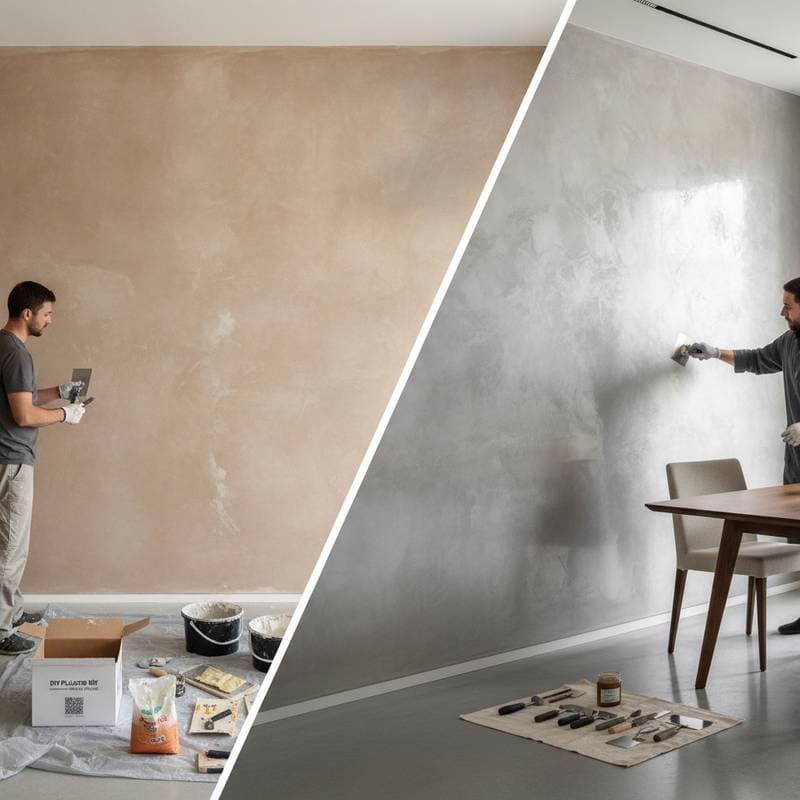
Project Overview and Scope
Popcorn ceiling removal entails stripping the textured layer, smoothing the underlying surface, and applying a fresh coat of paint or finish. The process suits various room sizes, from bedrooms to living areas, but requires careful planning to minimize disruption. Homeowners with basic skills can tackle modest projects, while larger or complex jobs benefit from expert intervention.
The scope typically includes surface preparation, debris management, and final detailing. Expect temporary inconveniences, such as room sealing and ventilation needs, during the work. Upon completion, ceilings appear brighter and more uniform, complementing updated lighting and decor elements.
Detailed Cost Breakdown
Budgeting accurately ensures a smooth project execution. Costs vary based on square footage, material condition, and chosen method. Below is a comprehensive overview to guide financial planning.
Average Cost Ranges
- DIY removal: $1 to $2 per square foot, covering basic tools and materials.
- Professional removal: $3 to $7 per square foot, including labor and specialized equipment.
- Full ceiling refinishing and repainting: $5 to $10 per square foot, encompassing patching and multiple finish layers.
Included Services
- Scraping and initial cleanup of textured material.
- Patching minor imperfections and sanding for evenness.
- Application of primer, paint, or specialty finishes.
- Final debris removal and site restoration.
Additional Expenses
- Asbestos testing: $50 to $150 per sample, essential for homes built before 1980.
- Structural repairs: Drywall replacement or reinforcement for damaged areas.
- Premium finishes: Extra coats for matte, eggshell, or high-gloss effects.
Cost-Influencing Factors
| Factor | Cost Impact | Specific Examples |
|---|---|---|
| Ceiling height | Higher | Vaulted designs or ceilings over 10 feet |
| Texture condition | Higher | Presence of cracks, peeling, or water damage |
| Existing layers | Higher | Multiple paint coats or embedded sealants |
| Room accessibility | Higher | Narrow hallways or obstructed furniture |
| Location variations | Variable | Elevated rates in metropolitan regions |
Regional differences play a significant role; for instance, coastal areas may incur higher fees due to humidity-related complications.
Benefits and Challenges of DIY Removal
DIY approaches attract budget-conscious homeowners seeking hands-on involvement. Savings on labor can reach 50 percent compared to professional services, allowing funds for quality paints or tools. The flexibility to pause and resume work suits busy schedules, and the satisfaction of personal achievement adds intangible value.
Resources abound for guidance. Video tutorials demonstrate techniques like chemical softeners, while hardware stores offer kits with scrapers and protective suits. Start with a test patch to gauge difficulty; success often hinges on patience and proper ventilation to avoid inhaling dust particles.
Challenges include physical strain from overhead work and the risk of uneven results. Without experience, patching errors may lead to visible seams post-painting. Always prioritize safety: confirm no hazardous materials exist through certified testing kits available at home centers.
Indicators for Professional Assistance
Certain scenarios demand professional expertise to ensure safety and quality. Homes with suspected asbestos require licensed abatement teams trained in containment and disposal protocols. Similarly, ceilings with lead paint or structural weaknesses necessitate inspections to prevent health exposures or collapses.
Professionals excel in efficiency, often completing jobs 30 to 50 percent faster than DIY efforts. They bring industrial-grade tools, such as automated sprayers and vacuums, reducing mess and airborne contaminants. For multi-room projects, hiring avoids burnout and guarantees compliance with local building codes.
Select contractors by reviewing portfolios of past removals and confirming certifications from organizations like the EPA for hazardous material handling. Written contracts should detail timelines, warranties, and payment schedules to protect all parties.
Step-by-Step Preparation and Removal Process
Thorough preparation sets the foundation for success. Begin by vacating the room of valuables and covering remaining items with drop cloths or plastic. Tape edges of walls and fixtures to shield against splatter, and set up fans for airflow.
Testing precedes action. Collect samples from inconspicuous areas and send them to accredited labs for analysis. If clear, proceed; otherwise, engage specialists immediately.
The removal sequence unfolds methodically:
- Lightly mist the ceiling with water using a garden sprayer to loosen the texture without soaking the drywall.
- Allow 10 to 15 minutes for absorption, then scrape gently with a 12-inch drywall knife, working in sections to avoid gouges.
- Collect debris in tarps below for easy disposal, wearing N95 masks and goggles throughout.
- Sand residual bumps with 120-grit paper attached to a pole sander for reach.
- Apply joint compound to holes or joints, feathering edges for seamless integration.
- Prime the surface with a stain-blocking formula, followed by two coats of ceiling paint in a flat sheen.
Post-process cleanup involves washing tools and ventilating the space for 24 hours. Inspect for missed spots and touch up as needed.
Project Planning Essentials
Effective planning mitigates surprises. Assess the total square footage and divide into manageable phases, allocating one room per weekend. Stock supplies in advance: expect 1 gallon of primer per 350 square feet and similar paint coverage.
Time estimates vary; a 200-square-foot bedroom might require 8 to 12 hours for DIY, versus 4 to 6 for pros. Factor in drying times between coats, typically 2 to 4 hours. Track progress with photos to monitor improvements and adjust techniques.
Consult local regulations on waste disposal, as textured material may classify as construction debris requiring special handling.
Frequently Asked Questions
What Primarily Drives Popcorn Ceiling Removal Costs?
Costs hinge on project scale, surface integrity, and mandatory testing. For example, a 500-square-foot ceiling without complications might total $1,500 DIY, but asbestos discovery could double expenses through professional services.
How Much Time Does Removal Typically Require?
DIY efforts for a standard 12x12 room span 1 to 2 days, including drying. Professionals streamline this to half a day, leveraging teams and powered tools for precision.
Is DIY Removal Appropriate for All Residences?
Only after verifying no asbestos or lead presence. Equip with respiratory protection and follow guidelines from safety authorities to minimize risks.
How Do You Select a Reliable Contractor?
Obtain at least three detailed bids, check state licensing databases, and review online feedback. Prioritize those offering guarantees on workmanship.
What Results Follow Texture Removal?
The ceiling gains a clean, elevated appearance that amplifies room brightness. Expect minor settling dust initially, but the modern finish endures for years.
What Issues Arise During Removal?
Over-wetting can weaken drywall, while hasty scraping causes dents. Address by testing moisture levels and using broad, sharp blades consistently.
Achieving Lasting Value from Your Renovation
Removing popcorn ceilings in 2025 delivers more than aesthetic upgrades; it fosters healthier, more versatile living environments. Homeowners report heightened satisfaction from the streamlined look, often pairing it with LED lighting for dramatic effect. Invest thoughtfully in this project to elevate your home's comfort and marketability for seasons ahead.