Choosing the Right Texture for Your Walls
Selecting between sanded and unsanded texture determines both the visual outcome and long term maintenance of interior surfaces. The decision affects how light interacts with walls, how repairs blend over time, and whether the final result meets professional standards. Understanding the distinctions prevents repeated work and unnecessary expense.
Financial Impact of an Incorrect Selection
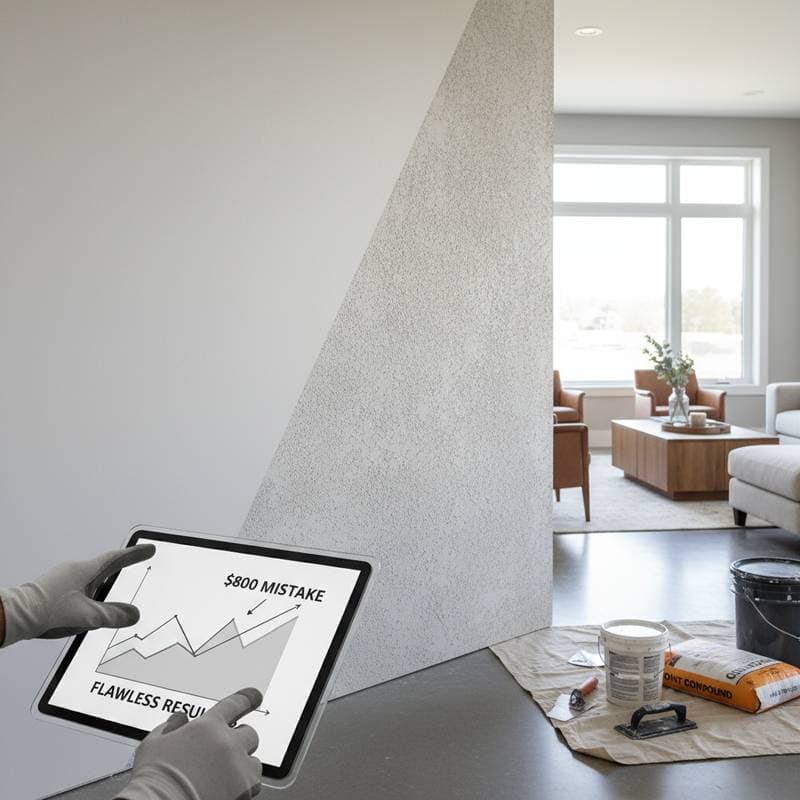
An unsuitable texture choice often leads to full surface correction after drying. Removing an entire coat requires extensive labor, additional materials, and repainting. One project involving directional lighting demonstrated the problem clearly. Sanded texture applied across a main wall created visible shadows under sconces, necessitating a complete skim coat and new finish. The correction consumed time and resources that proper initial selection would have avoided.
Budget Conscious Application Strategies
Homeowners can match texture type to available resources while maintaining quality.
- Low budget projects benefit from pre mixed unsanded compounds applied by roller and knocked down with a broad knife. These compounds allow easy future patching.
- Mid range work permits custom mixing of joint compound with medium silica sand to control grit level for ceilings or accent walls.
- Higher budget applications support professional spray equipment and layered finishes that combine both textures for controlled light reflection.
Allocate resources to surfaces viewed and touched daily while using simpler treatments in secondary areas.
Frequent Application Errors and Corrections
Several common errors compromise results. Adding sand before thinning compound prevents even distribution. Always thin the base first, then incorporate sand gradually. Thick single coats develop cracks during drying. Apply thin layers and allow full cure before adding depth. Lighting tests performed with a handheld flashlight across the surface reveal ridges before paint conceals them. Tool selection matters. Rollers with insufficient nap fail to carry sanded material, while knives dragged across sanded surfaces leave scratches. Finally, painting over incompletely dried texture risks adhesion failure. Permit complete drying regardless of ambient conditions.
Aligning Texture with Design Intent
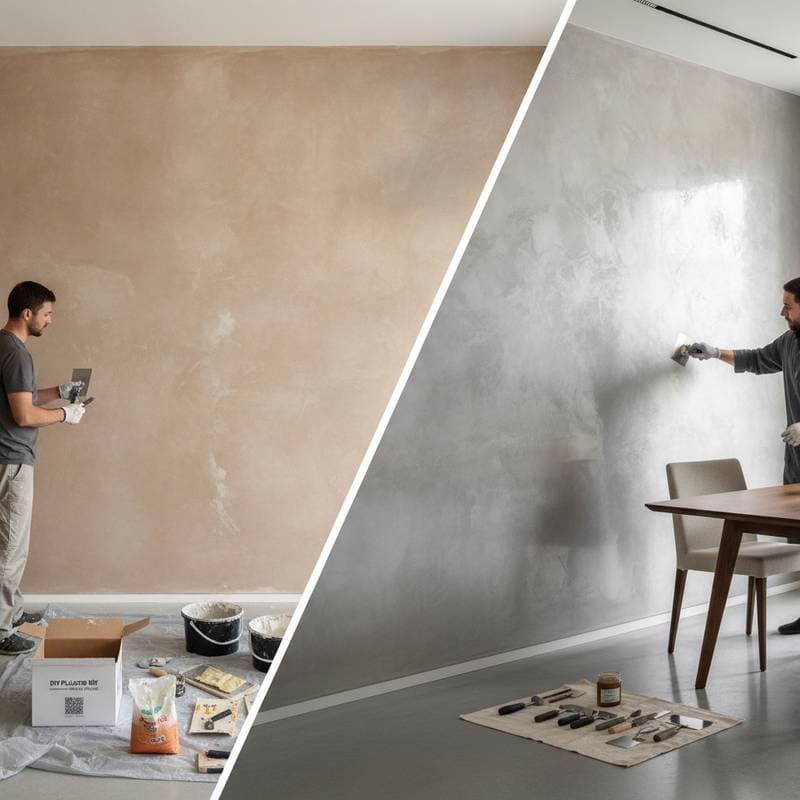
Texture contributes to overall style. Modern minimal interiors gain clarity from smooth unsanded surfaces finished in matte paint. Farmhouse aesthetics gain warmth from light sanded finishes that interact with natural light. Industrial spaces often combine sanded ceilings with smoother walls to create deliberate contrast. Traditional rooms use subtle sanded texture to soften minor surface variations while preserving visual continuity. Maintain consistent texture across connected sight lines to prevent visual disruption.
Ongoing Care for Finished Surfaces
Maintenance differs by texture type. Sanded walls require gentle dry dusting with microfiber tools. Unsanded walls accept mild soap solutions without abrasive contact. Both surfaces benefit from periodic repainting using the original sheen level. Matte finishes conceal minor variations while higher sheens emphasize texture under directional light.
Practical Preparation Steps
Purchase extra compound from a single batch to maintain color consistency. Document test panels with mix ratios for future reference. Maintain stable room temperature during curing to limit surface cracking. Review sample photographs under multiple lighting angles prior to full application. Request dried physical samples from suppliers when specifications remain uncertain.