DIY Popcorn Ceiling Removal: The $800 Lesson Learned
Every home project teaches something. This one came with a price tag that still makes me smile. My attempt at DIY popcorn ceiling removal cost $800 in fixes, cleanup, and do-overs. It also delivered priceless lessons about preparation, patience, and when to call a pro. If you are tempted to scrape that bumpy ceiling yourself, read this first.
The Temptation to Tackle It Yourself
Popcorn ceilings hide imperfections and absorb sound. Once they felt trendy. Under modern lighting, however, they cast shadows that make a space feel tired. I wanted smooth, bright ceilings that looked great on camera and in real life. Online tutorials made the job appear simple. Spray, scrape, sand, and paint. The truth is different. Popcorn texture removal is messy, unpredictable, and full of hidden steps.
The $800 Mistake
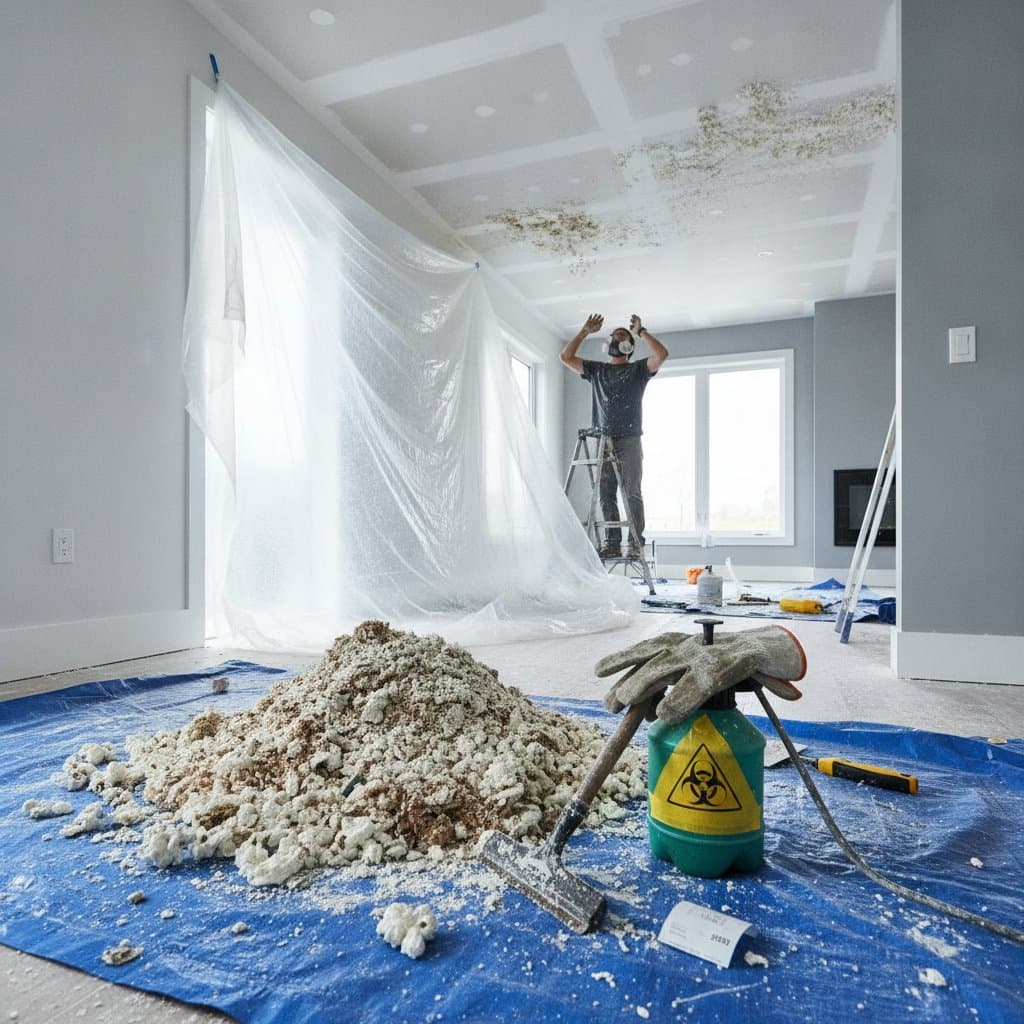
My first mistake was skipping a simple test. Some older popcorn textures contain asbestos or layers of lead paint. Testing costs far less than remediation later. Skipping it can turn a weekend project into a full-blown hazard. My second mistake was underestimating the mess. I covered the floor but forgot vents and doorways. Fine white dust drifted everywhere. It filled light fixtures, settled in closets, and clung to walls.
Then came the scraping. Without proper soaking, the texture tore the drywall paper and left gouges that needed patching. I used the wrong blade angle, so instead of smooth strokes I dug trenches. By the time I finished one room, I had created hours of extra sanding and three trash bags of debris. That is where the $800 went: repairs, primer, and a pro time to finish what I started.
What I Would Do Differently
If I could rewind, I would break the process into smart stages:
- Test first. Always check for asbestos and lead before scraping.
- Prep completely. Remove or cover everything. Seal vents and tape plastic from ceiling to floor.
- Soak, do not scrape dry. Use a garden sprayer with warm water and a dash of dish soap. Wait ten minutes before scraping.
- Use the right tools. A six-inch drywall knife, a wide mud pan, and a gentle touch are your best friends.
- Repair before painting. Skim coat with joint compound, sand smooth, then prime with a high-quality sealer.
Budget Paths That Work
Great design fits any budget.
- Low spend: Mist, scrape, and skim coat yourself with rental tools. Expect dust, but save big.
- Mid spend: Hire a pro for scraping, then DIY the priming and painting.
- Higher spend: Let professionals handle it end-to-end, including cleanup and finishing. This option adds resale value and peace of mind.
Lessons from the Set
On design shoots, crews never skip prep because lighting exposes every flaw. The same rule applies at home. Smooth ceilings bounce light evenly and make colors sing. When your prep is tight, your paint finish looks flawless.
Protecting Your Investment
That ceiling taught me more than any textbook could. Smooth white overheads now reflect light beautifully, and I appreciate them every time I walk in. If you decide to tackle your own popcorn ceiling, start small, take your time, and protect your space. A little patience upfront saves hundreds later. Every scrape is a step toward a cleaner, lighter, and more modern home. When the work exceeds your comfort level, calling a pro is a design decision that keeps your project beautiful, safe, and stress-free.


