Why Contractors Are Skipping Textured Ceilings in 2026
Textured ceilings once served as a practical way to mask drywall flaws and limit sound reflection. Styles such as popcorn, knockdown, and orange peel appeared in countless homes because they sped up installation and hid uneven work. Contractors now favor flat surfaces because those finishes align with current design preferences and reduce long term upkeep.
Flat ceilings produce a crisp appearance that pairs with any interior style. They allow light to spread evenly and make rooms feel taller. Homeowners planning updates benefit from understanding the cost differences and the steps involved in changing an existing surface.
Cost Ranges for Ceiling Refinishing
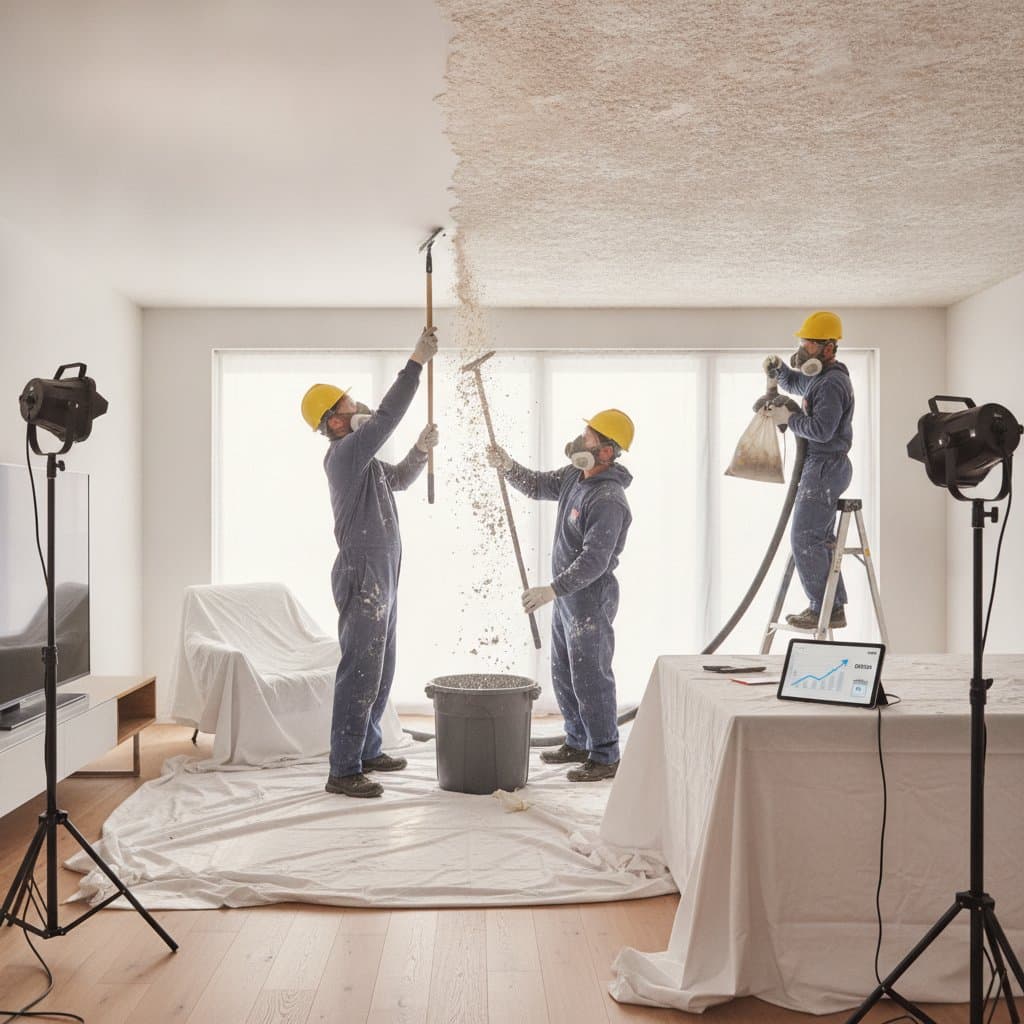
Basic popcorn removal runs one to two dollars per square foot. A standard skim coat followed by refinishing costs three to five dollars per square foot. Premium work that includes multiple primer coats and final paint reaches five to eight dollars per square foot.
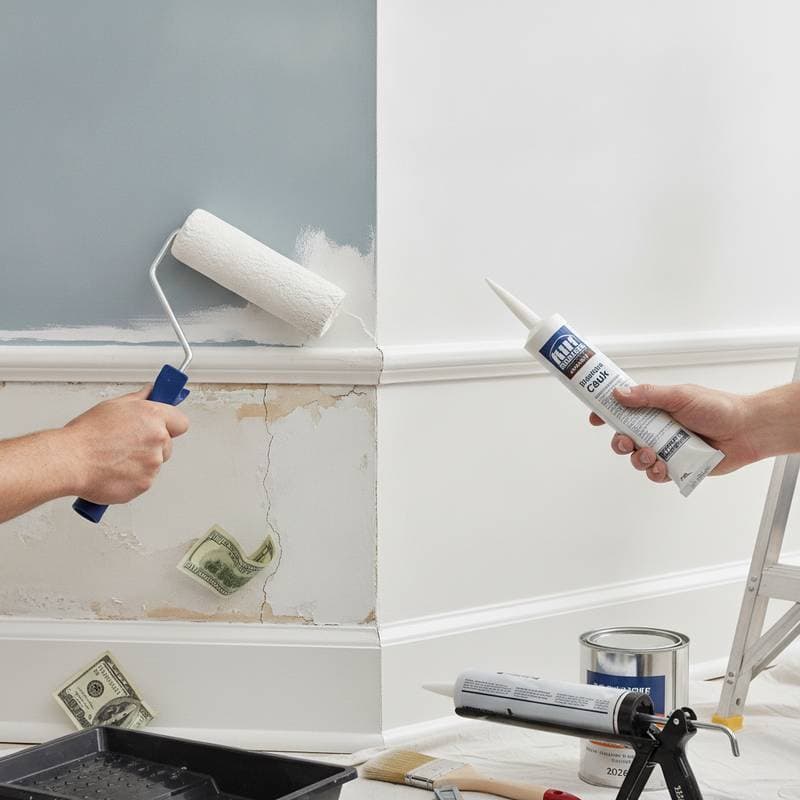
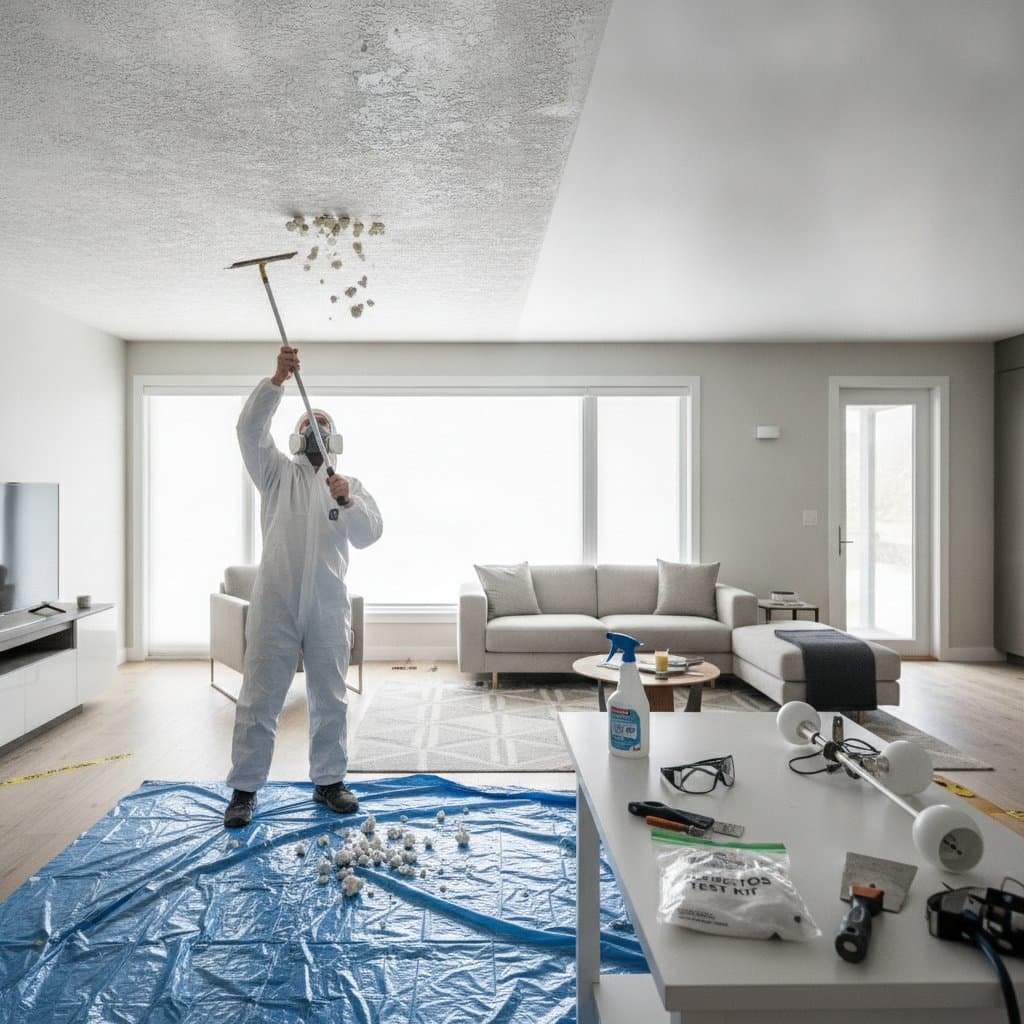
Every project includes protection of floors and furnishings, safe disposal of debris, surface sanding, and two coats of ceiling paint. Additional charges appear when asbestos testing is required, when drywall needs structural repair, or when custom lighting changes the layout.
Several variables influence the final price. Higher ceilings demand scaffolding and extra labor hours. Surfaces with water stains or multiple texture layers require more preparation time. Rooms filled with built in cabinetry slow progress because crews must work around obstacles.
Reasons Textured Finishes Are Declining
Current design trends emphasize clean planes and minimal ornament. A smooth ceiling supports recessed lights and LED strips without casting shadows that textured surfaces create. Dust settles less on flat paint, so routine cleaning takes less time.
Buyers touring homes often view textured ceilings as a sign of older construction. Removing the texture updates the space and supports higher offers at resale. Contractors therefore recommend the change whenever the budget allows.
When to Hire Professionals
Homeowners may attempt removal in small rooms once asbestos tests return negative. Larger areas or older homes carry hidden risks that require certified crews. Professionals control dust with sealed barriers, repair uneven drywall, and apply the thin coats needed for a flawless result.
Select a contractor by confirming current licensing and insurance. Request three written bids that list every step from prep through final coat. Ask previous clients about timelines and cleanup quality. Most single room projects finish in one to three days once work begins.
Steps Before Work Starts
Clear furniture from the room or cover remaining pieces with plastic sheeting. Remove wall hangings and small items that could collect dust. Seal air vents to limit spread into other areas of the house.
After texture removal the surface receives patching, fine sanding, primer, and paint. Each layer must dry fully before the next begins. This sequence produces the uniform appearance that modern lighting demands.
Deciding Whether Removal Fits Your Home
Inspect the existing texture and the overall style of the house. Some traditional or rustic rooms still suit a light texture, yet most contemporary interiors gain brightness and perceived height from a smooth plane. Older homes require an asbestos survey before any scraping or sanding occurs.
Allocate funds for both removal and the finishing stages rather than stopping after the texture is gone. The final skim coat and paint determine how the room feels each day. The added effort yields easier maintenance and stronger buyer interest when the property returns to the market.