Skipping Sanding Between Coats Leads to Double the Cost for 60% of Homeowners
Homeowners often hurry through painting projects in anticipation of the final result. A vital step that many overlook is sanding between coats of paint. Surveys indicate that approximately 60 percent of individuals bypass this process, only to face uneven surfaces, premature chipping, or rough textures later. Although sanding requires effort, it plays an essential role in delivering a smooth, resilient finish that endures over time.
The Importance of Sanding Between Paint Coats
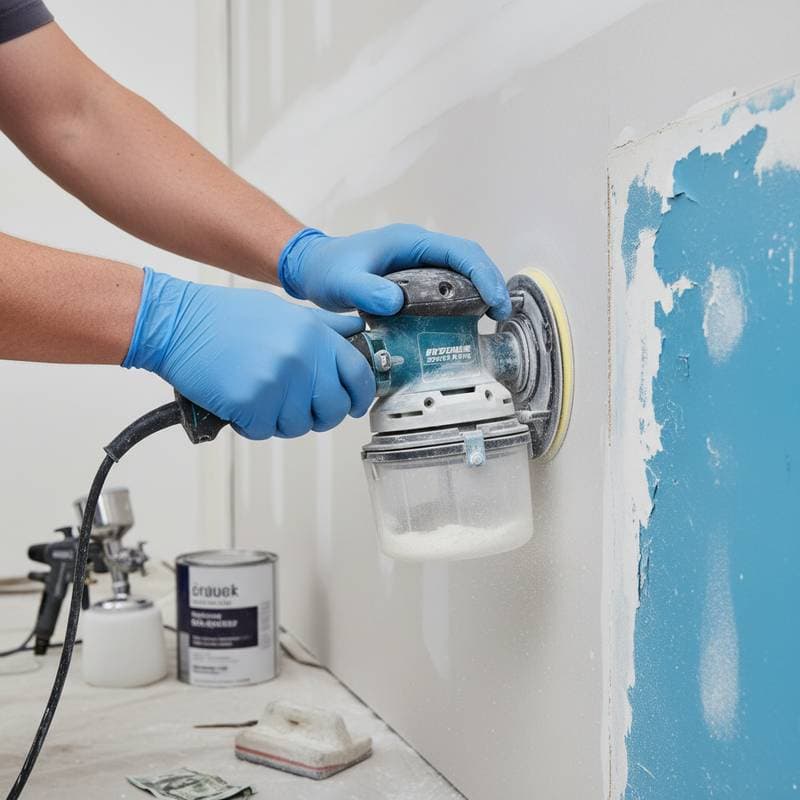
Each application of paint requires a prepared surface for optimal adhesion. As paint dries, it develops minor ridges, accumulates dust, and forms small bubbles that hinder the next layer from bonding uniformly. Sanding eliminates these flaws, providing a textured base that promotes a secure connection.
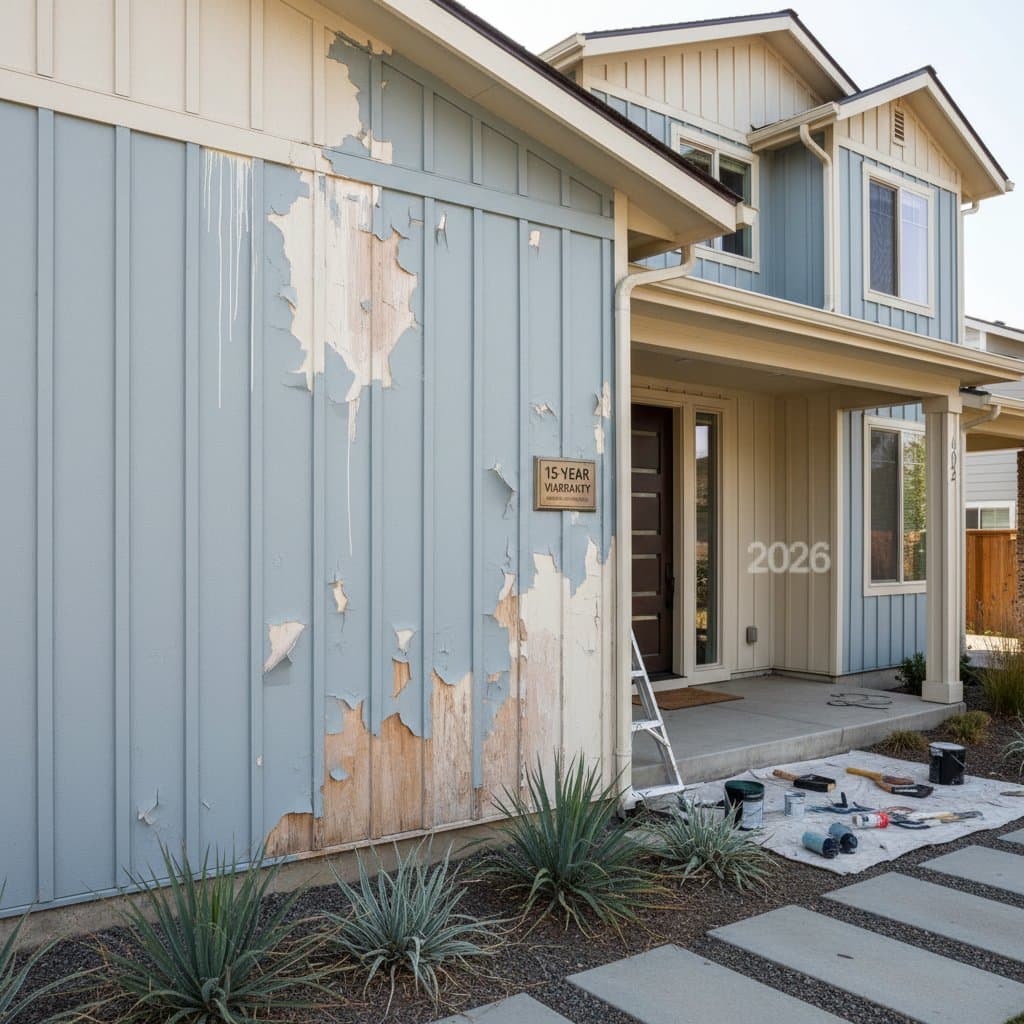
Failure to sand results in issues such as peeling, cracking, or a lackluster appearance. Strong paint adhesion relies on the friction created between layers, extending beyond the paint's inherent quality. Without this preparation, the connection weakens, making the surface susceptible to daily wear and external factors like humidity or temperature fluctuations.
Financial and Time Implications of Omitting Sanding
The repercussions of skipping sanding extend to both budget and schedule. A finish with poor adhesion might necessitate a full repaint within a short period. Initial expenses for materials, which may total a few hundred dollars, can escalate to double or triple when corrections become necessary, including additional supplies and labor.
Experienced painters incorporate sanding into every project quote to guarantee enduring outcomes. This practice, despite extending the timeline, avoids the need for revisions and ensures the paint job maintains integrity for years.
Cost Breakdown for Sanding-Inclusive Projects Versus Repaints
Incorporating sanding between coats adds a reasonable expense to interior painting tasks, yet it yields significant returns. The following table outlines typical pricing ranges, highlighting how preparation influences the overall investment.
| Project Type | Basic Range | Standard Range | Premium Range | Key Differences |
|---|---|---|---|---|
| Interior wall painting | $2 - $4 per sq. ft. | $4 - $6 per sq. ft. | $6 - $9 per sq. ft. | Premium features comprehensive prep and inter-coat sanding |
| Cabinet refinishing | $30 - $60 per door | $60 - $90 per door | $90 - $120 per door | Premium entails sanding between coats and expert finishing |
| Trim and doors | $3 - $5 per linear ft. | $5 - $8 per linear ft. | $8 - $12 per linear ft. | Premium sanding delivers smooth, high-gloss results |
Opting out of sanding may trim immediate costs marginally, but the likelihood of early repainting erases those gains entirely.
Elements Influencing Sanding and Painting Expenses
Multiple variables determine the expense of sanding and potential repaints:
-
Surface condition: Textured or previously coated walls demand extensive sanding to strip old layers and smooth irregularities, which increases labor and materials.
-
Paint variety: High-gloss or oil-based options require thorough sanding between applications due to their glossy residue, which repels subsequent coats.
-
Room dimensions and access: Expansive spaces or areas with limited reach extend sanding duration, thereby elevating total project fees.
-
Desired finish quality: Glossy results call for precise sanding to erase minute imperfections, while matte finishes tolerate lighter preparation but still benefit from it for adhesion.
How Sanding Enhances Adhesion and Durability
Sanding between coats fosters superior adhesion through mechanical interlocking. The fine abrasions created serve as anchors, securing each layer firmly. Absent these, fresh paint rests atop a glossy base and detaches easily under stress from heat, cold, or moisture.
Beyond functionality, sanding refines the aesthetic outcome. It eradicates brush strokes, roller patterns, and dust specks that otherwise compromise the sheen. The end product features a tactile smoothness, uniform light reflection, and heightened resistance to everyday damage.
Best Practices for Sanding in Painting Projects
Skilled painters select sandpaper grits based on the phase and material:
-
Post-primer application: Employ 180- to 220-grit paper to address raised fibers or excess primer.
-
Inter-coat smoothing: Opt for 220- to 320-grit to achieve gentle abrasion and promote bonding.
-
Pre-final coat: Perform a light scuff with fine-grit paper for an impeccable surface.
Wipe away residue using a tack cloth or vacuum prior to the next layer. Residual particles can become trapped in the paint, creating visible defects.
Comparing DIY and Professional Approaches to Sanding and Painting
Amateur painters frequently misjudge the time commitment of sanding. Professionals leverage specialized equipment, such as sanding poles, sponges, and vacuum systems, to execute the task swiftly and cleanly.
For those tackling projects independently, emphasize methodical pacing. Hasty efforts lead to inconsistent coverage or overlooked areas that manifest as flaws. Although DIY reduces upfront costs, engaging experts guarantees uniformity and longevity with minimal errors.
Long-Term Advantages and Investment Value
Sanding transcends mere aesthetics; it fortifies the paint's lifespan. A well-prepared surface withstands peeling and discoloration, postponing the need for refreshes. The modest added expense translates to sustained savings through reduced maintenance.
In terms of property appeal, flawless finishes signal superior workmanship. Prospective buyers appreciate details like gleaming trim, flawless walls, and vibrant hues. Such preparations elevate home worth and minimize ongoing upkeep for future owners.
Budgeting Effectively for Painting with Preparation
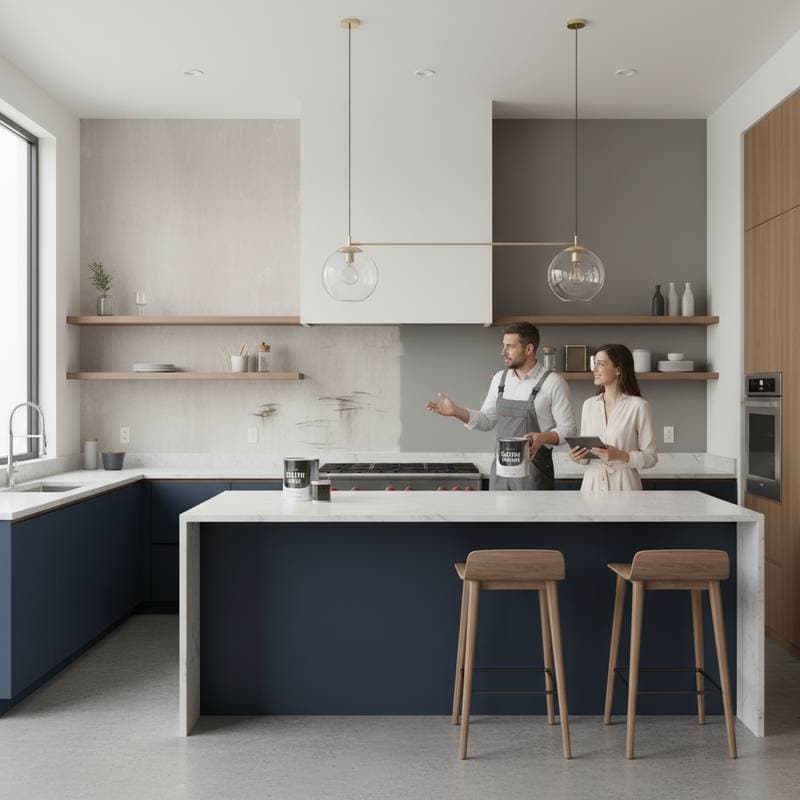
Homeowners planning paint jobs must reserve funds for meticulous prep work. Surface preparation, encompassing inter-coat sanding, comprises 20 to 30 percent of the budget. This allocation directly impacts the result's endurance and visual appeal. Including a buffer for unforeseen sanding needs keeps the project within financial bounds.
Common Questions on Sanding in Painting
When to Sand During a Painting Project
Sand following the primer coat, after each paint layer, and lightly before the topcoat. This routine maintains consistent texture and robust bonding across the entire process.
What Grit Sandpaper Should I Use Between Coats?
Select 220- to 320-grit for most inter-coat work. This range provides sufficient abrasion without damaging the underlying paint.
Does Sanding Increase Painting Time Significantly?
Sanding adds 10 to 20 percent to the total duration, depending on surface size. The investment prevents longer-term disruptions from subpar results.
Can I Skip Sanding on Flat Paint Finishes?
Even flat paints benefit from light sanding to ensure adhesion. Skipping it risks bubbling or poor coverage in subsequent layers.


