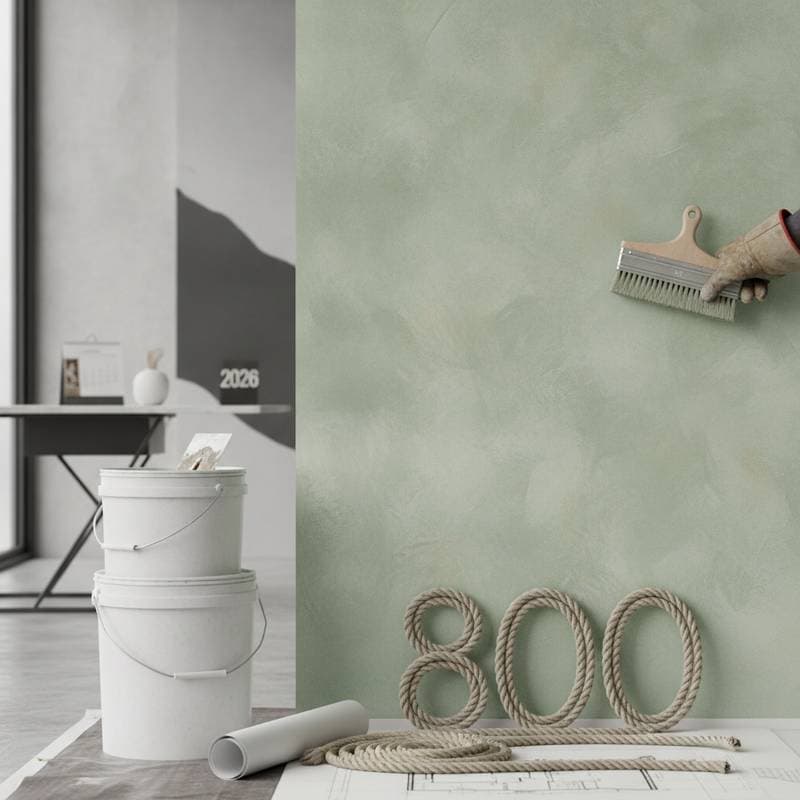
Venetian Plaster Revival: $8K DIY vs $15K Pro
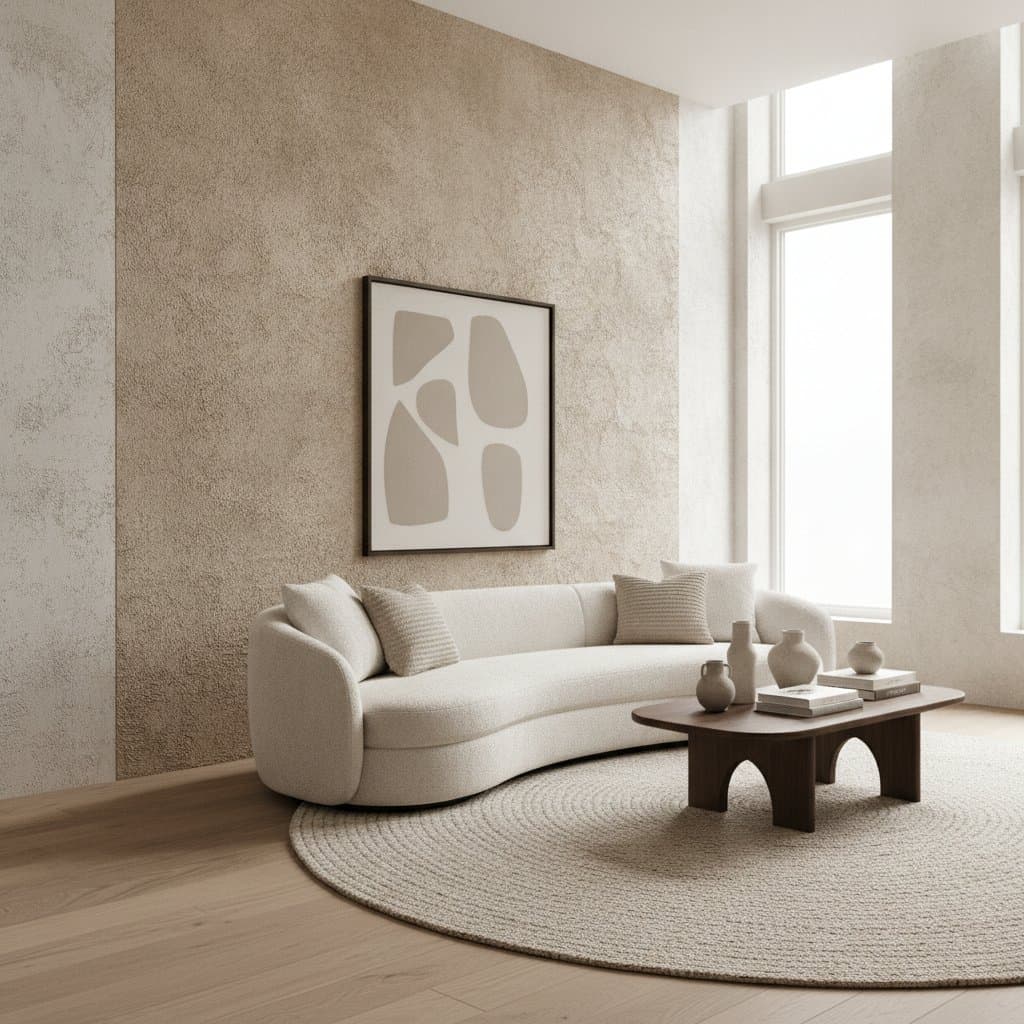
Venetian plaster has returned as a favorite among homeowners looking for depth, texture, and timeless elegance on their walls. The smooth, marble-like finish offers a luxurious feel that standard paint cannot match. Whether used in accent walls, bathrooms, or entire rooms, it creates a sense of artistry and craftsmanship that transforms ordinary spaces. Yet, the decision between tackling it yourself or hiring a professional can be challenging. The difference between an $8,000 DIY project and a $15,000 professional application goes far beyond cost. It involves skill, materials, finish quality, and long-term satisfaction.
Project Cost Breakdown
Average Cost Ranges
- Basic DIY project: $6,000 - $8,000
- Standard professional project: $12,000 - $15,000
- Premium luxury finish: $18,000 and up
What's Included
For both DIY and professional projects, pricing covers:
- Surface preparation, including cleaning, patching, and priming
- Application of multiple plaster layers
- Tinting or pigment integration
- Burnishing and polishing for shine
- Protective sealing to preserve the finish
What Costs Extra
- Specialty pigments or metallic finishes
- Custom textures or artistic patterns
- Repair of damaged drywall or uneven surfaces
- Scaffolding or tall-wall access equipment
Factors That Affect Final Cost
| Factor | Cost Impact | Examples |
|---|---|---|
| Surface condition | Moderate | Cracked or uneven walls need extra prep |
| Material quality | High | Authentic lime plaster costs more than synthetic versions |
| Labor skill | Significant | Experienced artisans produce smoother, more consistent finishes |
| Room size | Direct | Larger areas need more material and time |
| Finish complexity | High | Layered or polished finishes require additional steps |
Understanding the Process
The Professional Approach
A contractor begins with surface assessment and repairs, ensuring a flawless base. The first coat, known as the base plaster, is applied for adhesion. After drying, multiple thin layers follow, each carefully troweled and smoothed. Between layers, the surface is sanded and sometimes re-dampened for bonding. Once the final coat is applied, the artisan burnishes it with steel tools to create the signature soft gloss. A protective seal or wax is added to enhance durability and depth.
The DIY Approach
Homeowners attempting Venetian plaster on their own often use synthetic mixes available in home improvement stores. The process follows a similar sequence but lacks the refined control achieved through years of experience. Mistakes such as uneven layering, visible trowel lines, or patchy sheen are common. DIY attempts also require equipment purchases, like mixing tools, specialty trowels, and protective gear, which add to the total cost.
Timeline Expectations
A professional project typically takes one to two weeks, depending on area size and drying conditions. DIY projects may stretch much longer as homeowners work around schedules, practice techniques, and correct errors. Each plaster layer requires drying time before the next coat, and rushing the process can ruin the finish.
Professional vs. DIY Guidance
Skill Requirements
Venetian plaster demands a steady hand and an understanding of material behavior. Professionals achieve seamless transitions and consistent sheen using high-end lime-based products. DIYers using synthetic versions can still create attractive finishes but often struggle to reach the same level of refinement.
Time Investment
A professional crew works efficiently, completing rooms in days. Homeowners may spend weeks between practice, application, and correction.
Tool and Equipment Needs
Professionals bring specialized trowels, mixing paddles, scaffolding, and polishing tools. Renting or buying these tools can add thousands to DIY costs.
Safety Considerations
Authentic lime plaster can be caustic before curing, requiring gloves, masks, and eye protection. Proper ventilation is also important during sealing and waxing.
Quality Expectations
A well-executed professional job produces a durable, marble-like surface that can last decades with minimal maintenance. DIY finishes may lack depth or consistency but still offer a pleasing textured look if carefully applied.
Cost Comparison
While an $8,000 DIY project saves money upfront, it may not deliver the same aesthetic or longevity as a $15,000 professional job. Repairs or reapplication later can erase those savings.
Choosing and Working With a Contractor
Research and Verification
Start with referrals or verified online directories. Confirm licensing, insurance, and previous project photos. Look for experience specifically in Venetian plaster, not just general drywall or painting.
Comparing Quotes
Gather at least three quotes. Ask each contractor to specify material type, number of coats, and preparation details. Lower estimates often exclude necessary steps like sealing or polishing.
Contract Essentials
A written agreement should outline the project timeline, payment schedule, material specifications, and cleanup responsibilities. Never proceed without clear terms.
Communication and Oversight
Stay involved throughout the project. Request daily updates and inspect progress between coats. Address concerns early to prevent costly corrections later.
Planning Your Project
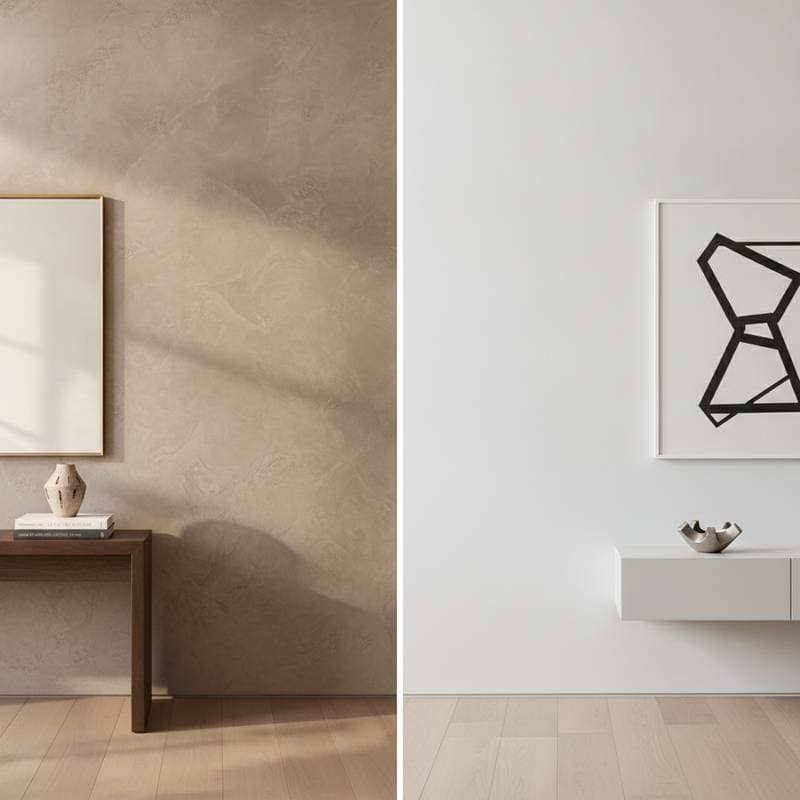
Before beginning, decide where Venetian plaster fits best. Bathrooms, entryways, and feature walls benefit most from its reflective texture. Consider lighting, as natural and artificial light can change how the finish appears. Budget for potential touch-ups and maintenance products. Once completed, the surface should be gently cleaned with mild soap and water and resealed periodically to maintain its richness.
Frequently Asked Questions
What makes professional Venetian plaster more expensive?
Professionals use authentic lime-based materials and advanced techniques that require specialized training. Their work involves multiple layers, detailed burnishing, and proper sealing, which create a more durable and refined finish.
How long does Venetian plaster last?
With proper application and maintenance, Venetian plaster can endure for 20 to 50 years. Regular dusting and occasional resealing help preserve its appearance and protect against wear.
Can DIY Venetian plaster be repaired easily?
Minor repairs involve matching the plaster mix and reapplying thin layers, then burnishing to blend. Larger fixes may require professional help to ensure consistency with the original finish.
Is Venetian plaster suitable for high-humidity areas?
Yes, especially when sealed properly. Lime-based plasters resist moisture well, making them ideal for bathrooms and kitchens, though ventilation prevents any potential issues.
What tools are essential for DIY application?
Key items include a stainless steel trowel, mixing bucket, hawk for holding plaster, and sanding pads. Invest in quality versions to avoid frustration during the process.
What are common issues during application and how can they be avoided?
Uneven shine, cracking, or visible trowel marks often result from improper application or rushing between coats. Using quality materials, allowing full drying time, and maintaining consistent pressure during troweling can prevent these problems.