TSP vs Deglosser: Which Prep Method Wins in 2025
Proper surface preparation forms the foundation of any successful painting project. In 2025, professionals and DIY enthusiasts alike debate the merits of trisodium phosphate (TSP) versus deglosser for achieving optimal paint adhesion. This guide examines both methods, highlighting their strengths, applications, and best practices to help you select the right approach for cabinets, walls, trim, and other surfaces.
Understanding TSP for Surface Preparation
Trisodium phosphate, commonly known as TSP, serves as a powerful alkaline cleaner designed to remove grease, grime, and contaminants from surfaces. Painters apply TSP in a diluted solution, typically mixed with water, to deep-clean areas that harbor residues from cooking oils, smoke, or previous coatings. This method proves essential for high-traffic areas like kitchens and bathrooms, where built-up dirt can undermine paint durability.
TSP excels in tackling stubborn soils that milder cleaners overlook. Users mix one-quarter cup of TSP per gallon of hot water, apply it with a sponge or brush, and rinse thoroughly to prevent residue buildup. However, environmental regulations in some regions limit its use due to phosphate content, prompting alternatives in eco-conscious projects.
Exploring Deglosser as a Modern Alternative
Deglosser, also called liquid sandpaper, functions primarily to dull glossy finishes without generating dust. This chemical solution contains mild abrasives and solvents that etch the surface lightly, creating a profile for better paint grip. Ideal for previously painted or varnished items, deglosser saves time compared to sanding, especially on intricate details like moldings or furniture.
Apply deglosser with a lint-free cloth, rubbing in circular motions until the sheen disappears, then wipe away residue with a clean, damp cloth. Products vary in strength, so select one suited to the surface type, such as wood or metal. This method minimizes mess and preserves the underlying material integrity.
Comparing Effectiveness: Adhesion and Finish Quality
Both TSP and deglosser enhance paint adhesion, yet they address different challenges. TSP focuses on cleanliness, ensuring no oils or contaminants interfere with bonding, which leads to fewer peeling issues over time. Studies from paint manufacturers indicate that surfaces cleaned with TSP exhibit up to 20 percent stronger adhesion on porous materials like drywall.
Deglosser targets gloss reduction, vital for non-porous surfaces where paint might otherwise slip. It provides a uniform dulling effect, resulting in smoother topcoats and reduced orange-peel texture. In tests conducted by industry experts, deglosser-prepared glossy cabinets showed 15 percent less cracking after one year compared to untreated samples.
For comprehensive prep, consider the surface condition. TSP suits heavily soiled areas, while deglosser handles sheen on clean but shiny substrates. Combining them often yields superior results, as cleanliness pairs with proper profiling for maximum longevity.
Pros and Cons of Each Method
TSP offers thorough decontamination but requires careful handling due to its caustic nature. Pros include its affordability and versatility across surface types; a single box costs under ten dollars and treats multiple rooms. Cons involve potential skin irritation, the need for protective gear, and thorough rinsing to avoid hazy finishes.
Deglosser provides quick, dust-free application, appealing to time-strapped users. Its pros encompass ease of use and minimal equipment needs, often completing prep in half the time of sanding. Drawbacks include higher cost per application and limited effectiveness on heavy grease, necessitating a preliminary clean.
In 2025, advancements like low-VOC deglossers address environmental concerns, narrowing the gap with TSP. Evaluate project scale and surface demands to weigh these factors.
Step-by-Step Guide: Preparing with TSP
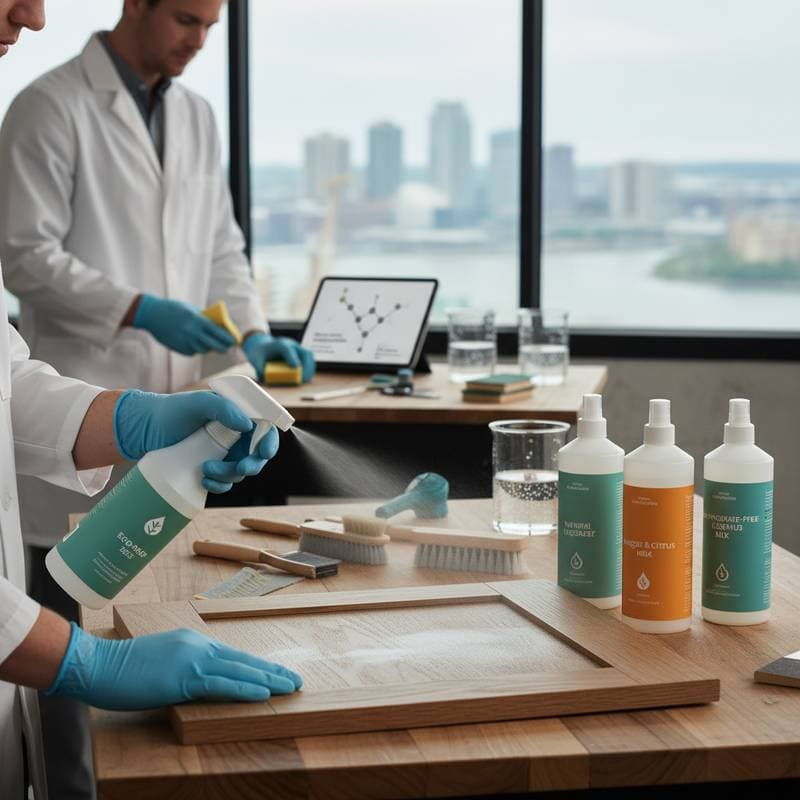
Start by gathering supplies: TSP substitute if phosphates are restricted, gloves, buckets, sponges, and clean water. Mix the solution according to package instructions, aiming for a concentration that foams slightly without excessive suds.
Apply to a small test area first to check for discoloration. Scrub gently in sections, allowing the solution to dwell for five minutes to loosen dirt. Rinse immediately with fresh water, using a second bucket to avoid recontamination, and dry with clean towels.
Inspect for residue by running a finger across the surface; it should feel smooth and non-greasy. Proceed to priming or painting within 24 hours to maintain the clean state.
Step-by-Step Guide: Preparing with Deglosser
Select a deglosser compatible with your surface, such as an amber-tinted formula for wood. Work in a well-ventilated area, wearing gloves and eye protection. Dampen a tack cloth or microfiber rag with the product, avoiding saturation.
Rub the surface methodically, applying even pressure to dull the gloss uniformly. Check progress with a light source; the area should appear matte. After five to ten minutes, wipe off excess with a water-dampened cloth and allow 30 minutes to dry.
Test adhesion by applying painter's tape; it should pull away cleanly without lifting the surface. This confirms readiness for the next coating layer.
When to Choose TSP, Deglosser, or Both
Opt for TSP on surfaces with visible grease or in humid environments like bathrooms. It proves indispensable for repainting over oil-based paints, where solvents linger. Avoid it on delicate materials like unsealed wood, as it may raise fibers.
Choose deglosser for glossy laminates, varnished trim, or metal fixtures needing quick refresh. It shines in urban apartments where dust control matters. For optimal outcomes, use TSP first to clean, followed by deglosser to profile, especially on cabinets with mixed residues.
In 2025, hybrid kits combining both emerge as popular choices for comprehensive prep. Assess your project's timeline and safety needs to decide.
Common Mistakes to Avoid in Surface Prep
Overworking the surface leads to unnecessary damage. Excessive scrubbing or overly concentrated solutions raise wood grain or etch finishes, complicating subsequent steps. Limit agitation to essential areas and dilute products precisely.
Cross-contamination compromises results. Label cleaning rags, deglosser cloths, and paint tools separately to prevent residue transfer. Dedicate tools per method for hygiene and efficiency.
Neglecting ventilation or protection invites health risks. Always use masks in enclosed spaces and dispose of waste per local guidelines. These precautions ensure safe, effective preparation.
Achieving Lasting, Professional Finishes
Investing in thorough prep translates to visible quality in the final paint job. Smooth, even coats on cabinets, walls, and trim reflect the care taken upfront, reducing maintenance over years. Whether selecting TSP for its cleansing depth or deglosser for efficient dulling, the choice enhances durability and aesthetic appeal.
Professional painters emphasize that prepared surfaces yield vibrant colors and minimal touch-ups. Embrace these techniques to elevate projects from basic to exceptional, fostering pride in every application.


