Save Thousands on Venetian Plaster: DIY Versus Professional Installation
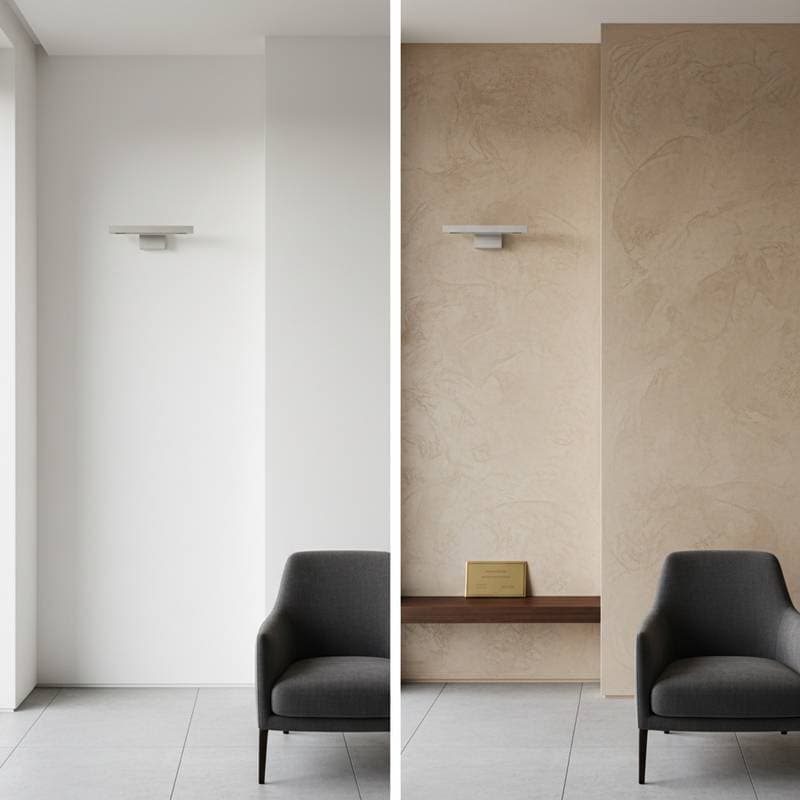
Venetian plaster transforms ordinary drywall into a luminous, hand-applied surface with a luxurious feel. The soft, marble-like texture elevates any wall to the level of fine art. Traditional installation by professionals, however, can prove expensive. With careful preparation and appropriate materials, individuals can replicate this effect independently and achieve substantial savings. The following sections outline essential considerations, from material properties to application methods.
What Makes Venetian Plaster Special
Venetian plaster consists of more than textured paint. It combines lime, marble dust, and pigments, applied in layers and burnished to a subtle sheen. This finish interacts dynamically with light, appearing airy in daylight and deeply dimensional in evening illumination. Originating from ancient techniques, it integrates seamlessly into contemporary interiors, whether minimalist or traditional.
Key attributes include:
- Depth and sheen: Multiple layers produce color and light variations unmatched by standard paint.
- Durability: Proper sealing protects against moisture, allowing the surface to endure for decades.
- Eco-friendliness: Lime-based formulations offer natural breathability and contribute to indoor humidity control.
The Cost Question
Professional Venetian plaster application typically ranges from $10 to $25 per square foot, influenced by material quality and finish intricacy. For a single accent wall measuring 200 square feet, expenses can exceed $2,000. In contrast, DIY options using kits or pre-mixed products significantly lower these figures.
Consider this breakdown:
- DIY synthetic plaster: $2 to $5 per square foot for materials.
- Authentic lime plaster: $4 to $8 per square foot for materials.
- Professional service: $10 to $25 per square foot, encompassing labor and surface preparation.
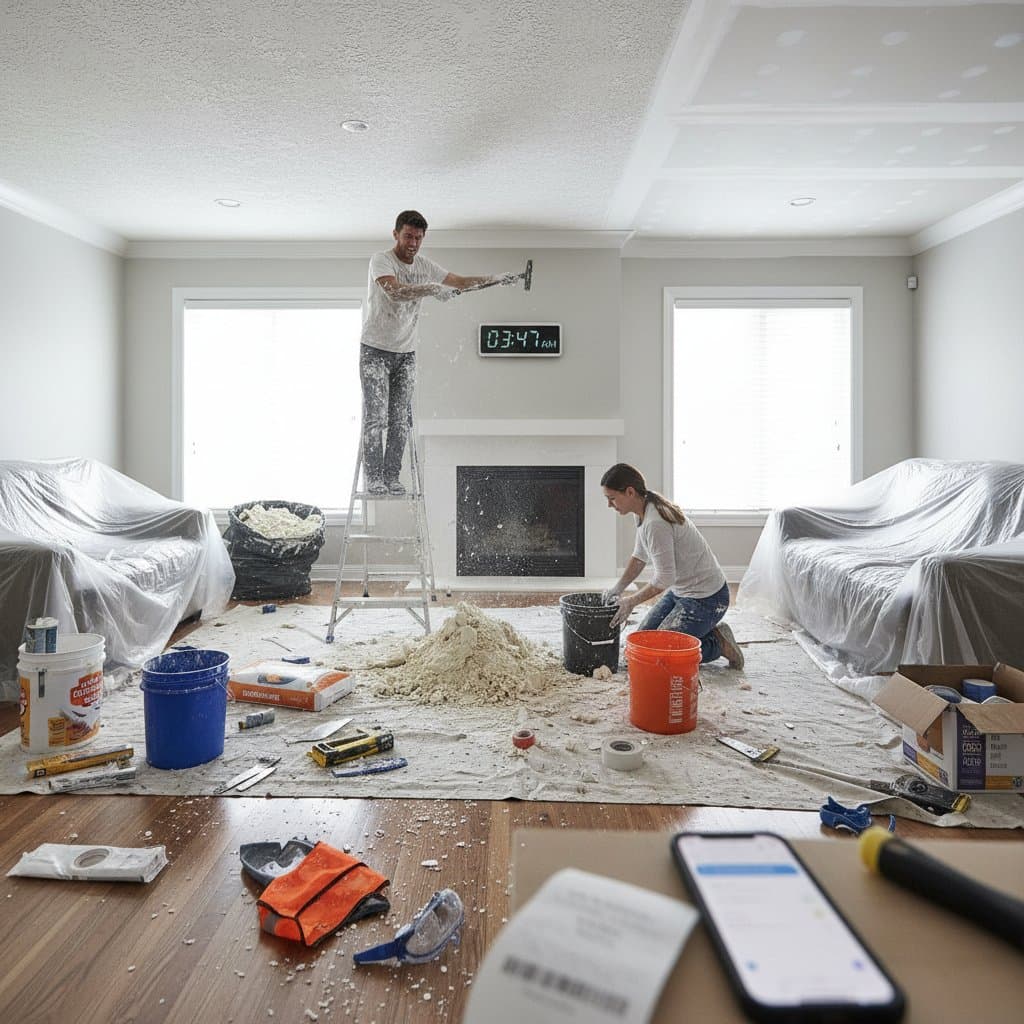
Such disparities highlight potential savings, though the DIY path demands evaluation of time and skill investment.
The DIY Venetian Plaster Experience
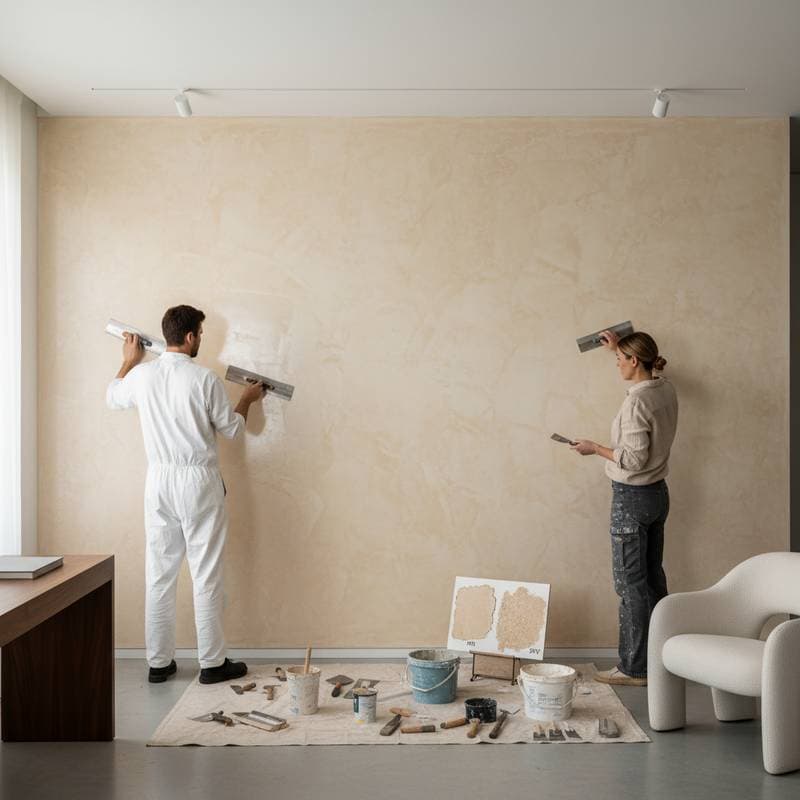
Applying Venetian plaster independently combines artistic expression with physical effort. The process proves rewarding for those who enjoy hands-on projects similar to painting or sculpting. Success relies on applying thin layers, allowing drying time between coats, and burnishing for a polished result.
Essential tools and materials include:
- Plaster compound, either lime-based or synthetic.
- Flexible steel trowel or spatula for application.
- Mixing paddle attached to a drill for consistent blending.
- Primer or bonding agent to ensure adhesion.
- Fine sandpaper or polishing pad for smoothing.
- Wax or sealant to finalize the protective layer.
Follow these steps for application:
- Prepare the surface. Ensure the wall is smooth, clean, and dry; repair any imperfections such as holes or cracks.
- Apply primer. Select a bonding primer to promote strong adhesion of the plaster.
- Spread the first coat. Distribute a thin, even layer without seeking immediate perfection.
- Add subsequent coats. Introduce a second layer with varied trowel strokes to build texture; allow complete drying.
- Burnish the surface. Angle the trowel slightly to polish, observing the emerging sheen.
- Apply sealant. Use wax or a specialized sealer to safeguard the finish and amplify its luster.
Beginners may not achieve the precision of historical examples, but the outcome remains visually striking and personalized.
Where DIY Shines
The DIY method excels in confined areas, such as powder rooms, entryways, or accent walls. These spaces allow experimentation with colors, sheens, and patterns at reduced risk. Synthetic plasters suit novices, as they apply smoothly and dry gradually, providing ample correction time.
Target these applications for maximum savings:
- Accent features: Limit to one or two walls to generate impact with modest expenditure.
- Furniture and accents: Extend the technique to side tables, fireplace surrounds, or headboard panels.
- Low-use zones: Select areas with minimal traffic to test techniques without durability concerns.
A typical mid-sized DIY endeavor, covering 100 square feet, may total under $500 for tools and materials. This represents thousands in savings relative to professional full-room treatment.
When to Call the Pros
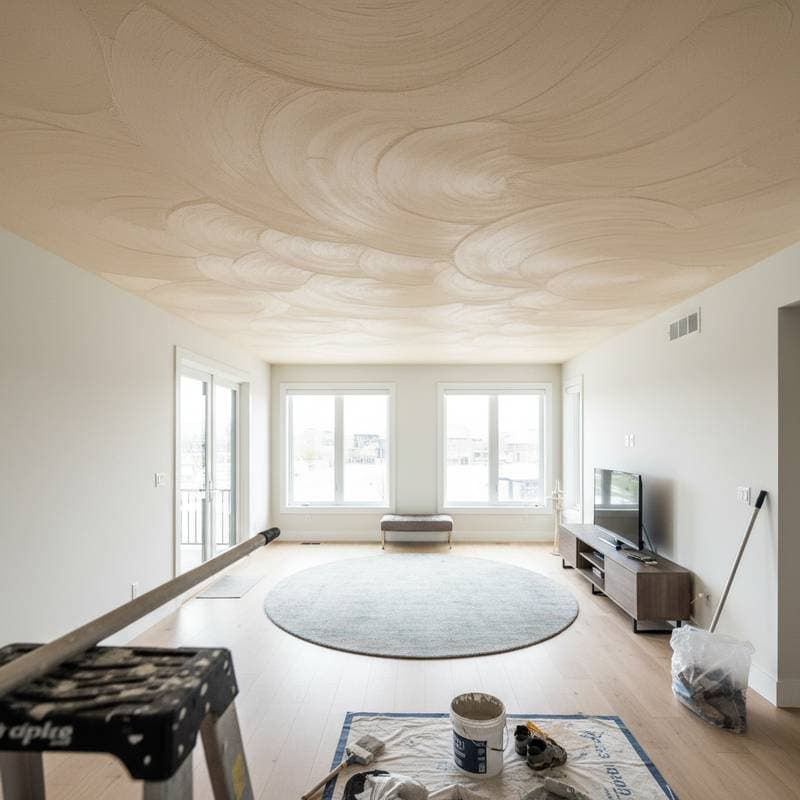
Experienced plasterers possess artistry honed over years, enabling efficient work with minimal mess. They address errors swiftly and ensure uniform results. For expansive areas like grand foyers, curved walls, or open layouts, professional involvement guarantees seamless execution and consistent appearance.
Engage professionals when:
- Wall height or contours complicate access.
- Authentic lime plaster demands exact timing for application.
- A flawless, mirror-like polish or complex color gradients is required.
- The finish must align precisely with preexisting surfaces.
Experts arrive with specialized tools and methods, facilitating custom pigment mixes, metallic integrations, and structural assessments. In these scenarios, the added cost enhances both aesthetics and endurance.
Hybrid Approach: The Smart Middle Ground
A hybrid strategy balances professional expertise with personal involvement. Professionals can manage initial preparation and base coats, leaving finishing layers to the homeowner. This reduces labor expenses while preserving the satisfaction of direct participation.
Build confidence gradually by starting with inconspicuous tests, such as a closet wall or scrap drywall. Transition to prominent surfaces once proficient. Many specialists provide consultations, demonstrating techniques over a session or two. Such instruction proves invaluable for refining skills.
Material Choices That Change the Game
Plaster selection influences both budget and application difficulty. Evaluate options based on project needs.
- Lime-based Venetian plaster: Offers traditional breathability and authentic texture, ideal for long-term durability.
- Acrylic or synthetic variants: Simplify use with even spreading and controlled drying, though less permeable; suitable for entry-level projects.
- Pre-tinted formulations: Streamline color application and minimize excess.
- Finishing additives: Opt for natural beeswax to yield a gentle glow or synthetic sealers for intensified gloss and resilience.
For hues, neutral tones like warm grays or taupe emphasize texture, while bolder shades such as deep blue evoke sophistication. Sample combinations to preview effects under intended lighting.
Performance in Visual and Practical Contexts
Venetian plaster captures light effectively, making it ideal for photography or video. Subtle trowel patterns add dimension that standard paints lack, with mid-tone colors and moderate sheens preventing harsh reflections. This quality benefits home staging or content creation.
In daily use, consider upkeep. Polished surfaces clean easily with a damp cloth, whereas matte finishes conceal minor imperfections. Sealed properly, both types develop an appealing patina over time.
Pro Tips for Success
- Sample extensively. Test plaster on a small board to assess drying and final appearance.
- Utilize natural light. It highlights flaws for timely adjustments.
- Maintain clean edges. Mask adjacent trim and remove excess promptly.
- Prepare ample mixture. Account for batch variations by mixing slightly more than needed.
- Burnish methodically. Avoid excessive pressure, which can diminish luster; proceed in stages.
Enhancing Your Space with Venetian Plaster
Completed Venetian plaster surfaces evolve with ambient light, shifting subtly from morning to evening. Over years, they acquire a refined patina that enhances character. Maintain them with gentle cleaning using a soft cloth and mild soap to preserve vibrancy.
Through DIY efforts or professional collaboration, this finish infuses interiors with luxury, texture, and individuality. The approach aligns with personal vision and financial priorities, yielding enduring value.


