Understanding the Level 5 Drywall Finish
Homeowners often notice subtle differences in wall quality during property tours or renovations. A Level 5 drywall finish stands out for its exceptional smoothness compared to the common Level 4 standard. This upgrade requires additional effort and cost, yet it delivers a refined surface that enhances overall interior quality.
Key Characteristics of a Level 5 Finish
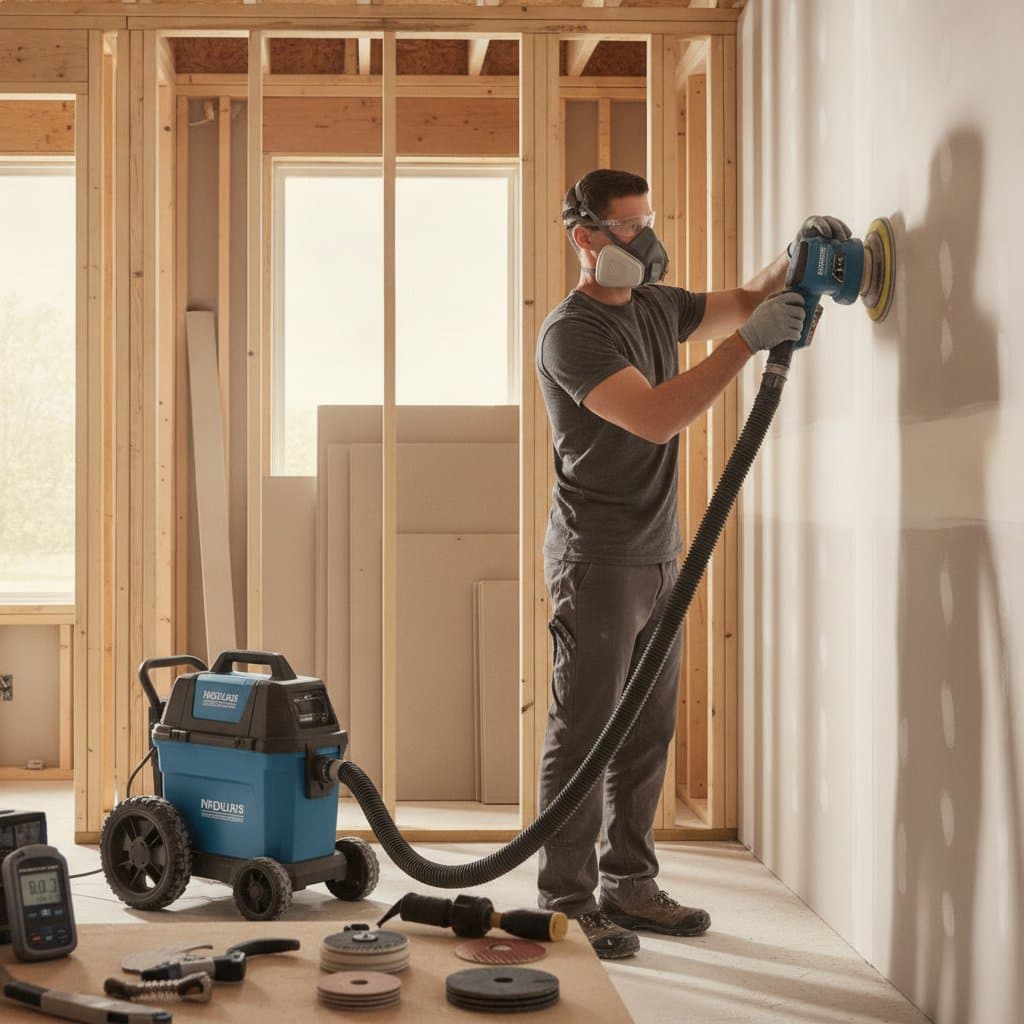
Most drywall projects conclude at Level 4, where joints receive tape, compound, and sanding to conceal seams and fasteners. This level suffices for flat paints but reveals flaws under angled light or glossy sheens. In contrast, a Level 5 finish incorporates a full skim coat of joint compound over the entire wall surface.
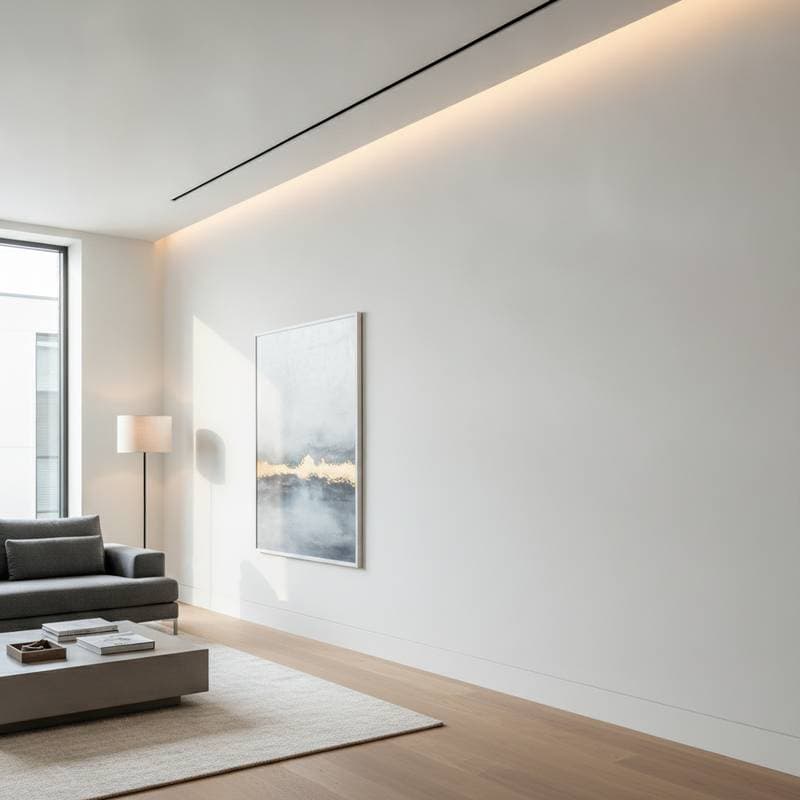
This process creates a uniform texture that eliminates shadows from tape lines or minor depressions. The result withstands direct lighting without visible imperfections, providing an ideal base for high-sheen paints. Professional applicators value this method for its ability to support vibrant colors and even coverage.
Appeal to Homeowners and Interior Professionals
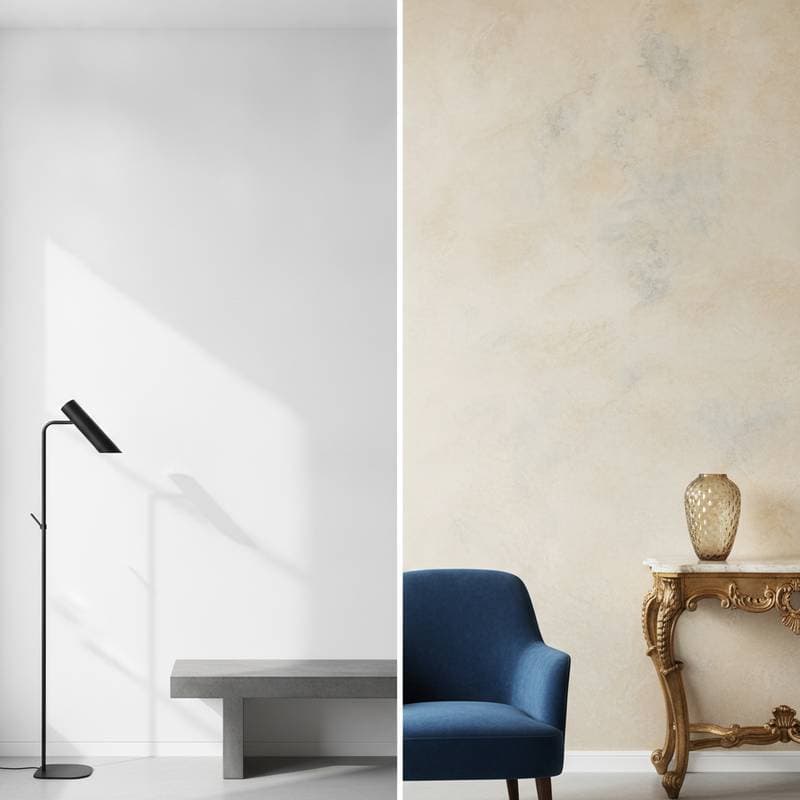
Smooth walls contribute significantly to a space's perceived quality, especially in photographs or under showroom lighting. Designers and stagers prioritize Level 5 finishes to convey intentional craftsmanship. In residential settings, this detail fosters a sense of completion and sophistication.
From experience in design consultations, such walls make paint colors appear more vibrant and consistent. Buyers associate this polish with higher-end properties, often factoring it into their offers. The investment subtly boosts marketability without overt changes.
Breaking Down the $800 Cost
For rooms of average size, upgrading to Level 5 typically costs around $800 beyond a basic Level 4 application. This figure accounts for additional joint compound, specialized tools, and extended labor for application and sanding. View it as an enhancement to durability and aesthetics rather than a mere expense.
Consider these tailored options:
- Targeted application: Limit the skim coat to focal walls, such as those in entryways or kitchens exposed to natural light. This approach minimizes costs while maximizing impact.
- Balanced coverage: Prioritize high-visibility areas like living rooms and corridors. It offers broad improvement without full-home commitment.
- Comprehensive treatment: Apply Level 5 across all surfaces for cohesive results, particularly in contemporary designs with expansive views.
Begin with a single wall to assess the transformation before committing to larger areas.
Step-by-Step Application Process
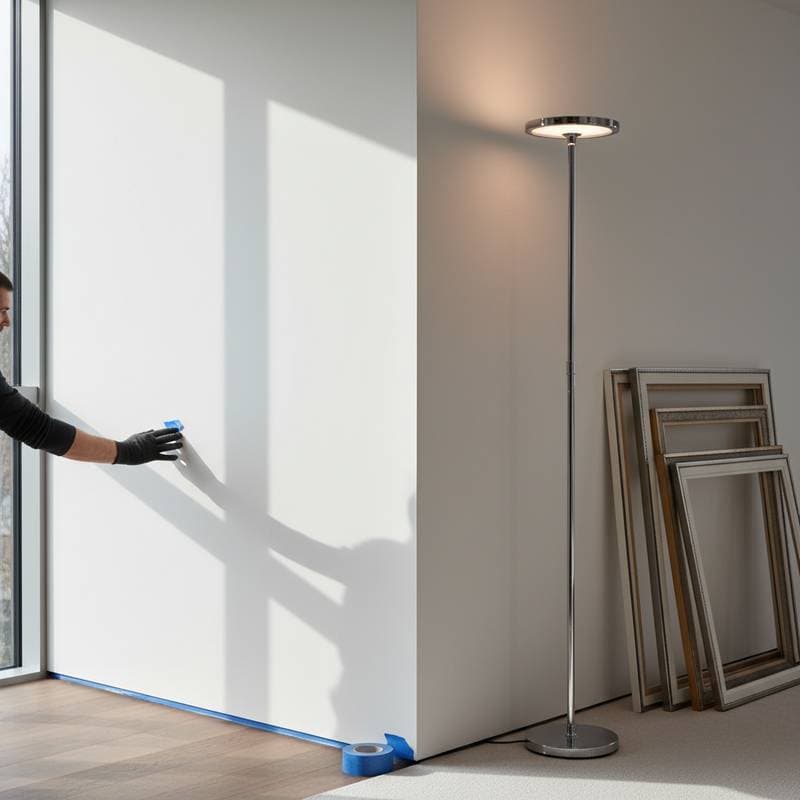
Achieving a Level 5 finish demands precision, starting with well-prepared drywall. Secure all joints with tape and initial compound layers, ensuring no bubbles or gaps remain. Apply the skim coat using broad trowels or spray systems for even distribution, allowing full drying between passes.
Sanding follows with fine-grit tools to refine the surface. A high-build primer may seal the finish, promoting uniform paint absorption. Professionals recommend multiple inspections during the process.
Use these verification methods:
- Angle lighting inspection: Direct a lamp at a shallow angle across the wall. Look for any ridges, shadows, or inconsistencies that indicate further refinement.
- Tactile evaluation: Glide your palm over the surface. It should feel uniformly smooth, free from grit or variations.
- Primer selection: Opt for products designed for skim-coated surfaces to maintain flatness and enhance adhesion.
Practical Considerations for Implementation
Budget constraints do not preclude quality results. Homeowners can experiment with roll-on skim compounds or lightweight mud applied via trowel. Practice on inconspicuous sections to refine technique, or collaborate with contractors for assisted prep work.
For properties aimed at resale, Level 5 walls excel in listing photography, creating inviting backdrops that highlight furnishings. This detail impresses appraisers and potential purchasers seeking turnkey excellence.
Maintaining the Finish Over Time
Preserve the integrity of Level 5 walls through routine care. Clean with mild solutions to avoid abrasion, and match touch-ups to the original primer and paint formula. Strategic placement of protective elements, such as moldings in busy zones, extends longevity.
Repainting becomes straightforward on this stable base, allowing easy updates to styles or hues. Ultimately, a Level 5 finish represents enduring quality that enhances daily living and property worth.