Don't Make This $800 Sanding Mistake Before Painting
Sanding before painting creates the foundation for strong paint adhesion. Homeowners who rush or skip this step often face peeling paint and full repaints that cost around $800. Proper preparation removes contaminants, smooths imperfections, and opens surface pores so primer and paint bond securely.
This guide covers why sanding matters, the specific errors that trigger expensive fixes, and the exact steps to achieve durable results.
Why Sanding Matters Before Painting
Sanding produces a uniform texture that lets paint grip the surface. On wood, metal, or masonry it strips away loose material, old gloss, and embedded dirt. Without this step paint sits on top instead of bonding, which leads to bubbles and flakes within months.
Professionals note that surface preparation accounts for most of a job's longevity. A correctly sanded surface needs less paint and resists wear far longer than one painted over glossy or dusty conditions.
The $800 Sanding Mistake Explained
The error occurs when new paint is applied over glossy finishes, dust, or grease. Homeowners assume primer will compensate, yet primer cannot create grip on a contaminated base. Within weeks the topcoat lifts, requiring scraping, re-sanding, and another full paint application.
Typical triggers include skipping sanding, choosing the wrong grit, neglecting dust removal, and omitting primer after heavy sanding.
Project Cost Breakdown
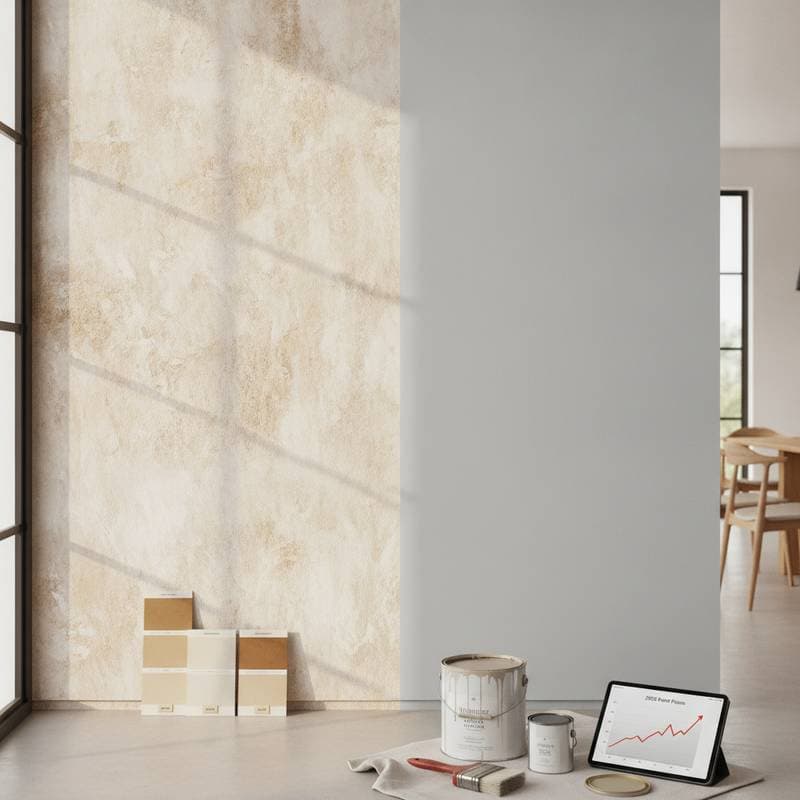
Basic sanding and cleaning for small areas runs $200 to $400. Standard prep that includes minor repairs falls between $500 and $800. Extensive restoration on large or damaged surfaces reaches $900 to $1,500.
Extra charges arise for lead paint containment, major patching, specialty primers, or scaffolding. Surface condition, material type, and accessibility drive the final price more than any other factors.
How Sanding Quality Affects Paint Adhesion
Effective sanding opens microscopic pores and removes the slick layer that blocks bonding. The goal is a light, even roughness rather than a polished finish. On exterior wood this also clears weathered fibers that trap moisture beneath the paint film.
Rushed sanding leaves invisible residue or uneven texture. Both conditions cause early failure even when high-quality paint is used.
Choosing the Right Sandpaper and Tools
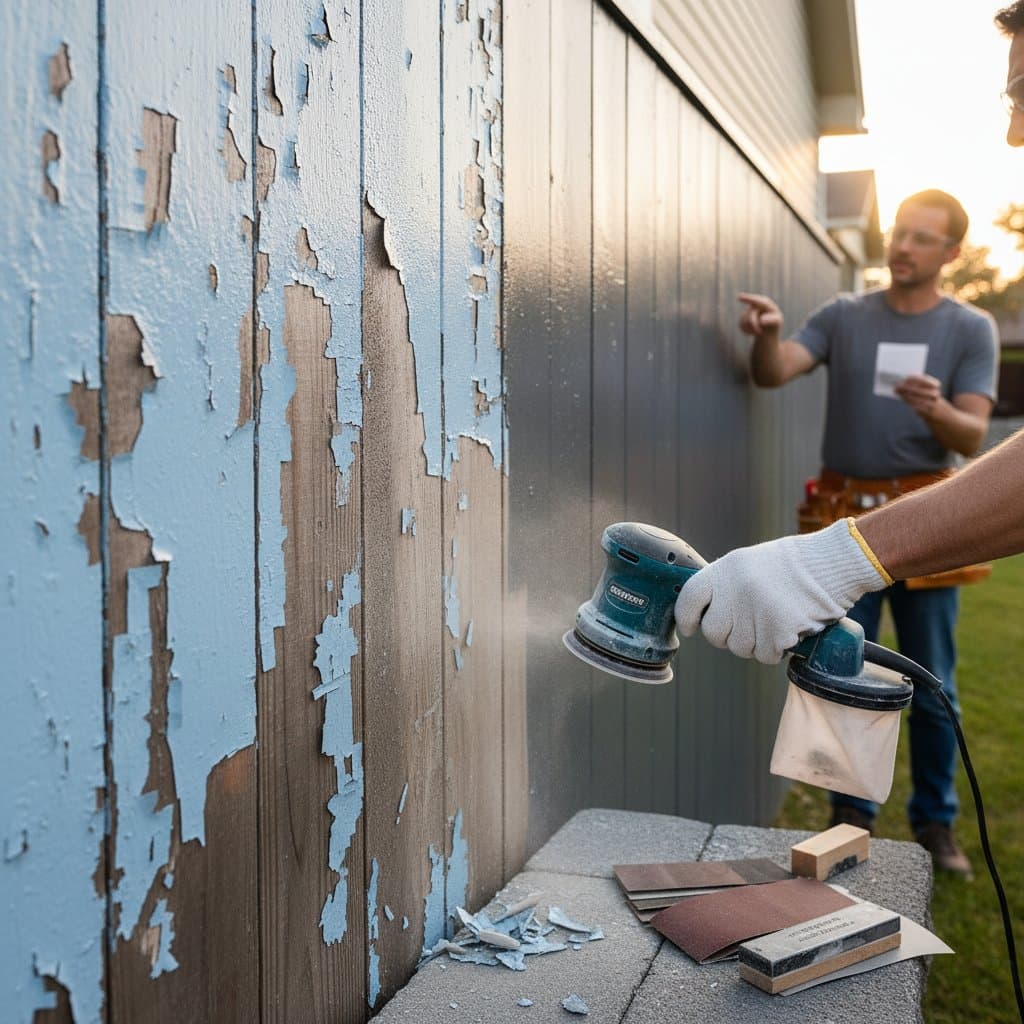
Start with 100- to 120-grit paper on wood siding, then finish with 150- to 180-grit for smoothness. Metal requires finer grits or abrasive pads to control rust without gouging. Power sanders speed large flat areas, while hand sanding gives control on trim and corners.
Always finish by wiping with a tack cloth or damp rag. Residual dust prevents primer from adhering properly.
When to Hire a Professional
Call a contractor when surfaces contain lead paint, multiple old layers, or difficult access. Professionals also handle textured or uneven substrates and deliver consistent pressure across entire walls. They carry insurance and follow disposal rules that protect occupants.
DIY vs. Professional Sanding and Painting
DIY works for furniture or small touch-ups. Full house projects demand steady technique and correct grit progression that most homeowners lack. A crew finishes exterior prep in days rather than weekends.
Professional equipment includes dust extraction that reduces mess and improves results. Renting comparable tools costs $50 to $75 daily plus consumables. Improper DIY sanding often leads to the $800 rework that cancels any initial savings.
Contractor Selection and Hiring Process
Request three written estimates that detail sanding methods and primer choices. Verify licenses, insurance, and recent references before signing. A solid contract lists surface preparation steps, materials, and cleanup duties.
Step-by-Step Surface Preparation Process
- Inspect for peeling paint, moisture damage, and irregularities.
- Clean with mild detergent and allow complete drying.
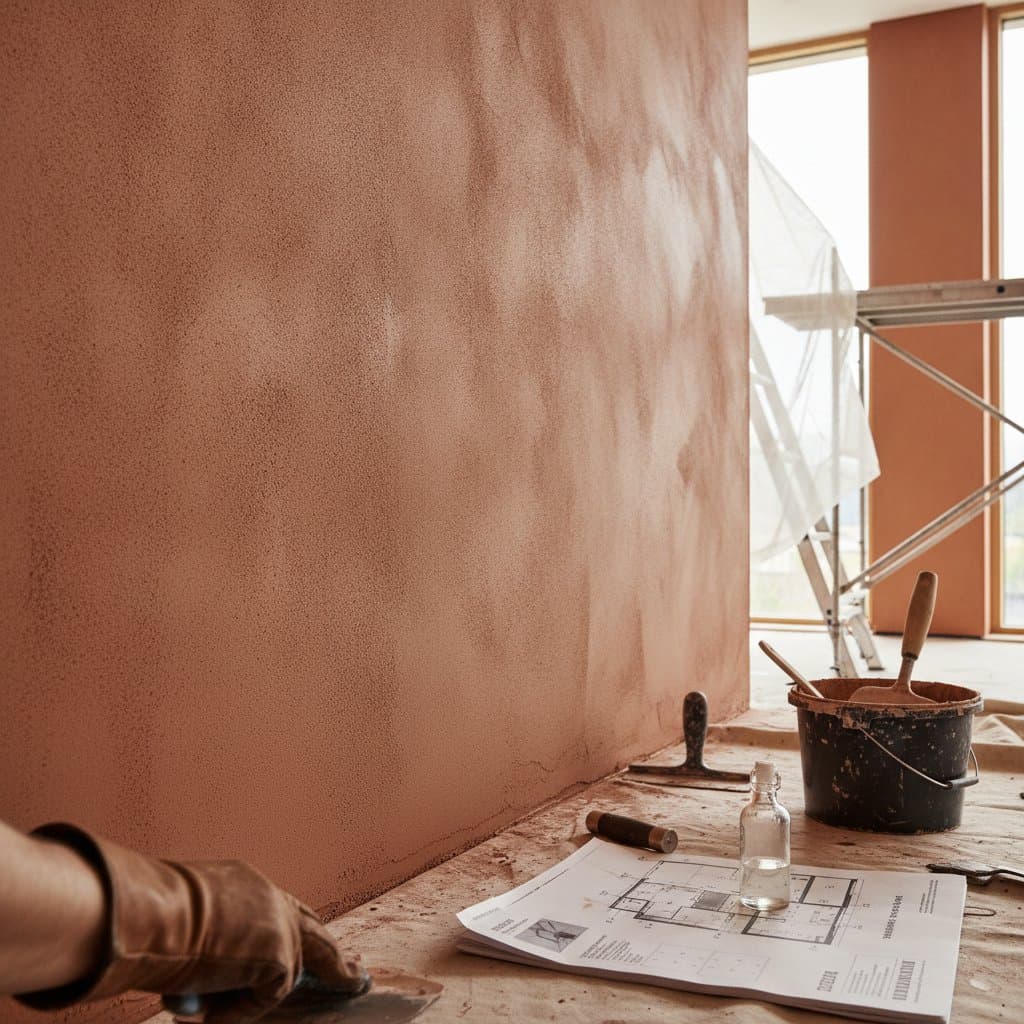
- Scrape loose material, then sand to a uniform lightly rough texture.
- Remove all dust with vacuum and tack cloth.
- Apply a surface-appropriate primer.
- Paint in thin, even coats once primer dries.
- Check the finish and lightly sand any rough spots before the final coat.
Preventing Common Sanding and Painting Problems
Test a small section first to confirm surface condition. Never sand wet or dirty areas. Clean dust thoroughly before priming. Avoid over-sanding that exposes raw substrate. Use primer even with self-priming paints after heavy sanding. Keep sanding strokes consistent for an even base.
Planning Your Project
Assess paint condition and decide whether to handle prep yourself or hire help. Schedule professionals early and confirm all preparation details in writing. Proper sanding protects the entire investment and delivers a finish that lasts for years.