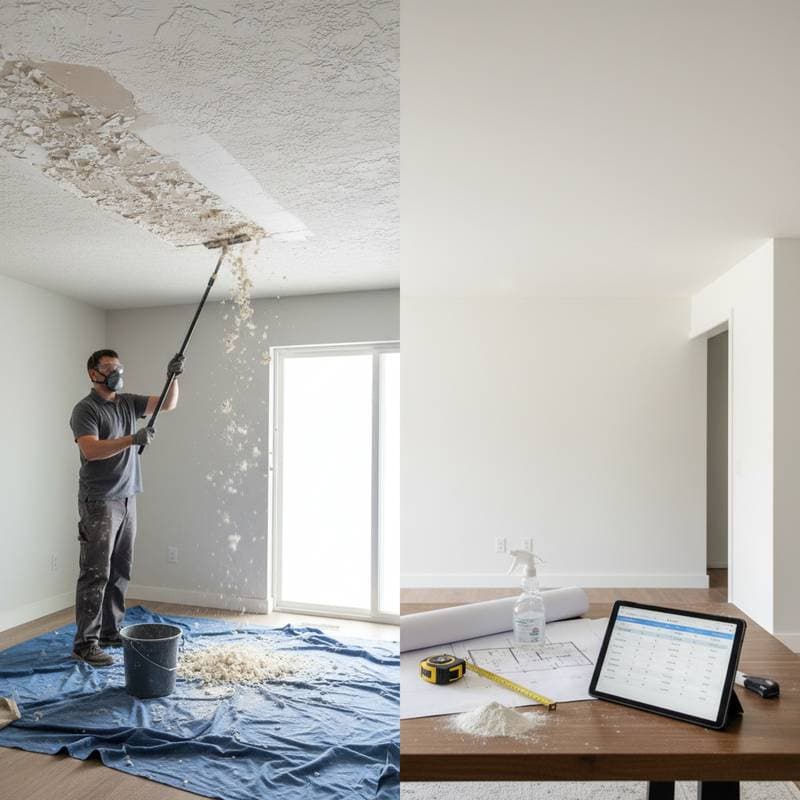
Save on Popcorn Ceilings: DIY vs Pro Cost Breakdown
Popcorn ceilings were once a popular way to add texture and hide imperfections, but many homeowners now prefer smooth, modern finishes. Removing a popcorn ceiling can dramatically update a room, yet deciding whether to do it yourself or hire a professional requires careful cost and process evaluation. Understanding both options helps you budget accurately, plan effectively, and achieve a quality finish without unnecessary spending.
Project Overview
Popcorn ceiling removal involves scraping away the textured coating applied to ceilings in homes built before the 1980s. This process reveals the underlying drywall, which then requires smoothing, patching, and painting for a clean appearance. Homeowners undertake this project to modernize spaces, improve lighting reflection, and increase property value. The scope varies from a single room to an entire house, with total costs depending on square footage, ceiling condition, and chosen method.
Project Cost Breakdown
Average Cost Ranges
- Basic project: $1 to $2 per square foot for simple scraping and minimal finishing in accessible areas.
- Standard project: $2 to $4 per square foot, covering preparation, removal, patching, and basic painting.
- Premium project: $4 to $7 per square foot, including repairs, specialized tools, and high-end finishes.
What's Included
- Plastic sheeting and tape for containment to protect floors and furniture.
- Ceiling scraping and texture removal using water or chemical softeners.
- Minor patching or sanding to address small imperfections.
- Primer and ceiling paint application for a uniform surface.
- Cleanup and debris disposal to leave the area ready for use.
What Costs Extra
- Asbestos testing and remediation, which requires certified professionals.
- Ceiling repairs for cracks or water damage that emerge during removal.
- New drywall installation or retexturing for severely damaged surfaces.
- Painting beyond standard flat white finishes, such as textured or colored options.
Factors That Affect Final Cost
| Factor | Cost Impact | Examples |
|---|---|---|
| Ceiling height | Higher labor time | Vaulted or tall ceilings |
| Condition | Additional prep or repair | Damaged or uneven surfaces |
| Paint choice | Material cost change | Premium paints increase total |
| Location | Regional labor differences | Urban areas often cost more |
DIY Popcorn Ceiling Removal
Materials and Equipment
DIY removal requires plastic drop cloths to cover surfaces, painter's tape for sealing edges, a wide scraping tool like a drywall knife, a spray bottle for moistening, and ceiling paint for finishing. Most supplies can be found at hardware stores for around $50 to $150 total, depending on room size. Safety gear such as goggles, gloves, and a dust mask is essential to prevent irritation from falling debris and airborne particles.
Process
- Preparation: Move furniture to the center of the room, cover floors and walls with plastic sheeting, and turn off ceiling fans or lights to avoid interference.
- Moistening the surface: Lightly spray water on small sections, about 4 feet by 4 feet, to soften the texture without soaking the drywall.
- Scraping: Gently scrape the damp texture with a steady motion, being careful not to gouge the underlying drywall.
- Smoothing: Sand any rough spots with fine-grit sandpaper and fill imperfections using joint compound applied with a putty knife.
- Finishing: Apply a primer coat to seal the surface, followed by two coats of ceiling paint for a uniform look.
Time and Effort
A DIY project can take several hours for a single 12-by-12-foot room or multiple weekends for a full home. The pace depends on ceiling size, texture thickness, and your comfort level with manual work. Cleanup often takes longer than expected, as fine dust settles across surfaces and requires vacuuming with a shop vac and wiping down walls.
Pros
- Lower direct costs compared to professional services.
- Flexibility to work at your own pace without scheduling constraints.
- Personal satisfaction from hands-on work and visible progress.
Cons
- Significant physical effort and mess from dust and debris.
- Risk of damaging drywall if scraping is too aggressive.
- Lower finish quality if you lack experience with smoothing techniques.
- Safety concerns if asbestos is present, which requires professional handling.
Hiring a Professional Contractor
Process and Benefits
Professional contractors use specialized equipment like automatic sprayers and industrial vacuums, containment systems to minimize dust, and trained crews to complete the job efficiently. Most handle all preparation, removal, repair, and cleanup stages. They also ensure compliance with safety and disposal regulations, particularly when asbestos is involved, reducing liability for homeowners.
Professional Cost Breakdown
Hiring a contractor typically costs $2 to $5 per square foot for non-asbestos ceilings, covering labor and basic materials. Projects with asbestos testing or remediation can range from $5 to $10 per square foot, including protective gear and licensed disposal. These costs reflect the expertise needed to avoid damage and achieve professional results.
What You Get for the Price
- Skilled labor with experience handling fragile surfaces and complex repairs.
- Dust containment systems and thorough cleanup to protect your home.
- Smooth, even finish ready for painting or further customization.
- Faster completion times and reduced homeowner stress from the process.
Professional vs. Handyman
A licensed painting or drywall contractor is ideal for large or complex projects involving high ceilings or potential hazards. A handyman might be suitable for small rooms without damage or safety risks, often at a lower rate. Always verify licensing, insurance, and references before hiring to ensure reliable work.
When DIY Makes Sense
DIY removal suits homeowners with smaller projects, such as a single bedroom or bathroom under 200 square feet, where ceilings are low and in good condition. It works well if you have basic handyman skills, time to dedicate over a weekend, and the material tests negative for asbestos. Consider this option to save on labor costs, but prepare for the physical demands and potential for extended cleanup. If the project involves vaulted ceilings, extensive repairs, or uncertainty about hazards, professional help provides better outcomes and peace of mind.
Planning Your Project
- Test for asbestos before disturbing any material. Use a certified lab kit or hire an inspector to analyze samples, as disturbing asbestos can pose health risks.
- Get at least three quotes from qualified professionals. Compare what each includes in their pricing, such as materials and cleanup, to find the best value.
- Plan for additional repairs since ceiling imperfections often appear after scraping. Budget 20 to 30 percent extra for patching cracks or water damage.
- Set realistic expectations for cleanup time and surface quality. Smooth, modern ceilings take careful finishing work, including multiple sanding rounds.
- Confirm insurance coverage for both you and the contractor to protect against accidental damage to fixtures or walls.
Frequently Asked Questions
1. How much does it cost to remove popcorn ceilings per square foot?
Most homeowners pay between $1 and $4 per square foot for standard removal. Labor, ceiling height, and repairs influence the total. Testing or asbestos removal can raise prices up to $10 per square foot.
2. How long does popcorn ceiling removal take?
A professional crew can finish an average 12-by-12-foot room in one to two days, including prep and cleanup. DIY projects often take longer due to setup, breaks, and limited tools.
3. Is it safe to remove popcorn ceilings yourself?
Yes, if the material is asbestos-free and you use proper safety gear like masks and goggles. Always test before scraping. If asbestos is found, hire a certified abatement company.
4. Should I hire a handyman or a licensed contractor?
A handyman may handle small, straightforward jobs under 100 square feet. For larger areas, damaged ceilings, or any structural concerns, choose a licensed contractor with insurance and solid references.
5. What should I expect during professional popcorn ceiling removal?
Professionals seal off the area with plastic barriers, use water-based scraping or sanding tools, repair imperfections with joint compound, and apply primer and paint. They handle debris disposal and leave the space clean and ready for use.
6. What common problems occur after removal?
Minor drywall damage, uneven patches, or leftover residue can appear. A light skim coat of joint compound and primer usually solve these issues. Hiring experienced painters ensures a flawless final finish.
Achieve a Modern Ceiling Finish
Removing popcorn ceilings transforms outdated spaces into bright, contemporary areas that enhance your home's appeal. Whether you choose DIY for cost savings or professionals for efficiency, focus on safety testing and thorough planning to avoid surprises. With the right approach, you secure a smooth surface that boosts room aesthetics and resale potential.


