Cut Drywall Mud Drying Time by 60 Percent with Dehumidifiers
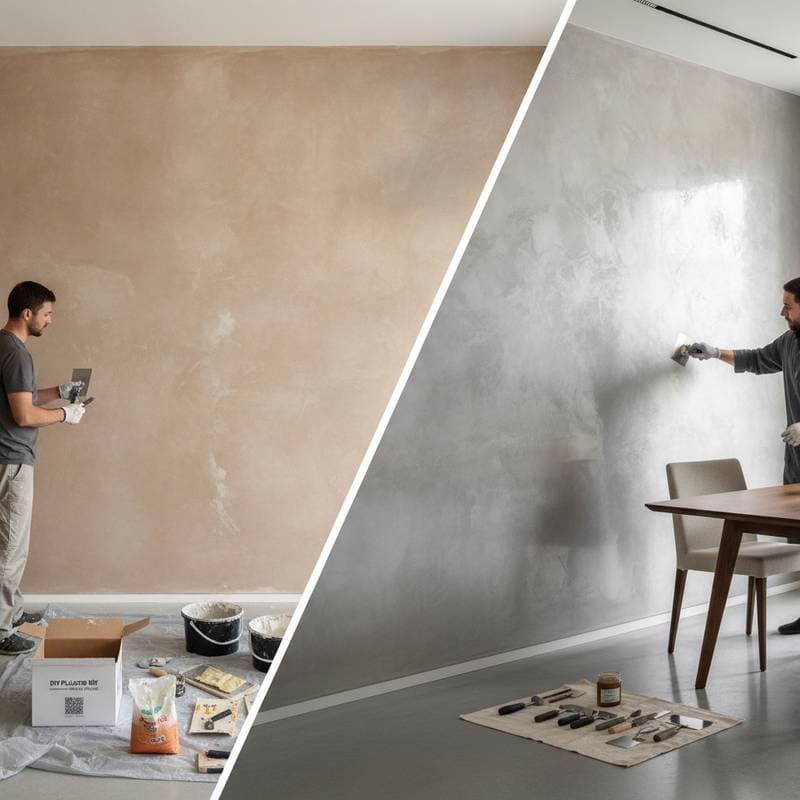
Waiting for drywall mud to dry before sanding or painting often delays projects, particularly when deadlines approach. Professionals and DIY enthusiasts alike face this challenge during renovations. A dehumidifier offers a reliable solution, reducing drying time by up to 60 percent and producing smoother, more consistent finishes.
This guide explains the mechanism, benefits, and practical application of dehumidifiers across various budgets and project scales.
The Science of Accelerated Drying
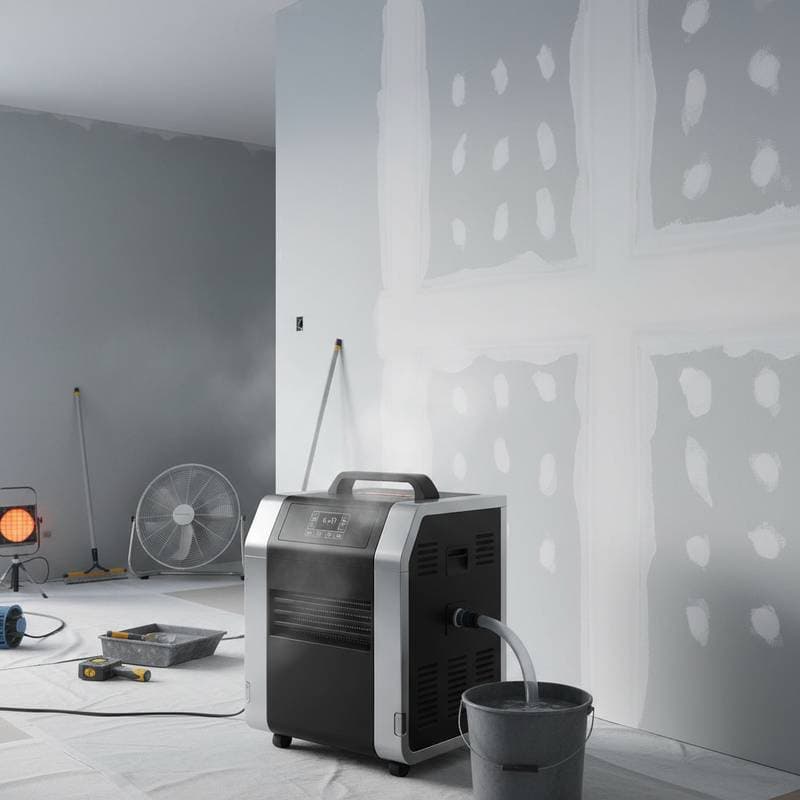
Drywall mud relies on water as a carrier, which must evaporate into the surrounding air after application. High humidity limits the air's capacity to absorb additional moisture, slowing the process. A dehumidifier removes excess water vapor, creating drier air that enhances evaporation from the mud.
Maintaining relative humidity between 40 and 50 percent optimizes drying speed while preventing cracks or shrinkage. This controlled environment ensures the compound remains stable and yields even surfaces. Professionals apply this principle in studio builds and rapid painting tasks to achieve quick results without compromising quality.
Selecting a Dehumidifier for Your Project
Choosing the right dehumidifier depends on project size, frequency, and budget. Basic models suit small jobs, while advanced units handle larger spaces. Consider capacity, portability, and features like humidity sensors for efficient operation.
Basic Option: Entry-Level Units for DIY Projects
For single-room renovations or occasional use, select a compact dehumidifier with a daily moisture removal capacity of 20 to 30 pints. These units operate quietly and require minimal setup, ideal for homeowners tackling weekend tasks.
Tips for success:
- Position the unit to cover the entire work area without obstruction.
- Empty the water reservoir regularly to maintain performance.
- Use in conjunction with natural ventilation on mild days.
Cost range: Approximately 100 to 200 dollars.
Mid-Range Option: Contractor-Grade Units
For multiple rooms or commercial applications, opt for a professional-grade dehumidifier that removes 50 to 70 pints of moisture per day. These models feature digital controls for precise humidity settings and can operate continuously during extended jobs.
Tips for success:
- Target 45 percent humidity for optimal drying balance.
- Clean the air filter before each major project to ensure efficiency.
- Integrate with box fans to promote even air circulation.
Cost range: Roughly 300 to 600 dollars.
Advanced Option: Industrial Units for Large-Scale Work
High-volume projects, such as whole-home remodels, benefit from industrial dehumidifiers capable of extracting over 100 pints daily. Equipped with auto-drain systems and remote monitoring, they minimize downtime and adapt to varying conditions.
Tips for success:
- Calibrate settings based on room volume for maximum effectiveness.
- Schedule maintenance to prevent buildup in high-dust environments.
- Combine with air purifiers to manage particulates during finishing.
Cost range: 700 dollars and above.
Step-by-Step Guide to Setup and Drying
Effective drying requires more than equipment; proper configuration ensures professional outcomes. Implement these steps systematically for reliable results.
- Seal the Space: Close doors, windows, and vents to isolate the area from external humidity.
- Regulate Temperature: Maintain 65 to 75 degrees Fahrenheit to support consistent evaporation.
- Enhance Airflow: Position fans to circulate air gently over wall surfaces, avoiding direct blasts on fresh mud.
- Install the Dehumidifier: Place it centrally, ensuring unobstructed intake and exhaust paths.
- Track Humidity Levels: Employ a hygrometer to monitor and adjust toward 45 percent.
- Adjust Circulation Periodically: Reposition fans every few hours to cover corners and hard-to-reach areas.
- Test for Readiness: Lightly touch the surface; proceed to sanding when it feels dry and powdery.
Following this process often shortens drying from overnight to several hours, benefiting both professionals and DIYers.
Avoiding Common Pitfalls in the Drying Process
Certain errors can hinder progress or damage results. Address these issues proactively to maintain efficiency.
- Excessive Heat: High temperatures dry the exterior prematurely, causing internal moisture to crack the surface.
- Inadequate Air Movement: Stagnant air traps humidity in pockets; always ensure circulation.
- Neglected Maintenance: Dirty filters impair dehumidifier performance; inspect and clean routinely.
- Overly Aggressive Drying: Dropping humidity below 30 percent leads to brittle compounds and weak bonds.
- Excessive Application Thickness: Thick layers retain moisture longer; apply in thin, even coats.
Correcting these practices elevates the quality of every project.
Advanced Techniques for Superior Finishes
Experienced applicators employ these strategies to refine the drying process further. Integrate them into residential or commercial workflows for enhanced precision.
- Sequence Coats Strategically: Apply the initial layer in the morning, activate the dehumidifier, and inspect before the next application to sustain momentum without haste.
- Incorporate Setting-Type Compounds: Select chemically hardening joint compounds for urgent timelines; pair with humidity control for rapid, durable results.
- Manage Dust During Sanding: Continue dehumidifier operation to settle airborne particles through consistent airflow.
- Verify with Moisture Tools: Use a meter to confirm surface moisture below 1 percent prior to priming.
- Target Challenging Areas: Direct fans toward corners and ceilings, which dry more slowly due to limited exposure.
These methods distinguish expert work and simplify even initial drywall efforts.
Integrating Humidity Control into Broader Finishing Practices
Mastering dehumidifiers extends benefits beyond drywall to paint application, plaster setting, and flooring installation. Balanced humidity streamlines each stage, reducing errors and timelines.
For business operations, log environmental data as a quality benchmark; reliable conditions foster client trust through punctual, high-quality deliveries. Homeowners gain assurance, eliminating uncertainty about readiness for subsequent steps and minimizing revisions for greater enjoyment of completed spaces.