Avoid the $800 Sanding Mistake on Exterior Repaints
Fresh paint improves curb appeal and protects a home from moisture. Before any brush touches the siding, sanding determines whether the new finish lasts or fails. Skipping or rushing this step leads to peeling, blistering, and extra costs that often reach several hundred dollars. Proper sanding creates the texture paint needs to bond and perform over time.
Recognizing the Cost of Poor Preparation
Many homeowners see rough or flaking paint and assume a quick scrape is enough. They apply new paint only to watch it fail within days or weeks. The surface then requires complete sanding, additional paint, and extra labor to correct the bond failure. This sequence repeats each painting season when preparation is overlooked.
Sanding is not limited to smoothing. It removes loose material, evens transitions between old and new layers, and opens wood pores for primer adhesion. Without this texture, moisture penetrates and lifts the coating regardless of paint quality.
The Role of Sanding in Paint Adhesion
Paint requires a micro-texture to grip the substrate. Shiny, chalky, or flaking surfaces prevent this grip. A thorough sanding eliminates oxidation, balances surface levels, and prepares wood or composite siding for even primer absorption. The same preparation standards used in demanding production environments apply directly to residential exteriors.
Recommended Tools and Grits
Effective results are possible with basic equipment. Hand sanding blocks and medium-grit paper work for small areas or touch-ups. A random orbital sander with dust collection provides consistent results on larger surfaces without gouging. Vacuum-assisted systems reduce airborne particles on multi-story homes.
Begin with 80- or 100-grit paper to remove rough edges. Progress to 150- or 180-grit for the final pass. Consistent resistance across the surface indicates the correct finish has been reached.
Verifying Surface Readiness
After sanding, pass a hand over the area to detect remaining ridges or flakes. Wipe with a damp cloth; any chalky residue signals incomplete oxidation removal. Repeat light sanding until the cloth stays clean. A second check uses painter's tape pressed firmly and pulled away quickly. Any lifted paint indicates further preparation is required.
Managing Project Time and Resources
Surface preparation typically accounts for 25 to 40 percent of labor on a quality repaint. Homeowners who perform the work themselves benefit from dividing the house into daily zones, such as one wall per session. Primer must be applied within 24 hours of final sanding to prevent moisture reabsorption.
When hiring professionals, request a detailed estimate that lists preparation steps. Lower bids frequently omit these stages.
Errors That Compromise Results
Several common mistakes reduce finish quality. Over-sanding bare wood to a polished state closes the grain and blocks primer. Dust left on the surface acts as a barrier layer. Uneven pressure creates swirl marks visible under glossy paint. Changing grits within a single wall produces inconsistent absorption. Rain between sanding and priming causes wood to swell, requiring additional drying time.
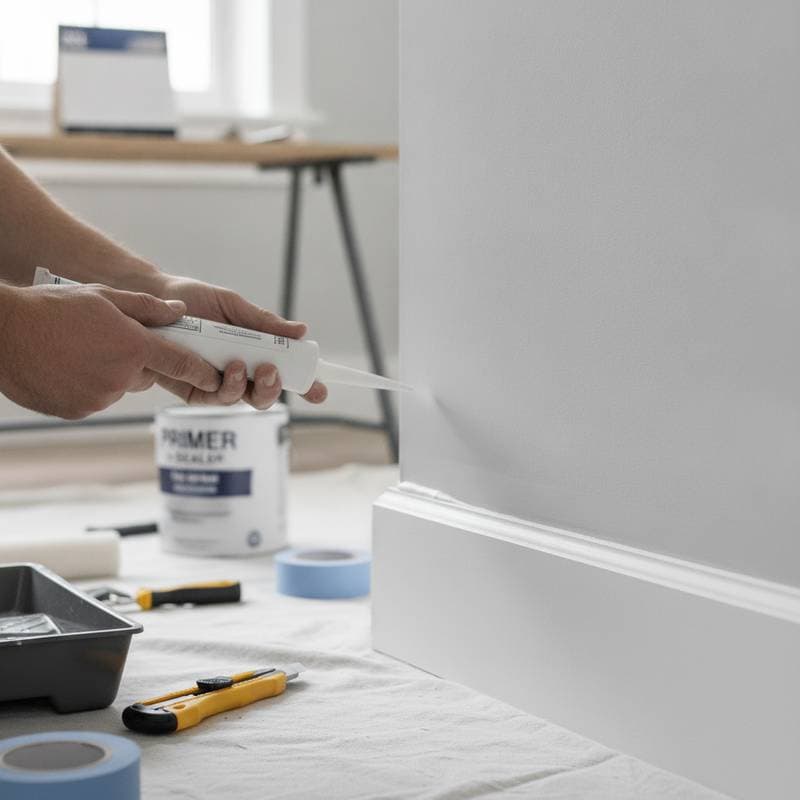
Helpful Products for Efficient Preparation
Liquid deglossers soften old finishes on trim and metal without heavy abrasion. Flexible sanding sponges reach corners and profiles effectively. Sanders equipped with HEPA filtration limit dust and simplify cleanup. High-bond primers can reduce sanding intensity on surfaces that remain in good condition, though a test area is always advised first.
Final Inspection Points
Three checks confirm readiness for primer. The surface must appear uniform without shiny or dull patches. Hand contact in multiple directions should feel consistent. A clean, dry wipe must leave no clinging dust. When these conditions are met, the substrate is prepared for a durable coating.
Maintaining the New Finish
Light annual washing with mild soap and a soft brush preserves appearance. Power washing risks breaking the paint seal. Early signs of wear should be addressed with spot sanding and touch-up to avoid larger repairs later. Thorough preparation at the start reduces long-term maintenance demands.