Why Sanding Shortcuts Ruin Your $500 Paint Job
You have selected your color, acquired the paint, and prepared to begin. The anticipation builds. Before applying the first brushstroke, however, one essential step determines the outcome: sanding. Neglecting or hastening this process saves mere minutes but often results in peeling, bubbling, and a complete redo that exceeds the initial time savings. This article explains why sanding shortcuts undermine a $500 paint job and provides methods to achieve professional results without excessive costs.
The Importance of Surface Preparation
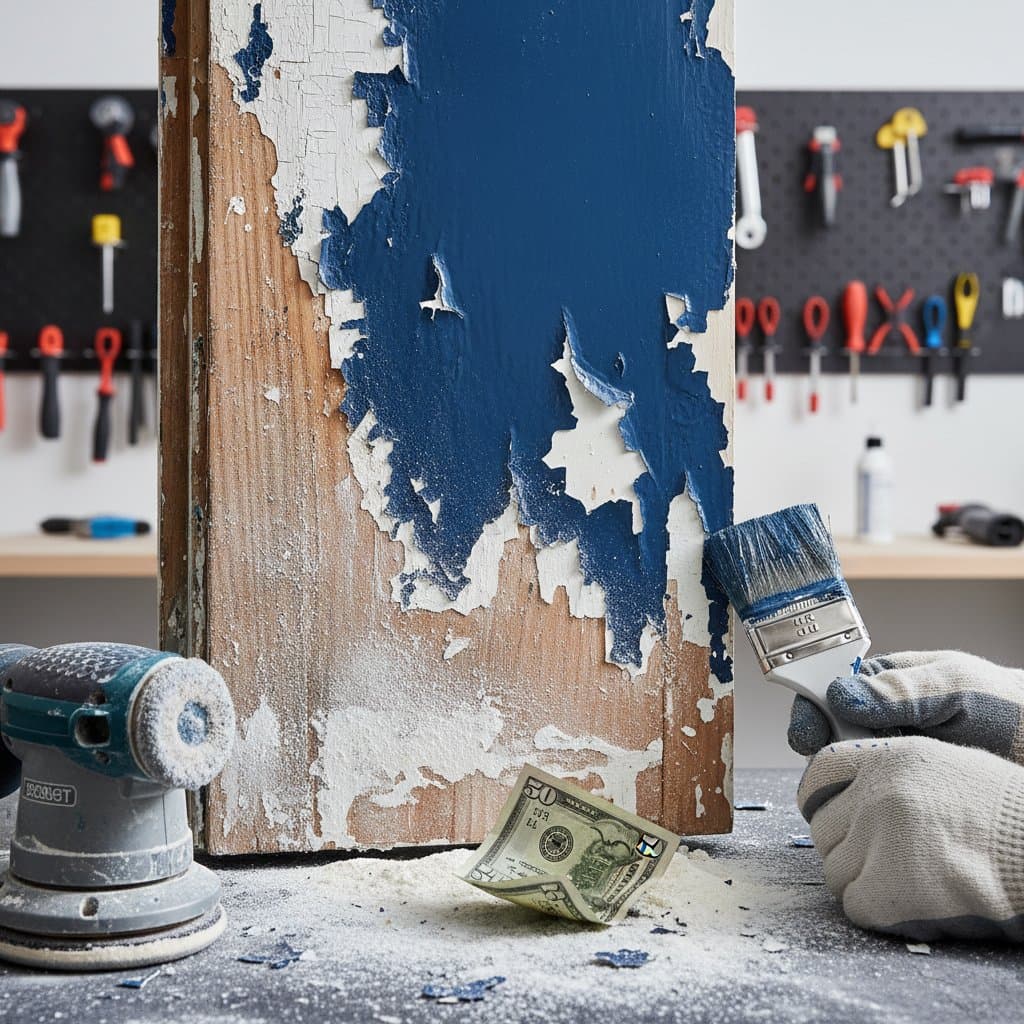
Paint bonds to a surface rather than merely resting upon it. An uneven, dirty, or overly smooth substrate prevents proper adhesion. Sanding produces microscopic scratches that serve as anchors for the new paint layer. Without these anchors, even premium paint fails ahead of schedule.
In set construction, client residences, and commercial endeavors, I have observed flawless finishes endure for a day or a week before bubbles emerge. Corners chip easily. Entire sections peel upon contact with furniture. In each instance, inadequate surface preparation proves the culprit. The paint performs as intended; the preparation falls short.
Consequences of Skipping Sanding
Consider the true expense of time-saving measures:
-
Inadequate adhesion. Paint adheres to dust, grease, or glossy residues rather than the underlying material. Initial appearance may satisfy, but lifting occurs rapidly.
-
Irregular texture. Previous brush strokes, chips, and scratches become visible through the new layer, forming shadows and ridges.
-
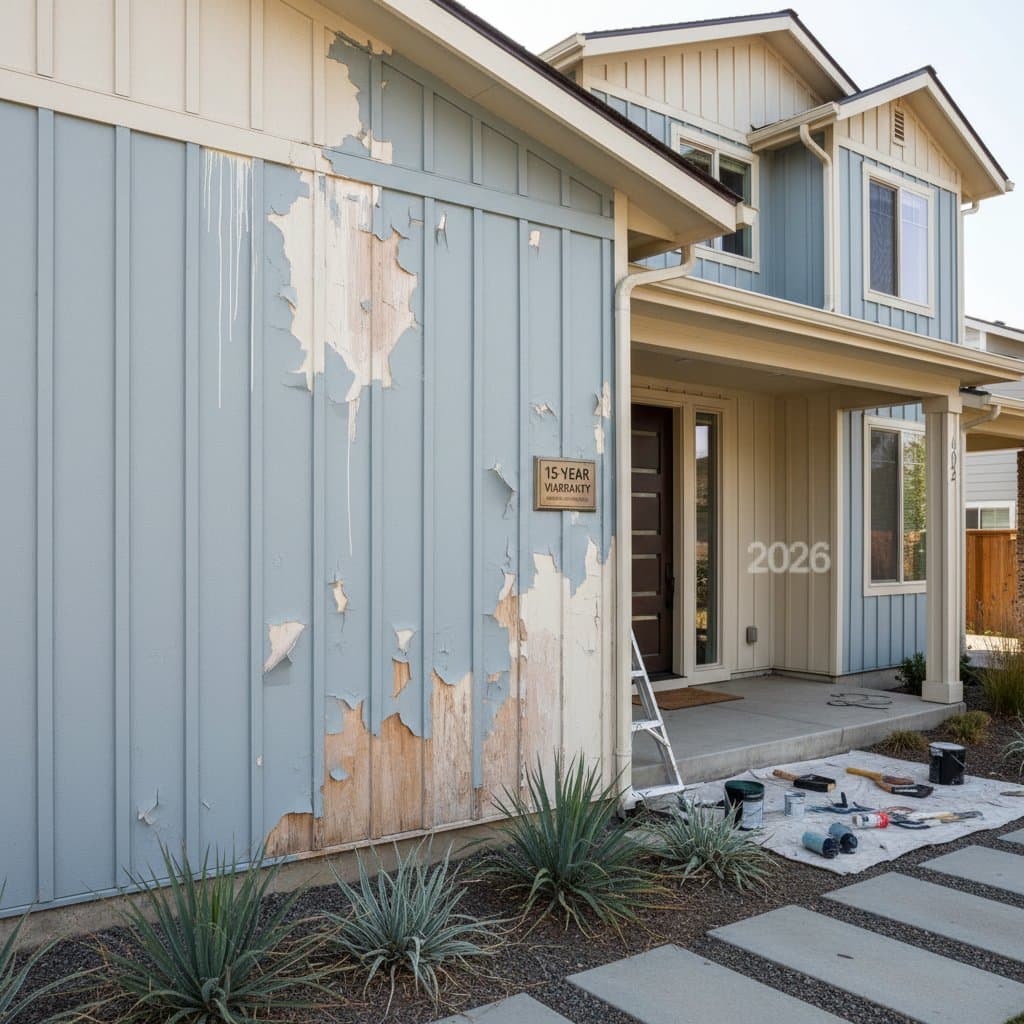
Early peeling. Absent a mechanical bond, paint layers detach, particularly in humid or high-traffic environments.
-
Financial loss. Quality paint demands investment. Without sanding, durability and aesthetics diminish.
A $500 project escalates to a $900 correction upon stripping and repainting. Such outcomes prove costly and frustrating.
Professional Sanding Techniques on a Budget
Effective sanding requires no extravagant equipment or prolonged effort, only the correct method. DIY enthusiasts and small business leaders alike can produce superior finishes with these guidelines.
Budget-friendly approach:
Employ a sanding block or medium-grit sandpaper (120-150 grit) with manual effort. This option remains inexpensive, silent, and suitable for rentals. Target glossy areas and rough spots for removal. After sanding, wipe the surface with a damp cloth to eliminate dust particles.
Moderate investment approach:
A hand sander or sanding sponge accelerates work on extensive walls or furniture. Attach a vacuum if available to manage dust. Progress to fine-grit paper (180-220 grit) for a refined base.
Premium investment approach:
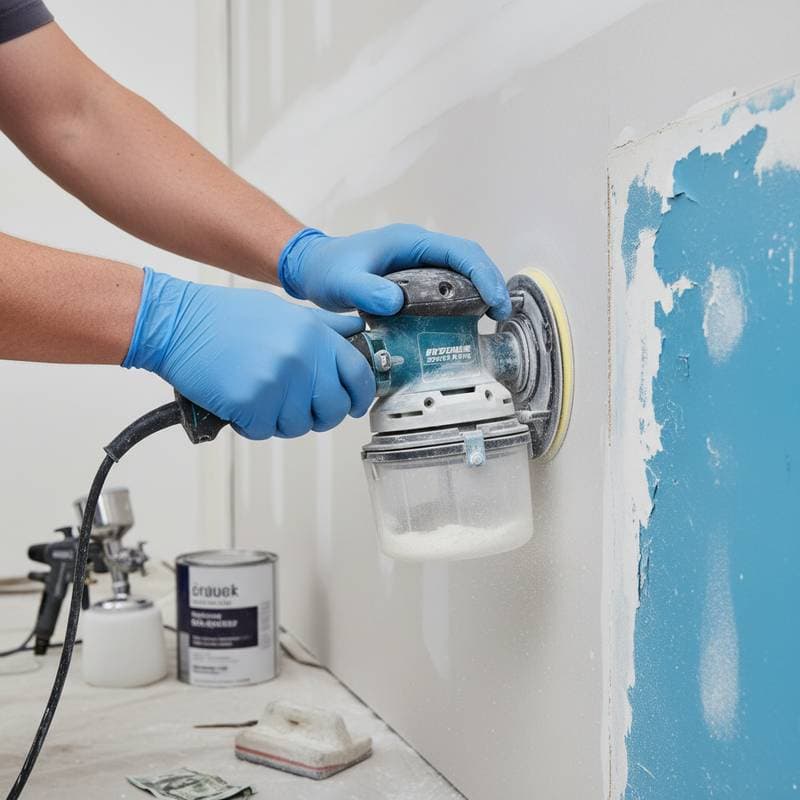
Random orbital sanders transform efficiency for professionals or regular users. They level surfaces swiftly and avoid swirls with proper technique. Maintain small circular motions and keep the pad parallel to the surface.
Regardless of selection, aim for a clean, matte, uniform surface that feels even to the touch.
Debunking the Quick Scuff Approach
A common belief holds that steel wool or a superficial sandpaper pass suffices. This assumption misleads. Glossy elements, such as trim or aged cabinets, demand comprehensive deglossing. Superficial efforts address only peaks, leaving valleys intact and glossy. Paint applies unevenly, with glossy regions repelling it.
In time-sensitive set designs, the contrast between minimal scuffing and thorough sanding becomes evident. Cameras detect every irregularity. Sunlight on home walls reveals similar defects. Shortcuts manifest clearly.
Essential Tools and Materials for Efficient Sanding
Select intelligent, cost-effective tools for sanding. Recommended items include:
-
Vacuum-assisted sanders. These maintain air quality and minimize post-task cleanup.
-
Sanding sponges. Ideal for contours, edges, and trim, they adapt to irregular forms and outlast paper alternatives.
-
Liquid deglossers. On high-gloss substrates, these soften coatings prior to sanding, simplifying the process.
-
Tack cloths. Sticky fabrics capture residual dust before painting, ensuring a pristine start.
These choices yield substantial improvements with minimal expense.
Impact of Sanding on Color and Finish
Lighting amplifies texture, a principle from television production. Unsanded walls display bumps and patches under sidelight. A level surface enhances color depth and uniformity. Paint light reflection varies with texture, so sanding preserves the intended hue.
A studio set required three repaints before identifying preparation as the issue. Filler had not received sufficient sanding, and the gloss exposed flaws. This experience underscores that meticulous preparation yields expert results.
Preventing Frequent Sanding Errors
Sanding with good intentions can still falter. Follow these practices to proceed correctly:
-
Avoid excessive sanding. Breaching primer or prior finishes exposes raw areas that absorb paint inconsistently.
-
Handle edges carefully. Corners and trim abrade quickly; apply reduced pressure.
-
Clean between grits. Transitioning from coarse to fine without removal leaves abrasive particles that mar the surface.
-
Verify by touch. A smooth, uniform feel indicates readiness. Persistence with light pressure resolves remaining issues.
Such precautions prevent new complications.
Knowing When to Hire Professionals
Surfaces with flaking layers, pronounced texture, or moisture damage may exceed sanding's scope. Experts evaluate needs for stripping, priming, or repairs beforehand. Investing in professional preparation often proves economical versus repeated DIY failures. Specialists employ dust containment, respirators, and precise grit progressions tailored to materials.
Achieving Enduring Results Through Preparation
Cured paint delivers satisfaction in every room entry: seamless walls, consistent color, intact edges. This quality stems from diligent preparation overlooked by many. Sanding lacks allure yet underpins every durable finish.
Clients praise paint that retains vibrancy for years, a testament to thorough prep. For any scale of project, prioritize proper sanding. Your $500 investment endures, appearing far superior.


