Why Testing Paint in Five Spots Prevents Costly Errors
Selecting a paint color seems straightforward initially, yet experienced painters recognize how dramatically the hue can change once applied to walls. Factors such as lighting, surface textures, and adjacent decor influence the appearance significantly. By testing paint in multiple locations before a full application, homeowners preview the color under actual conditions. This precaution saves time, reduces expenses, and eliminates frustration from subsequent repaints.
Evaluating samples in five distinct areas offers comprehensive insight into light and space interactions. Walls receive illumination differently, so a shade that appears vibrant in one corner might seem subdued or intense in another. Homeowners who grasp these nuances prior to engaging painters or buying bulk paint sidestep disappointments and extra expenditures.
Factors Influencing Paint Appearance After Application
The color of paint extends beyond the pigments in the container. Surfaces reflect and absorb light in unique ways, with wall texture, sheen levels, and primer hues all contributing to the outcome. Flat finishes absorb light to soften tones, whereas glossy ones reflect it, resulting in brighter or lighter shades.
Natural daylight fluctuates from morning through evening, while artificial sources introduce further complexity. Incandescent bulbs emphasize warm yellow undertones, and cool LED lights can impart a bluish cast. Homeowners frequently overlook these dynamics until the paint dries, leading to unexpected results.
Multiple testing locations account for these elements effectively. Samples reveal interactions with daylight, overhead lights, and shadows. This method fosters a precise prediction of the completed look prior to extensive work.
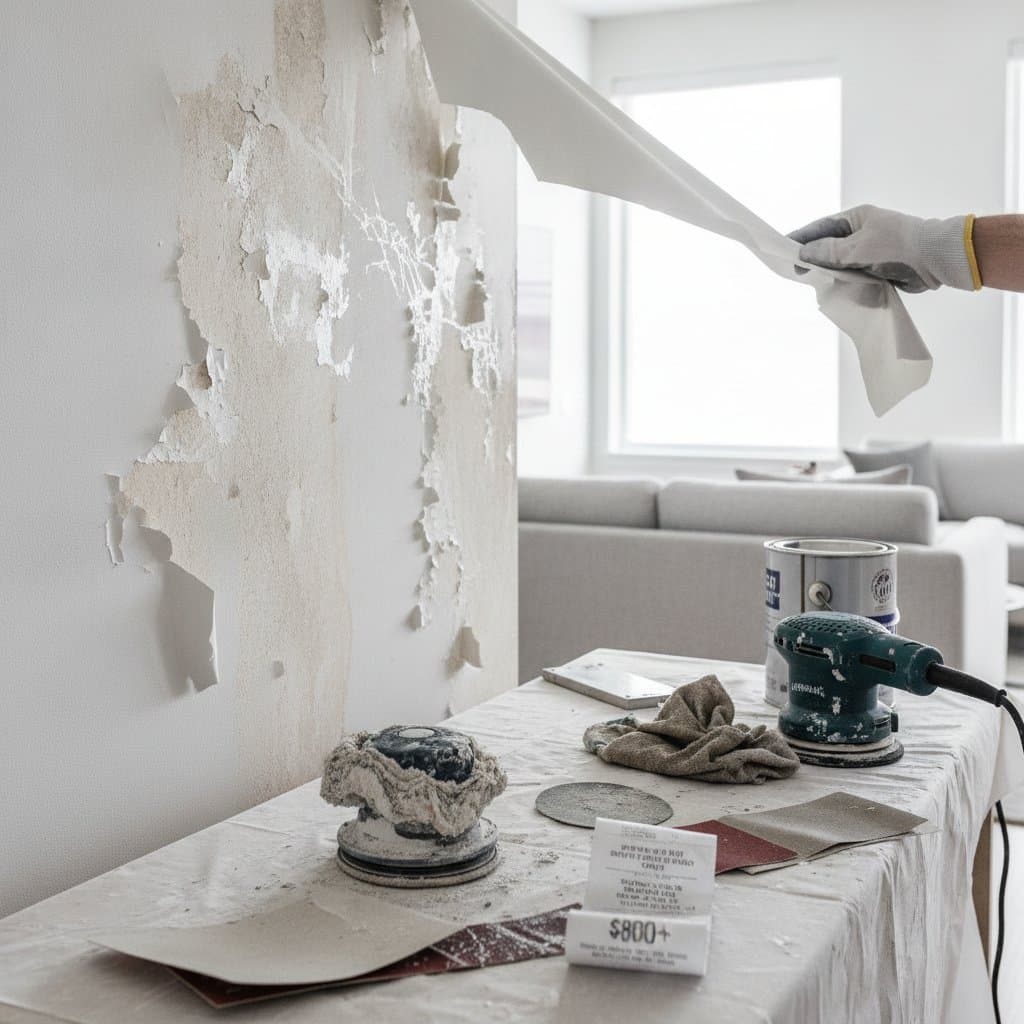
Project Cost Overview
Typical Cost Ranges
- Basic paint sampling: $20 to $50
- Professional color consultation: $75 to $200
- Full-room repainting: $400 to $1,200
- Whole-home repainting: $3,000 to $8,000
Standard Inclusions
- Small sample pots for application
- Surface cleaning and minor repairs
- Precise application of test patches
- Assessment under varied lighting scenarios
Additional Expenses
- Custom tinting or color modifications
- Specialized options like metallic or textured paints
- Repainting to correct initial selections
- Fees for travel or setup in distant or expansive properties
Key Cost Influences
| Factor | Cost Impact | Examples |
|---|---|---|
| Paint quality | +10% to +40% | High-end paints cover efficiently with fewer layers |
| Surface state | +15% | Rough or flawed walls demand thorough priming |
| Lighting types | Neutral | Bulb variations may necessitate shade tweaks |
| Room dimensions | +20% or higher | Bigger areas elevate material and labor needs |
Strategic testing in five spots averts the largest expense: repainting due to color dissatisfaction. Even minor fixes accumulate costs when factoring in supplies, labor, and restoration.
Implementing the Five-Test Method
A single test patch often misleads, as it fails to capture the room's full dynamics. Reliable assessment demands five targeted positions throughout the space. Consider these placements:
- Sunlit wall: Position facing a window for direct natural exposure.
- Shaded zone: Select an area with minimal direct sunlight, like north-facing sections.
- Artificially lit surface: Choose near overhead fixtures or task lamps.
- Adjacent to trim: Test beside woodwork or cabinetry to evaluate contrasts with existing elements.
- Focal wall: Apply to the primary view upon entry for overall impact.
These spots collectively illustrate the color's behavior. Together, they expose hidden undertones, such as a green shifting to gray in low light or a blue taking on purple hues near incandescent sources.
Timeline for Testing and Observation
The testing sequence spans several days for thoroughness. Apply samples and allow complete drying before initial review. Monitor each patch across morning, afternoon, and evening to track light-induced changes; allocate two to three days for this phase.
Capture photographs of tests under diverse conditions for objective comparison. This technique aids in selecting the optimal shade without memory reliance. Upon finalizing the choice, coordinate priming and full painting, often commencing within days based on scope.
Choosing Between Professional and DIY Testing
Homeowners may apply samples independently, though experts yield superior accuracy. Professionals prepare surfaces meticulously to represent colors faithfully and account for primer effects on shades.
Ideal Scenarios for DIY Testing
- Availability of basic tools and materials already on hand
- Walls that are clean, even, and undamaged
- Projects limited to compact rooms
Benefits of Professional Testing
- Homes featuring intricate lighting or expansive layouts
- Selections involving unique finishes or vibrant hues
- Desire for specialized recommendations prior to bulk purchases
Experts match samples to current decor and offer comparative views. Such expertise detects subtle discrepancies that emerge only post-completion.
Steering Clear of Frequent Testing Pitfalls
A prevalent oversight involves applying samples over outdated paint without priming, which skews the new hue, particularly against darker bases. Prime small sections first for fidelity. Another issue arises from assessing under uniform lighting alone; daylight favorites may falter under evening warmth.
Rushing judgments on wet paint proves unreliable, as it darkens compared to the dried state. Permit full curing to gauge the authentic finish. These practices ensure informed choices.
Selecting and Collaborating with Contractors
Effective dialogue with painting contractors centers on testing protocols. Established professionals advocate for multi-spot evaluations before major applications. Verify inclusion of testing in quotes and distinguish sample fees from core services.
Contracts must detail paint brands, finishes, and precise color formulas post-selection. This clarity avoids disputes during add-ons. Retain a final sample for future maintenance or expansions.
Steps to Prepare and Execute Your Testing
Assemble essentials like sample pots, brushes, primer, and tape ahead of starting. Wipe walls to eliminate dust or oils that might distort adhesion. Mark each patch with color details and brand for easy reference.
Examine spots over multiple days, noting weather, reflections from furnishings, and time-based shifts. Discard options inconsistent in any location. Aim for uniformity across all five tests.
Schedule the main painting soon after deciding. Delays risk batch variations or scheduling conflicts, potentially compromising uniformity. Seamless progression from test to finish upholds quality and limits home disturbance.
Frequently Asked Questions
How much does paint testing usually cost?
Testing across multiple spots generally ranges from $20 to $50 for supplies alone. Professional involvement, encompassing prep and evaluation, elevates the figure to $75 to $200. This modest outlay wards off substantial repainting bills.
How long should one wait to finalize a color choice?
Let samples cure entirely before evaluation. View them under natural and artificial light at varied times for two to three days. This duration reveals true undertones and effects accurately.
Is DIY testing preferable, or should a professional handle it?
Confident homeowners suit small-scale DIY efforts. Engage experts for complex setups, vast areas, or advanced finishes. Proper prep by pros guarantees samples mirror the end result.
What elements belong in a painting contract?
Include specifics on paint brands, codes, finishes, prep methods, and cleanup. Address testing and priming inclusions explicitly. These provisions safeguard all parties from ambiguities.
What options exist if the color disappoints post-painting?
Repainting serves as the sole remedy, costing $400 to thousands based on scale. Rigorous pre-testing in multiple spots mitigates such regrets effectively.
Does lighting alter colors to such a degree?
Affirmative. Incandescent warmth yellows beiges, while cool daylight highlights grays or blues. Five-spot testing documents these transformations across daily cycles.
Thorough testing in five locations empowers homeowners with assured selections and fiscal prudence. This methodical strategy yields spaces that align precisely with intentions, free from unforeseen expenses.