The Hidden Reasons Why DIY Level 5 Drywall Costs $800
Many homeowners begin a drywall finishing project expecting smooth walls and a controlled budget. Receipts accumulate quickly. The total reaches approximately $800 for one room. This outcome stems from underestimating the requirements of a Level 5 drywall finish.
A Level 5 finish represents the highest standard of smoothness for fine residential interiors. It demands specific materials, tools, skill, and time that convert a basic DIY task into a substantial undertaking.
What a Level 5 Finish Requires
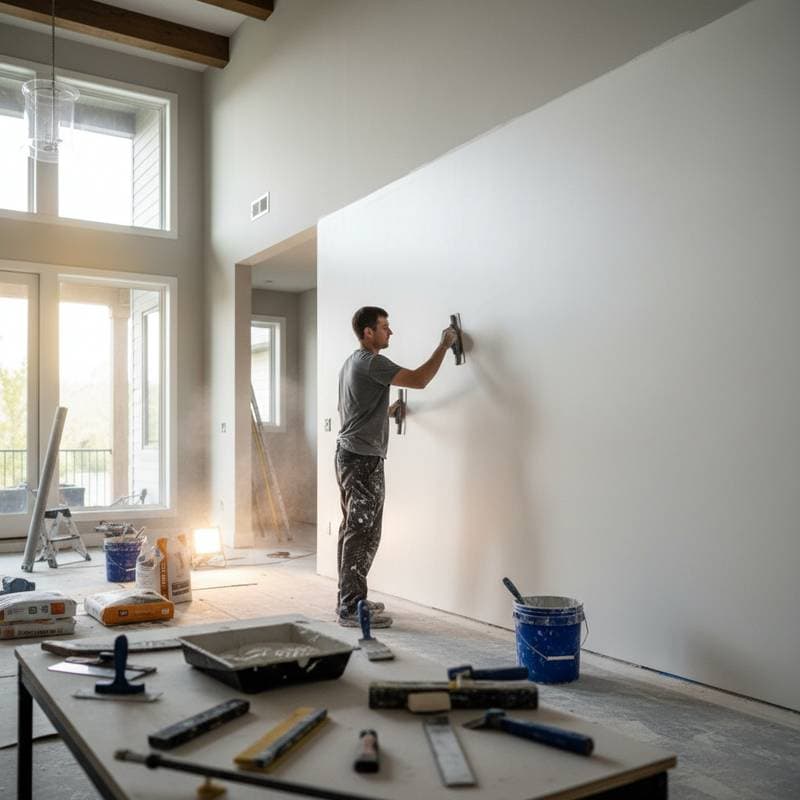
A Level 5 finish extends beyond basic joint compound and sanding. It includes a skim coat applied across the entire surface rather than seams alone. This step produces an even texture that removes visible joints, fasteners, and paper differences after painting. The finish suits walls that will receive glossy paint or exposure to intense lighting.
The process follows these steps:
- Tape and apply multiple coats of joint compound.
- Sand between layers to eliminate imperfections.
- Apply a thin, uniform skim coat over all surfaces.
- Perform final sanding and priming before paint.
Each step contributes labor, materials, and drying time. Proper execution yields a flawless surface. Errors become obvious under direct light.
Project Cost Breakdown
Average Cost Ranges
- Basic DIY project: $600 to $800 for one medium room.
- Professional project: $1,200 to $1,800 for the same space.
- Premium finish: $2,000 or higher with specialty products.
Included Items
Materials cover joint compound, skim coat products, sandpaper, primer, and finishing tools. Protective equipment and cleanup supplies form part of the base expense. Multiple coats plus fine sanding produce the required smoothness.
Additional Expenses
Specialty primers become necessary for high gloss paints. Dust free sanding systems or vacuums increase the total. Repairs to damaged drywall before finishing add cost. Rental or purchase of power tools such as automatic tapers and sanders further raises the budget.
Factors That Influence Final Cost
| Factor | Cost Impact | Examples |
|---|---|---|
| Room size | Higher material and labor costs | Large areas require more compound and sanding |
| Surface condition | Increases prep time | Old or uneven drywall needs extra work |
| Tool quality | Raises upfront cost | Professional grade blades and mixers improve results |
| Skill level | Affects material waste | Beginners often apply too much compound or rework mistakes |
| Finish type | Influences product choice | Glossy paint highlights flaws and requires smoother walls |
Why DIY Expenses Accumulate Rapidly
The initial material list appears straightforward. A few buckets of joint compound, sandpaper, and a trowel seem inexpensive. Hidden costs surface once work begins.
Material waste occurs when inexperienced application leads to heavy sanding and re coating. Tool purchases become necessary because skim coating requires wide knives, hawks, mixers, and dust control gear. Time investment grows because a trained finisher completes a Level 5 wall in one or two days while a homeowner may need several weekends.
Surface corrections for uneven joints, bubbles, and ridges often require full rework. The combination of supplies, equipment, and time reaches approximately $800. This total excludes physical effort and frustration.
Professional Versus DIY Tradeoffs
Hiring a professional drywall finisher carries an upfront expense. The difference rests in experience and efficiency. Professionals own the correct tools and achieve uniform coverage on the first attempt. They control dust, protect surrounding surfaces, and deliver surfaces ready for paint.
A DIY approach suits small repairs or low visibility areas such as basements or garages. Main living spaces, ceilings, or walls exposed to direct light benefit from professional work. The expense of correcting visible flaws later often exceeds the original professional quote.
Selecting and Working With a Contractor
Request quotes from licensed and insured professionals who provide references and a portfolio of completed projects. Compare detailed bids that specify materials, number of coats, and cleanup duties. Avoid decisions based solely on the lowest price.
Steps in a Typical Level 5 Project
Surface preparation comes first. Multiple compound layers follow, then a full skim coat. Sanding, priming, and final inspection complete the sequence. Each phase requires careful timing to reach a perfectly smooth result.
Common DIY Errors and Prevention
Homeowners frequently apply compound too thickly or skip sanding between coats. They also overlook lighting during inspection. These mistakes produce uneven textures and visible seams after painting. Careful technique and patience prevent most issues.
Achieving Professional Results on Your Schedule
Evaluate room visibility and your available time before deciding between DIY and professional service. Proper planning ensures the finished walls meet expectations without unexpected delays or added expense.