DIY Popcorn Ceiling Removal: The $800 Mistake to Avoid
Popcorn ceilings have had their moment, and that moment is long gone. Whether called acoustic texture, cottage cheese, or stucco ceiling, most homeowners agree this design feature is ready for retirement. Smooth ceilings reflect light beautifully, make spaces feel taller, and photograph better. Before grabbing a scraper and starting to spray, pause. One expensive mistake can turn this weekend project into an $800 headache.
The Big Mistake: Skipping the Test
Old ceiling finishes sometimes contain asbestos. Ignoring that possibility creates the costly mistake to avoid. It can cost far more if remediation becomes necessary after disturbing the surface. Always test a small section before any scraping begins. Local hardware stores and paint suppliers carry affordable mail-in test kits. The lab results confirm whether the ceiling is safe to handle or whether certified removal services are required. Testing costs a fraction of potential cleanup or medical expenses.
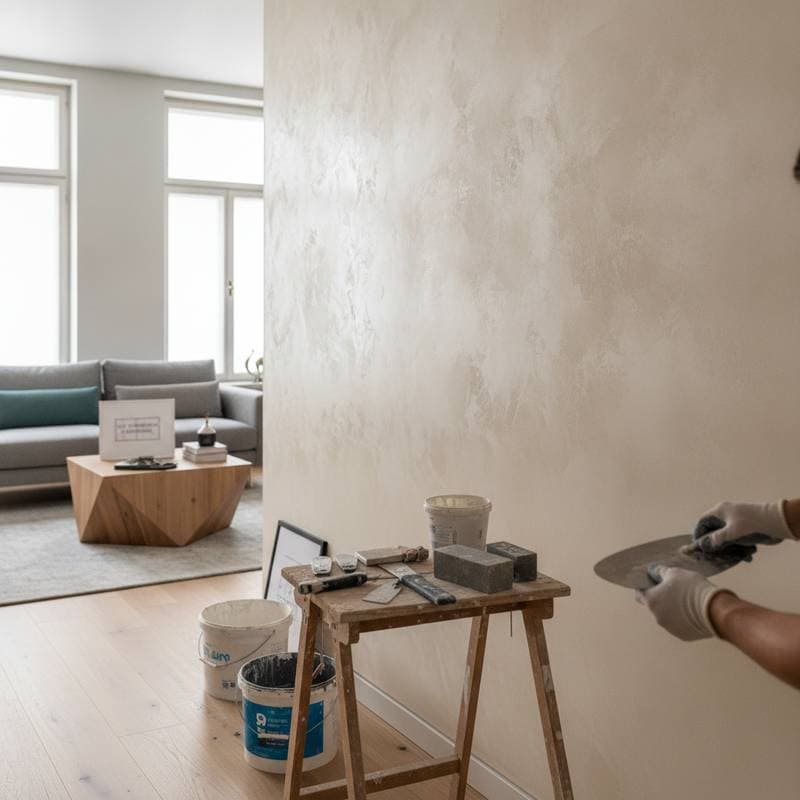
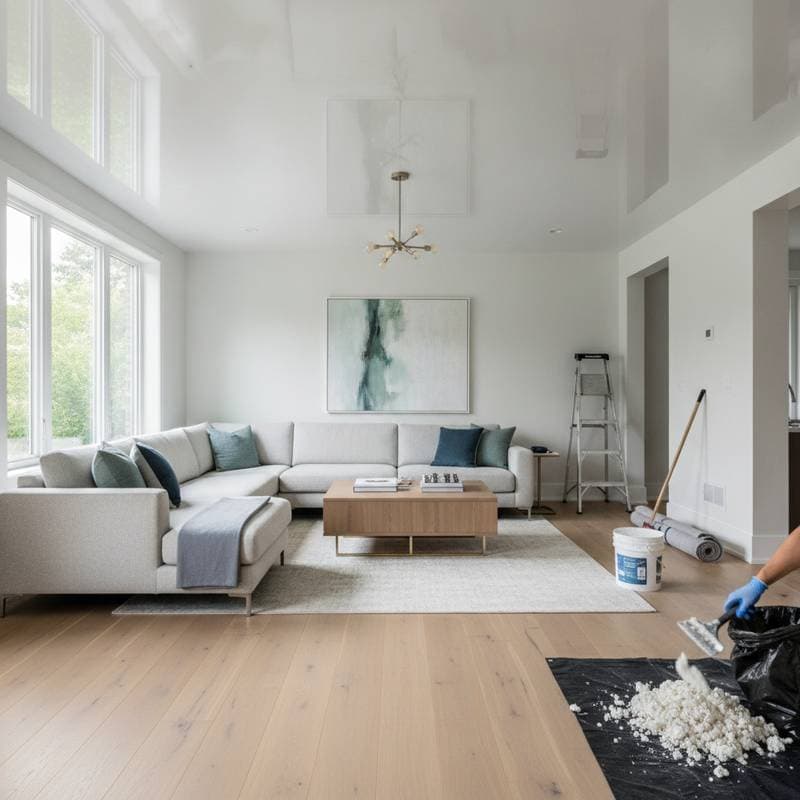
Safe Prep Is Smart Prep
Once the test returns clear, preparation determines success. Popcorn removal creates mess. Cover the entire floor with thick plastic sheeting and tape it up the walls about one foot high. Move furniture out when possible or double-wrap items that must remain. Use painter tape to seal vents and light fixtures. For large areas, hang lightweight plastic curtains to contain dust. Solid prep reduces cleanup time and keeps the home livable.
Side lighting reveals texture clearly. Position a work light or floor lamp at a low angle across the ceiling to highlight remaining material during scraping.
The Right Tools and Technique
Effective removal requires patience and controlled moisture rather than specialized equipment. Fill a garden sprayer or pump bottle with warm water. Mist a three-foot section until the surface darkens, then wait ten minutes. The water softens the texture for clean release. Excessive water damages drywall, so apply it gradually. A wide scraper or drywall knife works best. Hold the blade at a shallow angle and use long, even strokes.
Attach a lightweight plastic tray or dust-catching bag beneath the scraper to reduce debris falling directly onto the work area.
Budget Breakdown: DIY versus Professional Help
- Low spend under 100 dollars covers smaller rooms or test sections with plastic sheeting, a scraper, and a water sprayer.
- Mid spend between 150 and 400 dollars adds a pole sander, primer, paint, and possibly rented shop vacuum or drywall tools.
- Higher spend above 600 dollars brings in professional crews for large areas or surfaces needing patching and skim coating.
DIY saves money when the ceiling is undamaged and unpainted with oil-based coatings. Professionals bring equipment and skill to prevent gouging drywall on challenging surfaces. Weigh time, mess, and desired finish quality before choosing the approach.
Finishing for a Flawless Look
After texture removal, inspect the ceiling for dents and nail pops. Fill imperfections with joint compound, allow drying, then sand with fine-grit sponge. Apply primer before painting to seal residual dust and promote even adhesion. Select flat or matte ceiling paint to conceal minor irregularities. Glossy finishes emphasize flaws.
Renters or those avoiding full removal can install lightweight beadboard panels or decorative ceiling tiles directly over the texture. These options install quickly, provide a polished appearance, and remove later with minimal surface damage.
Achieving the Updated Ceiling
Smooth ceilings alter room appearance immediately. Light reflects more effectively, colors read cleaner, and the space feels refreshed. The process succeeds when testing occurs first and preparation remains thorough. The result is a safer, more comfortable home achieved through deliberate steps.