Why Chalk Paint Tops Latex Sales in 2025
Homeowners and furniture refinishers increasingly select chalk paint for its simplicity, versatility, and unique finish. Originally a niche option for hobbyists, chalk paint now serves as a primary choice for diverse painting projects. This surge in popularity highlights evolving preferences among homeowners, who value ease of application, rapid results, and artistic options alongside long-term durability.
A New Approach to Furniture and Home Projects
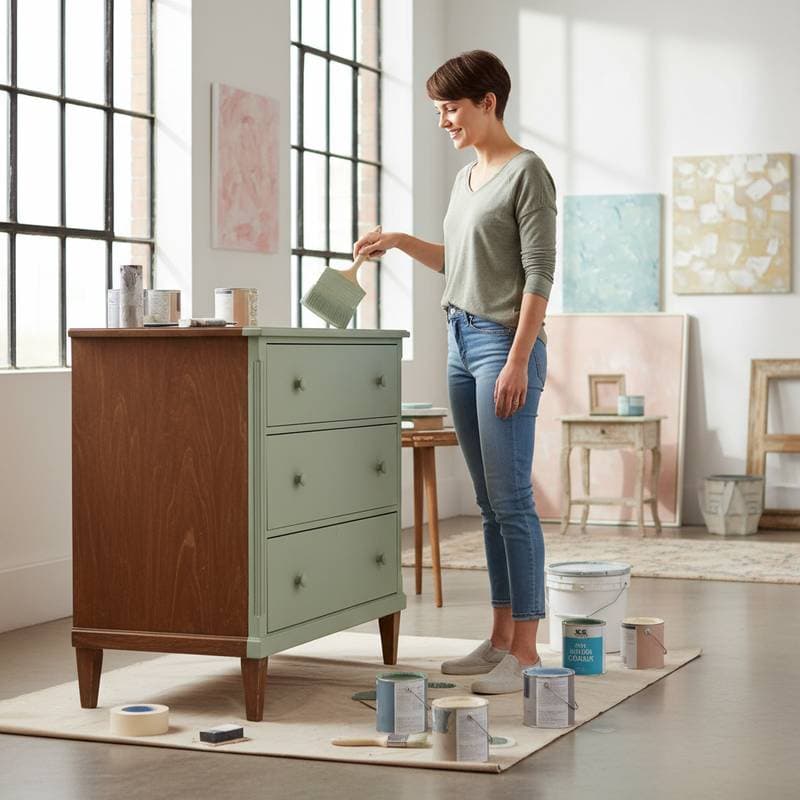
Chalk paint attracts individuals seeking to revitalize furniture without extensive preparation such as stripping, sanding, or priming. In contrast, traditional latex paint demands thorough surface prep, which proves time-intensive and daunting for novices. Chalk paint bonds effectively to various surfaces with little upfront work, enabling swift makeovers of vintage dressers, kitchen cabinets, and ornamental items.
The paint delivers a signature matte texture that supports layered or distressed effects. Such aesthetics align seamlessly with trending interior designs, including farmhouse, cottagecore, and contemporary rustic themes. This adaptability encourages experimentation, turning routine updates into personalized expressions of style.
Project Cost Breakdown
Understanding expenses helps budget effectively for chalk paint endeavors. Costs vary based on project scale, materials selected, and any additional treatments. Below outlines typical ranges and components.
Average Cost Ranges
- Basic project: $25 to $50 per quart, suitable for small accents like a single chair or picture frame.
- Standard project: $60 to $100 for a modest furniture ensemble, such as a nightstand and lamp.
- Premium project: $150 to $250 for expansive work, including full dining sets or built-in shelving.
What's Included
- Sufficient paint for one to two coats on targeted areas.
- Specialized brushes or rollers designed for smooth chalk paint application.
- Basic sealing options like wax or a clear topcoat to enhance longevity.
What Costs Extra
- Repair supplies, including wood filler or fine-grit sandpaper for imperfections.
- Advanced waxes or durable sealers for high-use surfaces like countertops.
- Bespoke color blending or selections from luxury brands for custom palettes.
Factors That Affect Final Cost
Several elements influence overall expenses in chalk paint projects. Consider these when planning to avoid surprises.
| Factor | Cost Impact | Examples |
|---|---|---|
| Paint quality | Rises with high-end options | Professional formulas incorporate pigments for superior adhesion and fade resistance. |
| Protective finish | Adds 10% to 20% | Polyurethane layers for moisture-prone zones like bathroom vanities. |
| Project size | Proportions with surface area | Oversized armoires or wall panels demand additional quarts and labor. |
| Surface condition | Varies with prep needs | Heavily worn pieces require primers, elevating material outlays. |
What Drives the Trend
Chalk paint gains traction through its blend of practicality and innovation. Latex alternatives necessitate several stages and extended cure periods, whereas chalk paint sets rapidly, permitting layers within hours. This efficiency suits spontaneous weekend renovations or urgent space refreshes.
An extensive array of hues and textures further fuels its ascent. Enthusiasts blend pigments for bespoke shades or layer waxes for tactile depth. The formulation produces minimal odors, facilitating safe indoor application even in confined urban settings without dedicated ventilation.
Social media tutorials and influencer endorsements amplify visibility, inspiring novices to tackle ambitious pieces. Retail availability expands too, with big-box stores stocking user-friendly kits alongside artisanal suppliers offering eco-conscious variants.
Professional vs. DIY Use
Professionals favor chalk paint for client projects demanding speed and flair. It reduces on-site time, allowing crews to complete jobs efficiently while delivering bespoke results. Tools like airbrushes enhance precision for commercial finishes on cabinetry or architectural trim.
DIY enthusiasts benefit from its forgiving nature, which minimizes errors during learning curves. Online resources provide step-by-step guidance, from surface testing to wax buffing techniques. Both groups appreciate the paint's low volatile organic compounds, promoting healthier workspaces.
Making the Right Choice
Select chalk paint when prioritizing creativity over sheer toughness in low-traffic areas. For high-wear zones, pair it with robust sealants to match latex resilience. Test samples on inconspicuous spots to confirm adhesion and desired aesthetics.
Budget for quality supplies to ensure satisfaction; cheaper imitations often chip prematurely. Consult local experts or join community forums for tips on sourcing and troubleshooting. Ultimately, chalk paint empowers transformative projects that enhance personal spaces with enduring appeal.
Frequently Asked Questions
Why is chalk paint more expensive than latex?
Chalk paint incorporates specialized minerals and pigments that yield its signature matte sheen and robust bonding properties. These components, combined with limited-scale manufacturing for boutique lines, justify the elevated pricing compared to mass-produced latex.
How long does a chalk paint project take?
Typical undertakings span one to two days, encompassing application, drying intervals, and sealing steps. The accelerated set time enables multiple layers in a single session, streamlining the process.
Can chalk paint be used on kitchen cabinets?
Affirmative, provided a durable topcoat protects against splashes and scuffs. Opt for water-resistant polyurethane over wax in grease-heavy environments to maintain integrity.
Do I need to sand before using chalk paint?
A thorough wipe-down suffices for most surfaces. Reserve sanding for glossy enamels or marred areas to promote optimal grip without over-preparation.
How do I maintain a chalk paint finish?
Employ a soft, moist cloth for routine dusting, steering clear of abrasives. Renew wax or sealant annually in visible spots to preserve vibrancy and safeguard against wear.
What if I want a smoother finish?
Employ fine-bristle brushes or foam applicators, then gently abrade between layers with 220-grit paper. This technique diminishes inherent chalkiness for a sleek, professional outcome.


