Debunking the Sanding Between Coats Myth
Many homeowners believe sanding between every paint coat ensures a professional result. This practice stems from outdated techniques, but modern paints often make it unnecessary. Skipping excessive sanding saves time without sacrificing quality, provided you understand the right approach.
Understanding the Role of Sanding
Sanding between coats serves to smooth minor imperfections like dust nibs or brush marks and to enhance adhesion by creating a slight texture. However, today's latex and acrylic paints include resins that bond layers chemically, reducing the need for routine sanding. Apply this step only when flaws appear, as over-sanding risks dulling the surface or introducing swirl marks.
Project Cost Considerations
Time spent sanding affects overall project expenses, especially for labor-intensive tasks. Professionals factor in preparation to minimize extras.
Typical Cost Ranges
- Basic room repaint: $1,200 to $2,000
- Standard interior job: $2,000 to $3,500
- Premium cabinet or trim finish: $3,500 to $5,000
Standard Inclusions
- Thorough cleaning and priming
- Patching minor defects
- Two even coats on walls or trim
- Targeted sanding on base surfaces
- Final touch-ups and cleanup
Potential Add-Ons
- Extensive repairs or stain blocking: $200 to $400
- High-gloss cabinet refinishing: $800 to $1,500
- Specialty paints: $300 to $700 per room
- Additional sanding for complex finishes: Varies by scope
Key Cost Influences
| Factor | Impact Level | Specific Examples |
|---|---|---|
| Paint Type | Moderate | Enamel for durability or matte for low maintenance |
| Surface State | High | Peeling old paint or textured walls |
| Job Complexity | High | Intricate molding or multi-room work |
| Labor Hours | High | Repeated sanding or drying waits |
Sanding Guidelines by Surface
Tailor your sanding decisions to the material and finish desired. This targeted method prevents wasted effort.
Walls and Ceilings
Primed drywall rarely needs sanding between color coats if applied evenly with a roller. Perform a quick pass with 220-grit sandpaper before the first topcoat to eliminate primer texture. Subsequent layers adhere smoothly, allowing you to proceed directly to the next application after drying.
Trim, Doors, and Cabinets
Semi-gloss or gloss finishes on these elements benefit from light sanding after the initial coat. Use 220-grit paper in circular motions to knock down raised edges, then wipe clean. Limit to one or two passes per project to avoid thinning the paint film.
Furniture and Custom Pieces
For a mirror-like sheen on wood furniture, sand lightly between each coat after full curing, typically 24 hours. Employ 320-grit for final layers to refine without scratching. Dust meticulously afterward to prevent contamination.
Origins of the Persistent Myth
This advice originated in eras when oil-based paints required mechanical adhesion through abrasion. Contemporary formulas self-level and interlock without such intervention. Homeowners continue the habit due to traditional guides, overlooking advancements that streamline the process.
Risks of Excessive Sanding
Routine sanding extends timelines and invites issues. Projects can extend by hours per room, with dust resettling on wet paint to form specks. Aggressive action may penetrate layers, necessitating repainting, while uneven pressure creates glossy variations.
Professionals reserve sanding for problem areas, preserving efficiency and finish integrity.
Inspecting Surfaces Effectively
Examine each dried coat under varied lighting, touching gently for irregularities. Address only drips or nibs with localized sanding, using a soft cloth to remove residue. This selective technique ensures even coverage in the next layer without broad disruption.
Professional Strategies Versus DIY Tactics
Expert Techniques
Painters assess surfaces post-application, sanding edges or glossy spots prone to poor adhesion. They employ dust-extracting tools and fine abrasives to maintain pace. Experience guides them to balance perfection with productivity.
Homeowner Best Practices
Sand primer textures or uneven first coats on walls. For trim, abrade lightly between gloss layers if tackiness persists. Avoid if the surface feels uniform, focusing instead on consistent application to minimize interventions.
Essential Preparation Steps
Strong upfront work curtails later sanding. Start by degreasing surfaces with a mild detergent solution. Patch cracks with spackle, sand smooth once dry, and apply a bonding primer suited to your paint.
Roll or brush thin coats, allowing 2 to 4 hours between applications based on humidity. Full cure times vary, but rushing leads to adhesion failures.
Final Quality Checks
Once complete, review the work in daylight and shadows for inconsistencies. Buff minor holidays with a foam applicator rather than resanding. Proper execution yields a durable, attractive result with minimal post-work adjustments.
Streamlining Your Painting Process
Adopt inspection over habit to cut unnecessary steps. This method delivers professional outcomes faster, whether tackling a single room or a full refresh. Consult local experts for tailored advice on complex jobs.
Frequently Asked Questions
When Is Sanding Between Coats Essential?
Inspect for tactile or visual defects post-drying. Proceed without if smooth; target flaws otherwise to ensure layer compatibility.
Does Omitting Sanding Weaken Adhesion?
Modern formulations provide strong chemical bonds, suitable for most interiors. Reserve light abrasion for high-sheen products where grip enhances durability.
How Does Sanding Impact Project Duration?
One session per coat adds 1 to 2 hours for a standard room, including prep and cleanup. Eliminating extras can halve total effort on simple repaints.
Is Sanding Advisable for Cabinets and Trim?
Apply selectively to visible areas with gloss. Use 220-grit sparingly, followed by thorough dusting, to achieve smoothness without over-thinning.
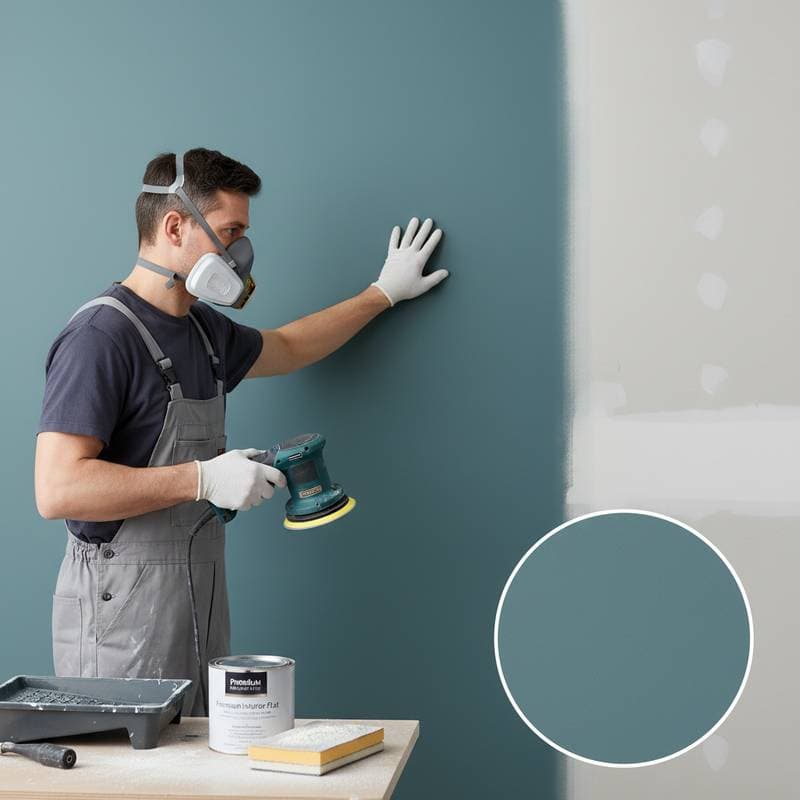
Recommended Tools for Efficient Sanding?
Opt for flexible sanding sponges on contours or orbital sanders with vacuums for flats. Fine grits (220+) prevent gouges; tack cloths capture residue effectively.
Common Sanding Pitfalls to Avoid?
Steer clear of coarse papers that scar surfaces or sanding uncured paint that gums up. Always clean post-abrasion to block defects in fresh coats.


