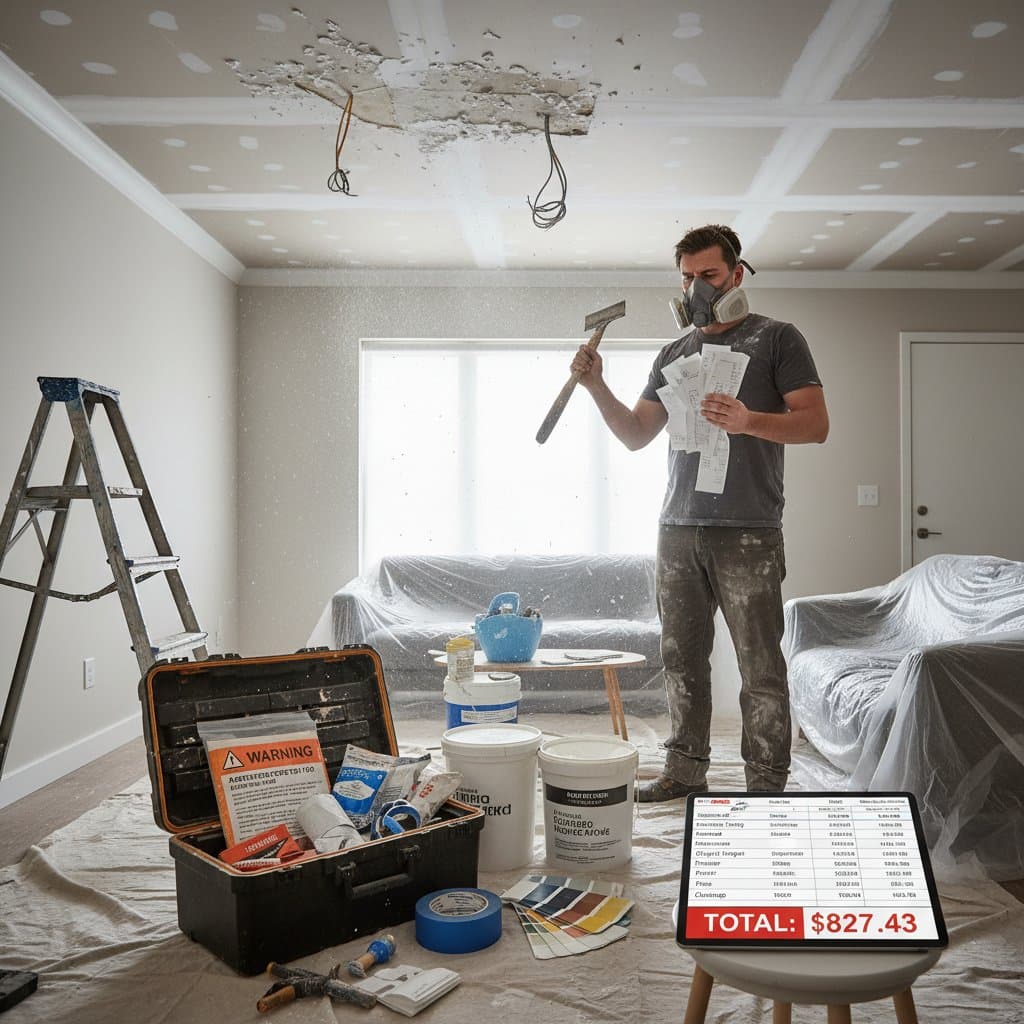
The Hidden $800 Cost of DIY Popcorn Ceiling Removal
Popcorn ceilings gained popularity for concealing surface flaws and providing visual interest, yet contemporary tastes favor sleek, untextured surfaces. The process of eliminating this textured layer may appear straightforward, requiring only basic tools like a scraper, protective sheeting, and manual effort. However, numerous homeowners encounter unforeseen expenses during do-it-yourself efforts, with totals frequently reaching $800 or higher.
Recognizing these potential outlays enables informed decisions about proceeding independently or engaging skilled contractors.
Average Cost Ranges by Project Size
Project expenses vary based on the area involved. Consider these estimates for DIY approaches, which include supplies, repairs, and finishing:
- Small room (up to 150 square feet): $300 to $600
- Medium room (150 to 300 square feet): $600 to $1,200
- Large area (over 300 square feet): $1,200 to $2,000
Professional services typically range from $1 to $2 per square foot. Although initial DIY investments seem lower, incorporating tools, materials, structural fixes, and protective measures often results in costs comparable to or surpassing those of experts.
Cost Breakdown per Square Foot
Popcorn ceiling removal generally totals $1 to $2.50 per square foot when accounting for all elements. The following outlines key components:
- Materials and supplies: $0.30 to $0.60 per square foot
- Equipment rental or purchase: $0.20 to $0.50 per square foot
- Disposal and cleanup: $0.10 to $0.30 per square foot
- Repairs and finishing: $0.40 to $1.00 per square foot
These figures provide a baseline, but challenges emerge after scraping, as underlying conditions become visible.
Factors Affecting Popcorn Ceiling Removal Costs
Several variables influence the final price tag. Address each proactively to manage expenses effectively.
-
Asbestos or lead testing
Residences built before 1980 may harbor asbestos fibers or lead paint in ceiling applications. Initial testing costs $200 to $400, while full abatement by certified specialists can escalate to $300 to $800, varying with the number of samples and remediation techniques. -
Ceiling damage and repairs
Aggressive scraping frequently damages drywall facing or dislodges fasteners. Patching holes, applying joint compound to seams, and matching textures might require $200 to $600, with larger spaces demanding more extensive intervention. -
Equipment and protective gear
Essential items include drop cloths, masking tape, and personal protective equipment. A reliable respirator, safety glasses, and disposable suits total at least $100, ensuring health safeguards during dusty operations. -
Finishing and repainting
Post-removal, smooth the surface with sanding or skim coating, then apply primer and paint. Supplies for a standard room range from $80 to $150, plus $100 for specialized tools like orbital sanders or paint sprayers.
Detailed Cost Analysis by Category
Examine expenses across tiers to anticipate needs based on project scope.
| Category | Basic Range | Standard Range | Premium Range | Key Differences |
|---|---|---|---|---|
| Supplies and Tools | $50 - $150 | $150 - $300 | $300 - $500 | Incorporates durable scrapers, sprayers, and safety items |
| Surface Repairs | $100 - $300 | $300 - $600 | $600 - $900 | Influenced by extent of drywall harm and coating requirements |
| Painting Finish | $80 - $150 | $150 - $300 | $300 - $500 | Reflects paint quality, primer layers, and application method |
| Cleanup and Disposal | $50 - $100 | $100 - $200 | $200 - $300 | Covers debris containment, bagging, and thorough surface wiping |
The Real Cost of DIY Mistakes
Homeowners often initiate projects with savings in mind, only to face escalating demands. Common pitfalls amplify expenditures:
- Water damage exposure: Hidden moisture compromises material integrity, necessitating targeted patching with mold-resistant compounds.
- Improper scraping: Excessive force creates gouges, sometimes requiring complete drywall panel replacements at $20 to $50 each.
- Poor containment: Inadequate barriers allow particles to spread, prompting deep cleaning services costing $200 to $400.
- Incomplete finishing: Inconsistent application of joint compound leads to noticeable joints, demanding additional sanding and recoating.
Such errors collectively drive costs well past $800 through supplemental purchases and corrective labor.
Value and ROI Considerations
A refined ceiling enhances light diffusion and elevates interior aesthetics. Professionals provide superior outcomes, including rigorous safety protocols and minimal disruption. For those preparing to sell, this improvement boosts marketability, potentially increasing property value by 1 to 2 percent through updated appeal.
Money-Saving Strategies
Implement these tactics to control outlays:
- Conduct asbestos testing prior to any scraping to sidestep expensive interruptions.
- Secure floors and fixtures with reinforced plastic drop cloths and painter's tape for efficient post-project cleanup.
- Proceed section by section, applying water sparingly to soften texture without saturating the substrate.
- Handle painting independently once experts complete the structural phase, utilizing cost-effective roller applications.
- Time the project for winter or early spring, periods of reduced contractor demand that yield negotiated rates.
Planning Your Budget
Calculate your ceiling's square footage and apply the per-square-foot average, then incorporate a 15 to 20 percent reserve for surprises like structural fixes. Obtain multiple professional bids encompassing testing, remediation, and completion. This comparison often reveals that DIY savings diminish considerably.
Assessing Project Outcomes
Thorough preparation transforms popcorn ceiling removal from a potential financial burden into a worthwhile enhancement. Homeowners who evaluate risks and resources achieve durable results that align with modern standards, fostering long-term satisfaction and home value growth.
Frequently Asked Questions
When is the best time to start popcorn ceiling removal for the lowest costs?
Contractor rates typically decrease during fall and winter months, as interior work demand wanes. This timing facilitates easier bookings and opportunities for discounts on labor and materials.


