How an $800 Skim Coat Outperforms Full Drywall Replacement
Homeowners frequently encounter walls marred by cracks, dents, or irregular textures and conclude that complete drywall replacement represents the sole remedy. Professional skim coating, however, achieves a comparable smooth result for significantly less expense. At approximately $800, an experienced contractor can rejuvenate an entire room, mimicking the appearance of new drywall while eliminating the need for extensive demolition or high costs.
Understanding the Skim Coating Process
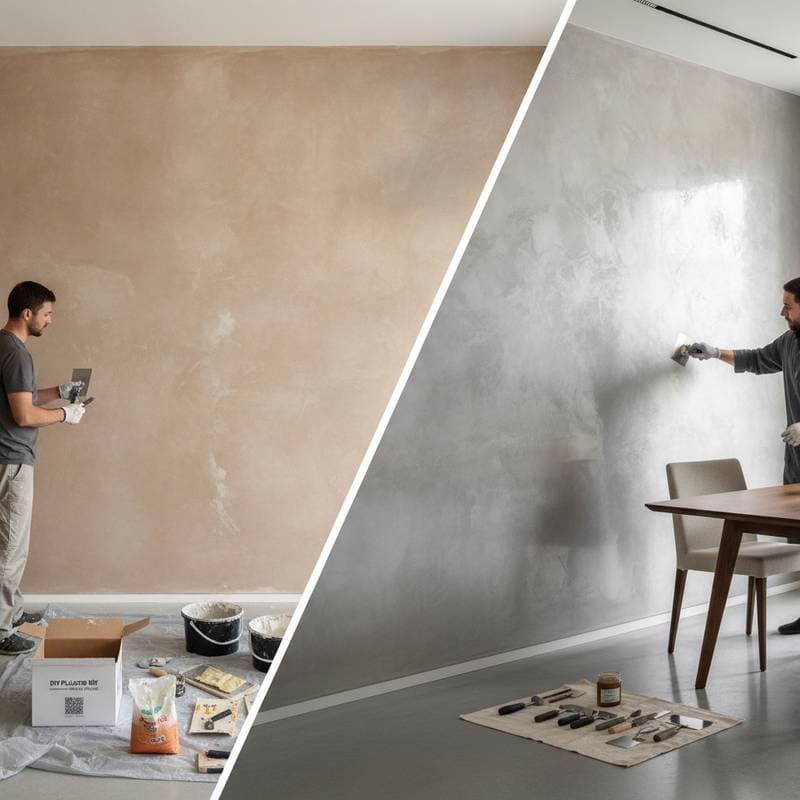
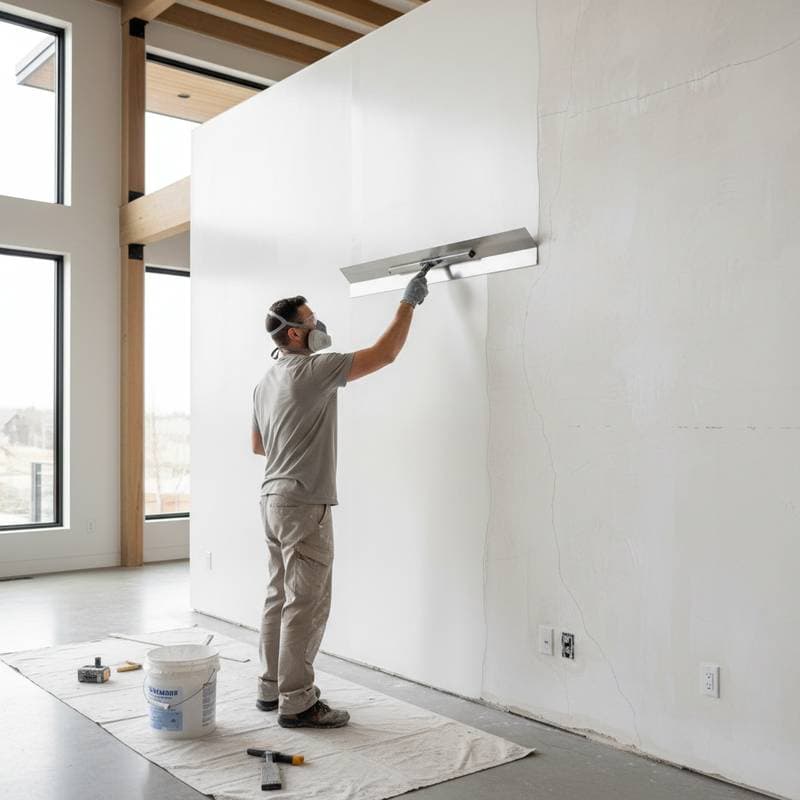
Skim coating applies a thin, even layer of joint compound over existing drywall or plaster surfaces. This technique conceals flaws, repairs minor damage, and yields a level base suitable for priming and painting. Professionals employ hand trowels for precise application or combine rollers with finishing knives, followed by thorough sanding to eliminate imperfections.
The approach proves ideal for addressing superficial issues like hairline cracks, popcorn texture removal, or faint water marks. Structural failures, persistent moisture penetration, or mold infestations demand underlying repairs or full replacement before any skim coating occurs to prevent recurring problems.
Detailed Project Cost Analysis
Typical Pricing Tiers
- Entry-level scope: $500 to $800 covers a standard 400-square-foot room with minimal preparation.
- Mid-range engagement: $800 to $1,200 handles expanded areas or moderate imperfections requiring extra attention.
- Advanced applications: $1,200 to $2,000 encompasses multiple rooms or premium smoothing techniques.
Core Components of the Quote
- Initial surface cleaning and preparation to remove debris or flaking material.
- Up to two layers of joint compound for optimal coverage.
- Comprehensive sanding and leveling to achieve uniformity.
- Essential supplies including high-quality compound and a paint-ready surface.
- Thorough post-project cleanup to restore the space.
Potential Add-On Expenses
- Patching holes exceeding two inches in diameter, which involves mesh tape and additional compound.
- Remediation for mold or installation of vapor barriers to address underlying causes.
- Custom textures like knockdown or orange peel for stylistic preferences.
- Extra coats to tackle pronounced damage or irregularities.
- Subsequent painting to complete the transformation.
Influences on Total Expenses
| Factor | Influence Level | Specific Considerations |
|---|---|---|
| Existing Wall State | Substantial | Extensive cracks or bulges extend labor hours for preparation and application. |
| Area Dimensions | Significant | Greater square footage demands more compound and extended working time. |
| Desired Smoothness | Moderate | Demanding level-five finishes or ornate patterns increase material use. |
| Site Challenges | Variable | Elevated ceilings or confined access necessitate scaffolding or specialized equipment. |
Advantages of Skim Coating Over Complete Replacement
Replacing drywall entirely often totals $2,000 to $5,000 per room, factoring in demolition, waste disposal, fresh panels, joint taping, and final finishing. Such projects span multiple days and generate substantial dust along with household upheaval. Skim coating leverages the current structure, bypassing removal and reducing material needs, with completion possible in one to two days based on scale and humidity levels.
This option extends beyond financial benefits to promote sustainability and superior aesthetics. By preserving original drywall, it cuts down on construction debris destined for landfills. The resulting surface typically exceeds standard drywall smoothness, as the compound seals all voids and creates a seamless canvas that withstands daily use.
Step-by-Step Project Timeline
Skim coating projects unfold in structured phases to guarantee quality:
- Initial Evaluation and Setup: Contractors examine walls for issues, scrape away loose elements, and shield floors and fixtures with protective sheeting.
- Primary Layer Application: Joint compound spreads uniformly; drying requires 12 to 24 hours depending on environmental conditions.
- Refinement with Additional Coats: A follow-up layer addresses residual unevenness, followed by drying and progressive sanding from coarse to fine grit.
- Final Review and Restoration: Surfaces receive a dust-free wipe-down, confirming readiness for primer while clearing the workspace.
Single-room efforts generally conclude within two to three days. Extensive repairs or humid climates may prolong drying intervals between applications.
Weighing Professional Services Against DIY Efforts
Attempting skim coating independently appeals to budget-conscious individuals, yet replicating expert outcomes demands honed techniques. Proper compound mixing to avoid lumps, consistent trowel pressure, and controlled drying environments prove challenging for novices. Subpar results manifest as visible waves or inconsistencies post-painting, potentially necessitating rework.
For minor spot repairs, such as filling small dents, DIY tools like a 12-inch trowel and premixed compound suffice. Whole-room transformations benefit from professional expertise, including dust-extraction vacuums and high-volume sprayers for efficiency. The investment in skilled labor yields enduring, visually appealing walls that justify the expenditure.
Selecting a Qualified Specialist
A successful $800 skim coat hinges on choosing a reliable professional. Prioritize those licensed, insured, and specialized in refinishing rather than solely new installs. Review portfolios of past projects and solicit client testimonials to gauge consistency.
During consultations, inquire about material brands, such as all-purpose versus setting-type compounds, and their application methods. Compare bids meticulously, ensuring inclusions for preparation, coats, and finishing. Secure a detailed agreement outlining scope, timelines, and milestones to prevent misunderstandings. Steer clear of suspiciously low offers, which might skip vital steps like priming edges or moisture checks.
Preparing for a Seamless Execution
To facilitate smooth progress, relocate artwork and furniture from the area beforehand. Coordinate with the contractor on air circulation strategies, as fans accelerate drying but stir dust. Seal adjacent rooms with plastic sheeting to contain particles during sanding.
Post-completion, permit 24 to 48 hours of curing before priming. Test paint adhesion in an inconspicuous spot to verify compatibility. Addressing water damage or mold first remains essential; consult experts for inspections to safeguard long-term wall health.
Realizing Lasting Interior Renewal
Professional skim coating revitalizes aged or flawed walls into pristine features, delivering modern appeal without invasive overhauls. Homeowners gain a cost-effective path to enhanced living spaces, blending practicality with visual elegance for enduring satisfaction.