The $800 Cost of Skipping Sanding Between Coats
A freshly painted surface on cabinets or trim often reveals subtle imperfections upon close inspection. The finish may appear uneven, with small bumps that disrupt the smooth appearance. These issues stem directly from omitting the sanding step between coats, which leads to significant financial and time investments. This article explores the importance of sanding, the potential costs of neglect, and practical strategies to achieve a professional result.
The Role of Sanding in Paint Adhesion and Finish Quality
Sanding between coats serves a critical function rooted in the principles of surface preparation. Each layer of paint requires a textured base for optimal adhesion. Without this preparation, subsequent coats fail to integrate properly and remain superficial.
Poor adhesion results in peeling, bubbling, and inconsistent sheen across the surface. These defects compromise both aesthetic appeal and structural integrity. Proper sanding creates the necessary micro-abrasions that promote a strong bond, ensuring the finish withstands daily use and environmental factors.
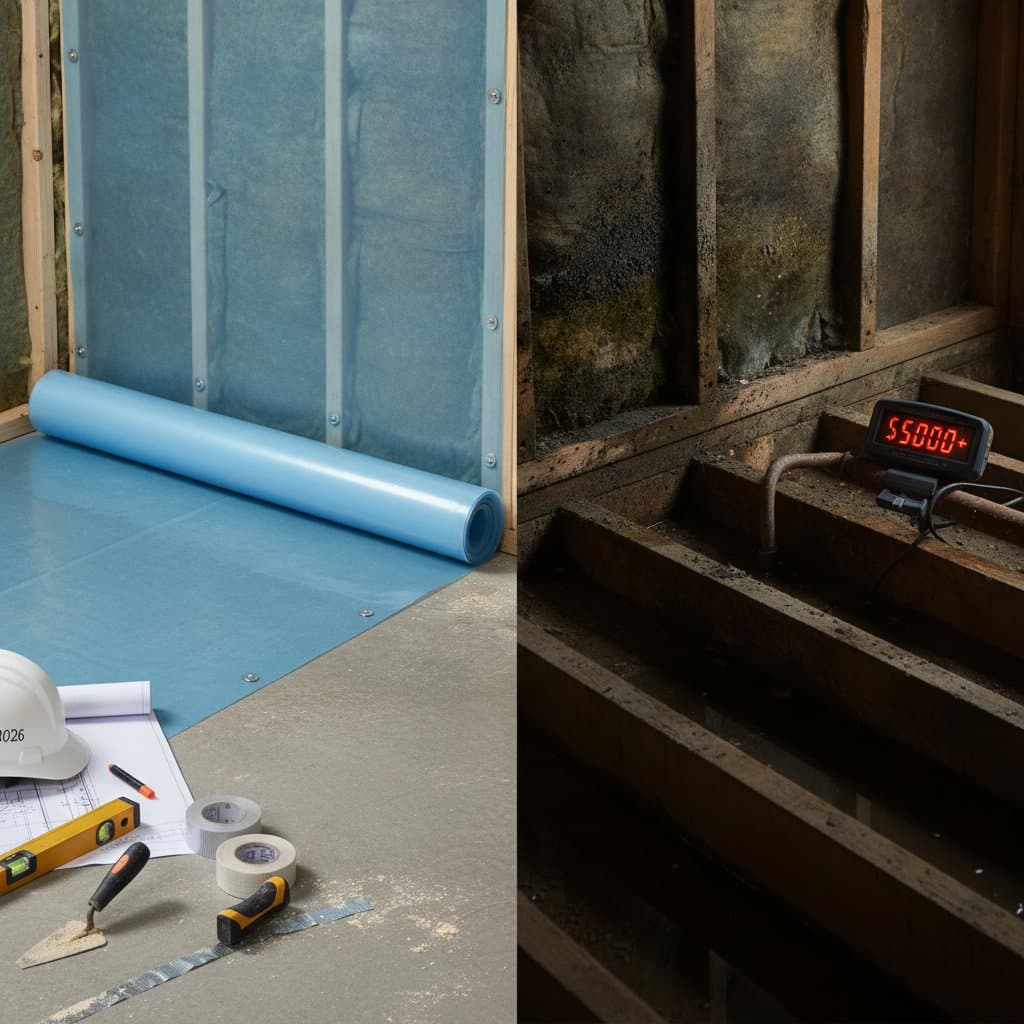
Financial Implications of Neglecting Sanding
Consider a typical project involving kitchen cabinets or interior trim. After applying the initial coat without sanding, the surface may seem adequate at first glance. However, as the project progresses, roughness or peeling becomes evident, necessitating a complete redo.
The expenses include repurchasing primer and paint, which ranges from $150 to $250 depending on quality and quantity. Additional time spent stripping or sanding the existing layers equates to at least $300 in equivalent labor value. Supplies such as new brushes, rollers, and masking tape add another $100 to $200. These costs accumulate quickly, often exceeding $800 for a single oversight.
Beyond direct expenses, the emotional toll of rework detracts from the satisfaction of a completed project. Investing in sanding from the outset prevents these setbacks and preserves project momentum.
Sanding Strategies Across Budget Ranges
Achieving a smooth finish requires tools and techniques scaled to available resources. The following approaches provide effective options for different financial levels, each delivering reliable results.
Entry-Level Approach: Manual Sanding with Basic Supplies
Select 220-grit sandpaper and secure it to a flexible sanding block for even pressure. Once the paint dries to the touch, apply light, circular motions to scuff the surface gently. Follow with a wipe using a damp microfiber cloth to eliminate residue, allowing the surface to dry fully before the next coat.
This method requires less than $10 in materials and suits small-scale projects. It demands patience but yields a refined texture suitable for most home applications.
Intermediate Approach: Powered Tools for Efficiency
Incorporate a sanding sponge for contoured areas or a compact orbital sander for flat expanses. Attach a vacuum hose to capture dust during operation, or use a tack cloth for final cleanup. Proceed to the next coat within several hours to maximize adhesion while the surface remains receptive.
Budget allocation falls between $60 and $120, covering the tool and accessories. This setup reduces physical effort and minimizes airborne particles, leading to a more consistent finish.
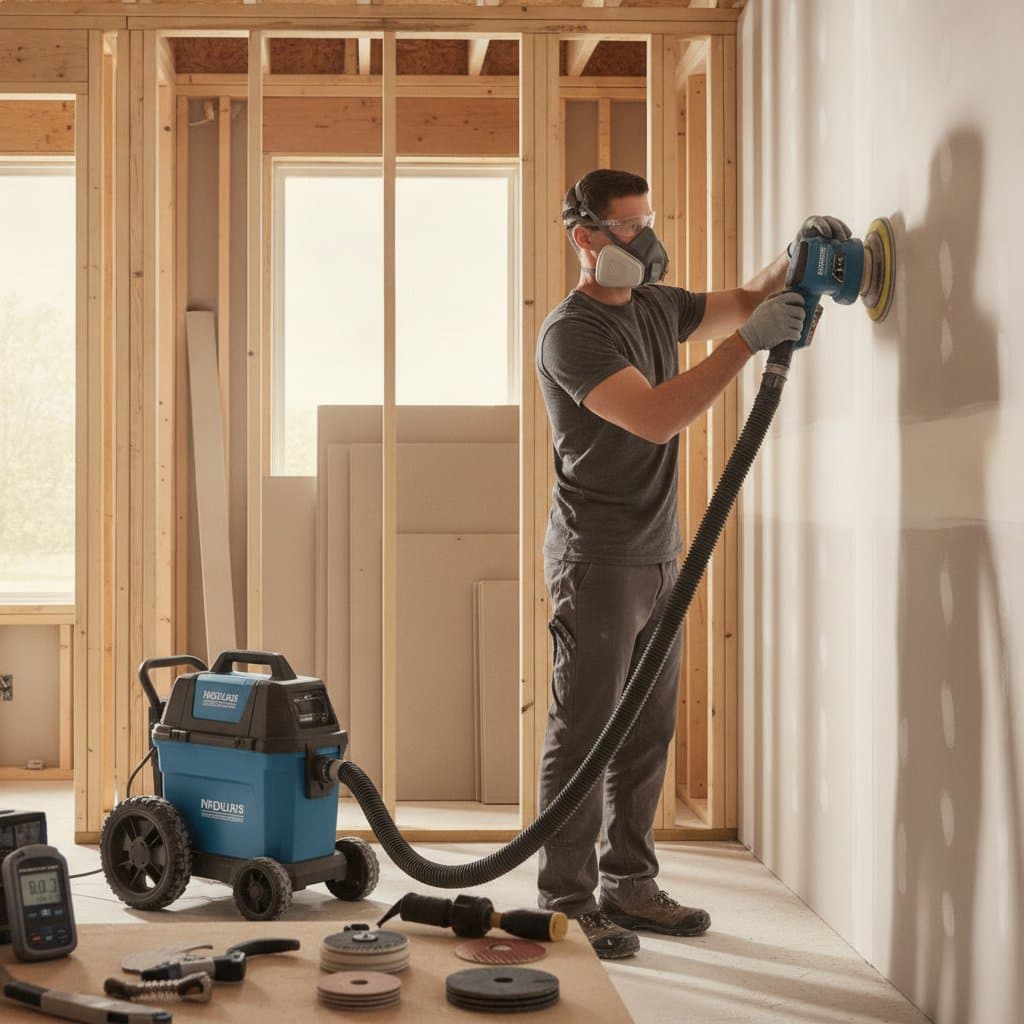
Advanced Approach: Precision Equipment for Superior Results
Employ a variable-speed random orbital sander equipped with dust extraction capabilities. Complement it with progressive grits, starting at 180 and finishing at 320, along with specialized finishing pads. Prepare the area with compressed air blasts or a lint-free tack rag to ensure a pristine surface.
Initial investment ranges from $300 to $400, mirroring professional setups used in demanding environments. Such tools facilitate rapid, flawless preparation, ideal for extensive or high-visibility projects.
Field-Tested Techniques for Optimal Sanding
Experience from time-sensitive production environments underscores the necessity of meticulous sanding. Flaws that escape casual observation become pronounced under scrutiny, affecting overall project quality. These principles apply equally to residential endeavors, elevating everyday spaces.
Key practices include applying minimal pressure to avoid removing underlying paint, focusing instead on creating a uniform texture. Assess readiness by touch rather than sight alone; a smooth, even feel indicates sufficient preparation. Maintain vigilance against dust accumulation, as contaminants introduce unwanted imperfections. Organize sandpaper grits in labeled containers for quick selection and consistent application.
Enhancing Durability Through Proper Layering
Beyond aesthetics, sanding contributes to the longevity of the finish. Well-bonded layers resist chipping and wear, particularly on high-traffic elements like doors and cabinetry. This preparation extends the interval between maintenance cycles, deferring future costs.
The process also mitigates visible application marks from brushes or rollers. By addressing inconsistencies early, each subsequent coat builds on a corrected foundation. This iterative refinement ensures a resilient, visually appealing outcome.
Addressing Frequent Sanding Challenges
Despite careful execution, certain issues may arise during the painting process. Bubbles forming post-application often indicate insufficient drying time or residual dust; extend wait periods and enhance cleaning protocols for future layers.
Variations in sheen suggest uneven sanding coverage; inspect under raking light to identify and correct matte or glossy inconsistencies. If sandpaper clogs prematurely, the paint likely remains tacky; allow additional curing and replace worn sheets promptly.
Mastering these diagnostics fosters confidence in surface preparation. Over time, intuitive recognition of problems enables proactive adjustments, refining skills with each project.
Achieving Enduring, Low-Maintenance Finishes
A meticulously sanded and layered surface maintains its elegance over extended periods. It cleans effortlessly, repels smudges, and retains a subtle luster without visible defects. Light interacts harmoniously with the texture, enhancing the ambiance of the space.
This preparation proves valuable across scenarios, from temporary updates in rentals to permanent enhancements in primary residences. The effort invested in sanding translates to sustained performance and reduced upkeep. Embrace the process as an essential component of quality craftsmanship, yielding results that endure and inspire.