Avoid the $800 Sanding Trap Before Painting Cabinets
Many homeowners believe sanding cabinets to bare wood is essential before applying paint. This assumption leads to hours of labor, specialized tools, and potential professional fees totaling around $800. In reality, proper surface preparation achieves strong adhesion and a flawless finish without full sanding.
The misconception stems from outdated advice that overlooks modern primers and techniques. Professional painters often skip extensive sanding for efficiency. Understanding alternative methods saves significant effort and expense.
Understanding the Sanding Myth
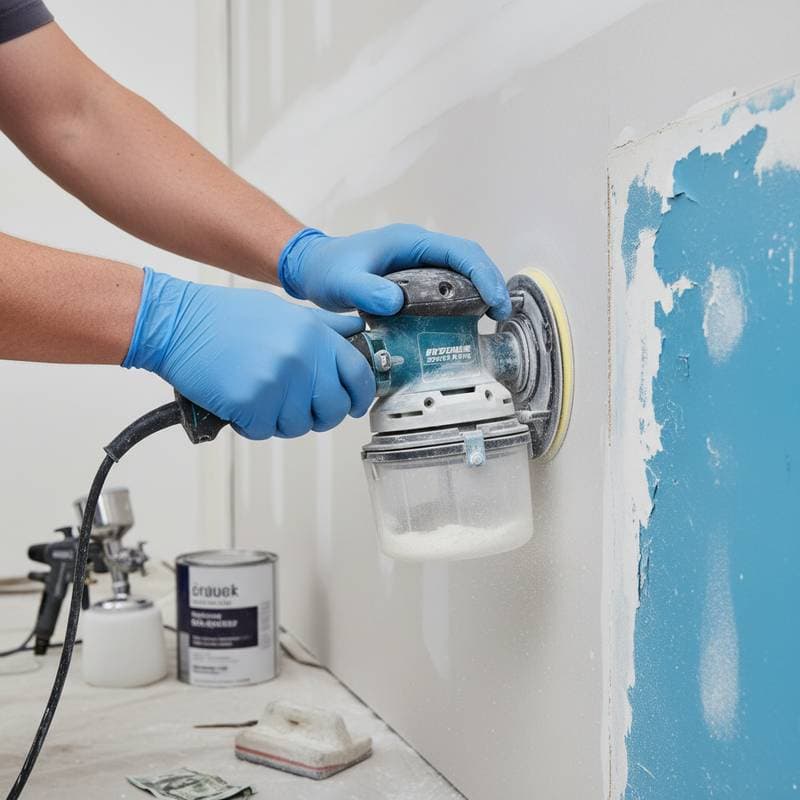
Sanding removes old finish layers to create a rough surface for new paint to grip. However, cabinets with intact glossy surfaces can bond effectively with the right products. Full sanding risks damaging wood, especially on detailed or curved areas, and increases dust cleanup time.
Consider the cost breakdown: renting a sander or hiring help, plus materials like sandpaper and masks, adds up quickly. For a standard kitchen, this process might consume an entire weekend. Smarter prep focuses on surface cleanliness and compatibility rather than removal.
Professionals prioritize adhesion science over tradition. Studies in surface chemistry show that primers designed for glossy surfaces create mechanical and chemical bonds stronger than sanded wood in many cases. This approach maintains cabinet integrity while ensuring paint durability.
The Science Behind Effective Adhesion
Adhesion relies on two key factors: surface energy and cleanliness. Glossy finishes have low surface energy, repelling paint unless modified. Deglossing agents raise this energy, allowing primers to form a secure base.
Bonding primers contain resins that penetrate and chemically link to existing finishes. Unlike standard paints, these formulations cure into a flexible yet tough layer. This prevents peeling or chipping over time, even in high-use kitchen environments.
Testing confirms these methods outperform sanding in speed and results. Independent evaluations demonstrate that prepped glossy surfaces hold paint through repeated cleanings and moisture exposure. Homeowners gain confidence knowing their investment yields long-term beauty.
Step-by-Step Preparation Guide
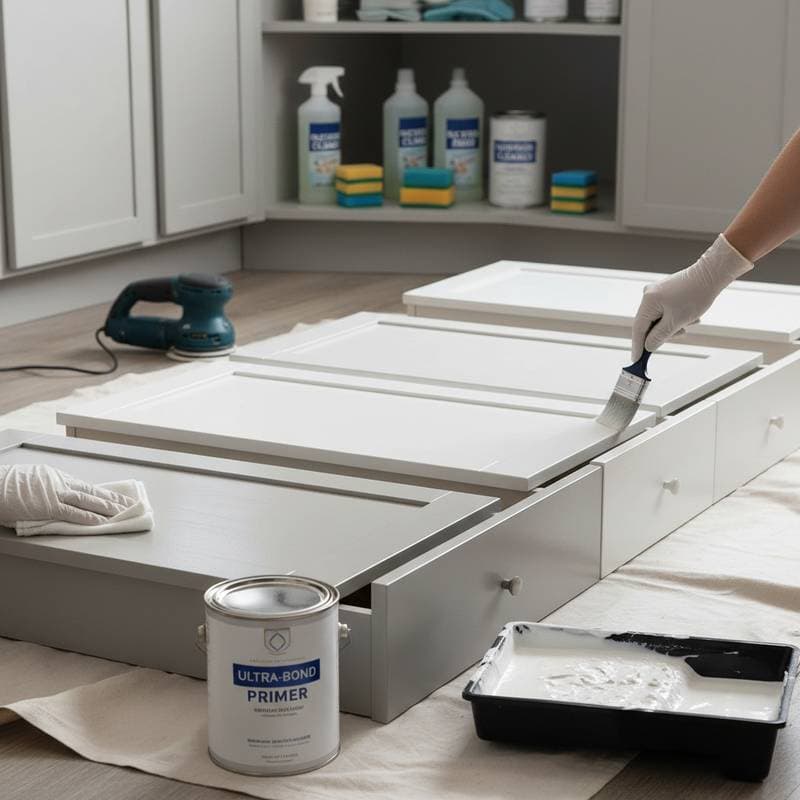
Begin with gathering supplies: TSP cleaner, deglossing solution, bonding primer, quality brushes or rollers, and drop cloths. Work in a well-ventilated area to manage fumes. Allow cabinets to dry fully between steps for optimal results.
1. Thorough Cleaning
Start by removing hardware and emptying drawers to access all surfaces. Mix trisodium phosphate (TSP) with water according to package directions. Wipe cabinets with a sponge soaked in the solution, focusing on grease buildup from cooking vapors.
Rinse surfaces with clean water to remove residue. Dry completely with lint-free cloths. This step eliminates oils and contaminants that hinder adhesion, setting the foundation for success.
Inspect for stubborn spots and repeat cleaning if needed. A spotless surface ensures even primer application and prevents fish-eye defects in the paint.
2. Deglossing the Surface
Apply a deglossing agent, such as liquid sandpaper, with a clean cloth. Work in sections, rubbing gently to dull the shine without scratching. The product etches the finish microscopically, enhancing grip.
Let the deglosser sit for the recommended time, typically five to ten minutes. Wipe away excess with a damp cloth and allow drying. This process prepares glossy laminates or varnished wood effectively.
Avoid over-application, which can leave a hazy film. Test on an inconspicuous area first to confirm compatibility with your cabinet material.
3. Applying Bonding Primer
Stir the bonding primer thoroughly before use. Apply a thin, even coat using a high-quality brush for edges and a foam roller for flat areas. Feather edges to avoid lap marks.
Cover all surfaces, including interiors if painting them. One coat often suffices, but check manufacturer guidelines for coverage. Allow 24 hours for curing before painting.
The primer's self-leveling properties minimize brush strokes. It also seals pores, reducing the need for multiple topcoats and saving paint costs.
4. Painting for a Professional Finish
Select a durable cabinet paint, such as an oil-based enamel or waterborne alkyd. Apply two thin coats, sanding lightly between them with fine-grit paper if imperfections appear. Use angled brushes for precision on moldings.
Maintain consistent lighting to spot missed areas. Dry times vary by product, but plan for at least four hours between coats. Reinstall hardware only after full curing, usually 48 hours.
This method yields a smooth, factory-like appearance. Colors adhere vibrantly, transforming outdated cabinets into modern focal points.
Pro-Tested Shortcuts and Tips
For faster results, use spray primers on intricate details, masking adjacent areas to prevent overspray. Invest in angled sash brushes for clean lines on frames. Always prime both sides of doors to prevent warping.
Budget-friendly options include generic deglossers and multi-surface primers available at hardware stores. Track progress with photos to ensure even coverage. These tactics cut preparation time by half compared to sanding.
Monitor humidity levels, as high moisture slows drying and weakens bonds. In humid climates, use fans to circulate air. Patience in these details elevates amateur efforts to professional standards.
Avoiding Common Pitfalls
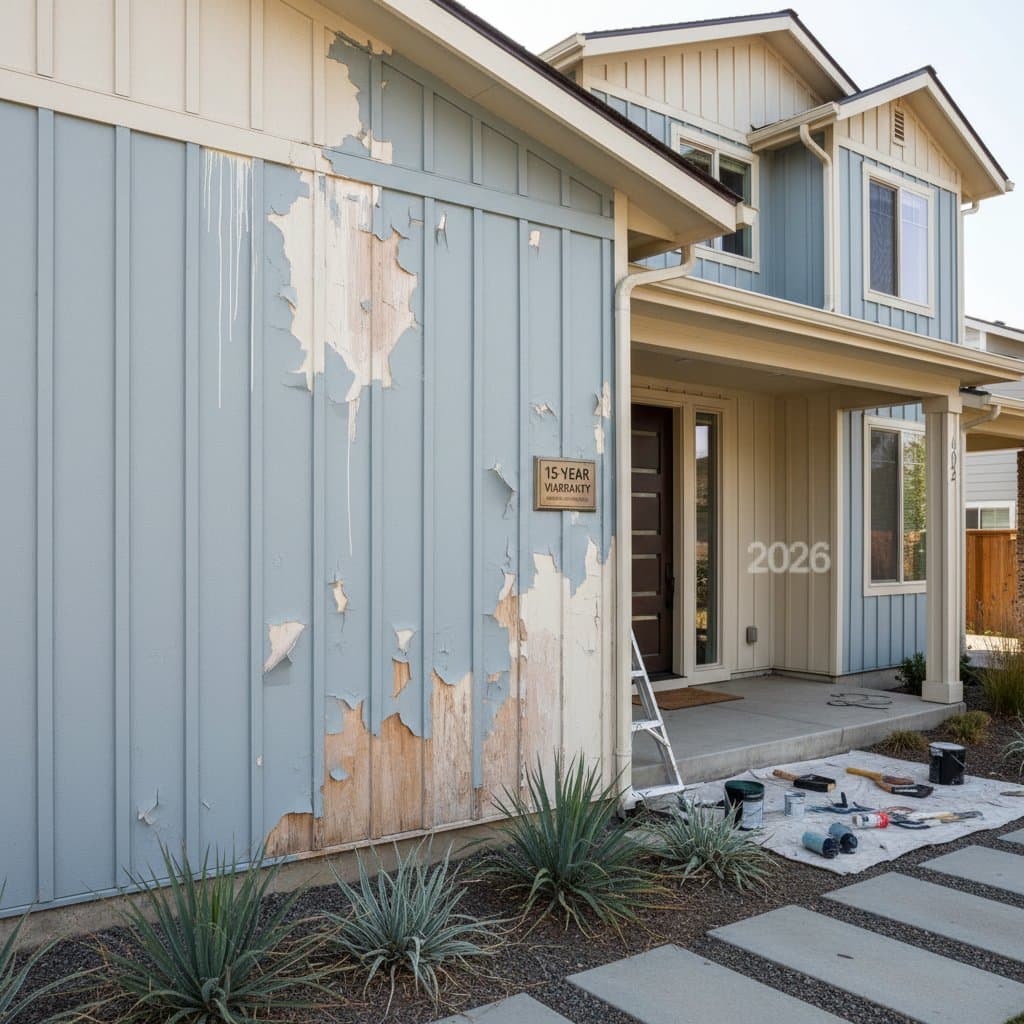
Skipping cleaning leads to peeling paint within months. Always prioritize this foundational step. Rushing deglossing results in poor primer adhesion, so allocate sufficient time.
Choosing incompatible primers causes bubbling or cracking. Read labels carefully for glossy surface suitability. Overlooking ventilation risks health issues from fumes, so open windows and use masks.
Testing small areas prevents large-scale errors. If unsure, consult product technical sheets. These precautions safeguard your project investment.
Transform Your Kitchen Efficiently
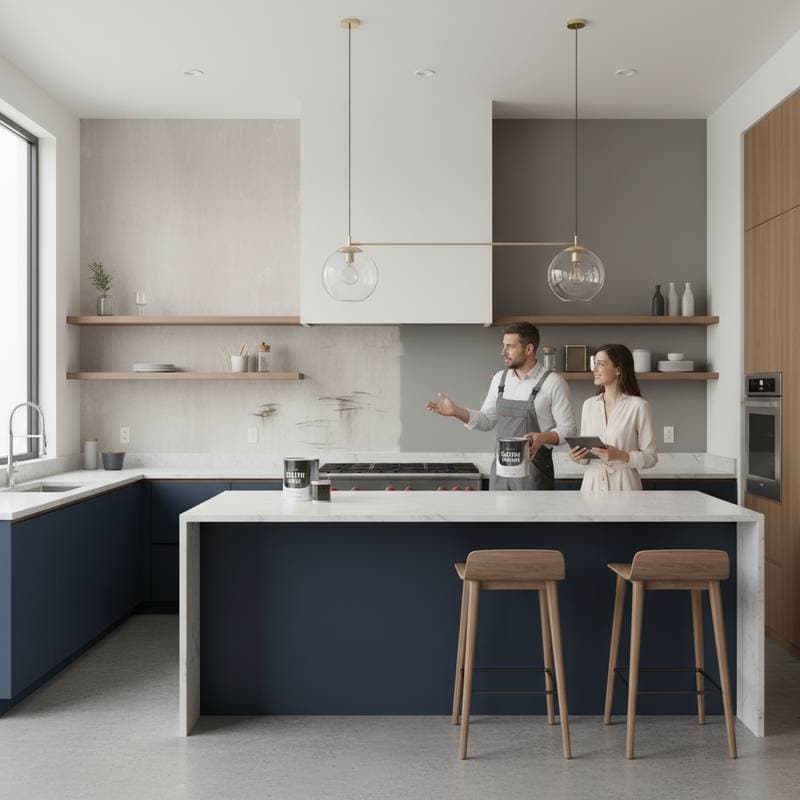
By bypassing full sanding, homeowners complete cabinet refreshes in days rather than weeks. Savings extend beyond $800 to reduced material waste and preserved wood health. The result is a durable, attractive space that enhances daily living.
This method empowers DIY enthusiasts with professional outcomes. Cabinets gain renewed life without the hassle of demolition. Enjoy the satisfaction of a high-impact upgrade achieved through smart, science-backed techniques.


