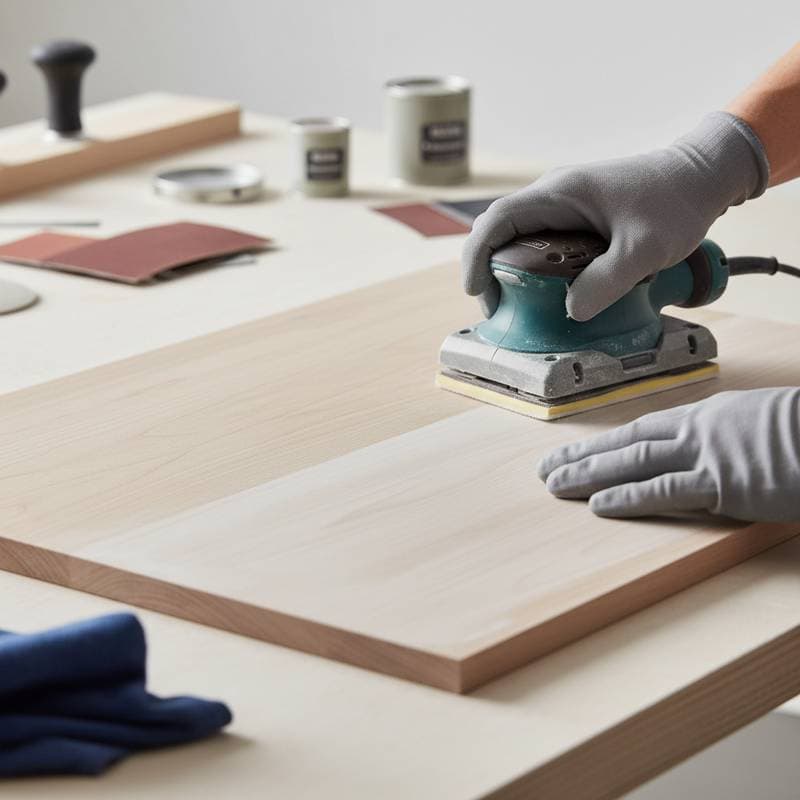
Why Sanding Between Coats Ensures a Lasting Paint Finish
A flawless paint job requires careful attention to preparation beyond selecting the right color or tools. Sanding between coats stands out as a critical yet often underappreciated step. This technique delivers a smooth, durable surface that withstands daily wear, whether applied to walls, cabinets, or trim. Proper execution elevates ordinary results to professional standards.
Understanding the Role of Sanding in Paint Application
Sanding between coats removes subtle imperfections and generates a light texture for superior layer bonding. Even seemingly smooth paint hides tiny ridges or dust specks that disrupt adhesion. Each subsequent coat needs a firm grip on the previous one, and sanding provides that uniform base.
This method also clears minor drips, brush strokes, and lifted fibers. Without it, flaws build up across layers, resulting in a textured surface that catches light inconsistently. Sanding refreshes the foundation, enabling layers to accumulate evenly for a refined appearance.
Enhancing Adhesion Through Surface Preparation
Effective paint adhesion relies on thorough surface readiness. A glossy or uneven base hinders new paint from attaching securely, which invites peeling or flaking in the future. Sanding creates fine scratches that allow the fresh coat to anchor deeply.
Omission of sanding leads to fragile bonds between layers. The surface may appear solid at first, but it scratches or lifts readily under stress. Regular sanding strengthens the overall paint structure, extending its lifespan and boosting resistance to damage.
Additionally, this preparation promotes uniform curing. Solvents escape evenly from a prepared surface, minimizing risks of soft areas or mismatched gloss levels.
Selecting Appropriate Sandpaper Grits
Grit selection varies by project phase and material. Incorrect choices either harm the underlying layer or leave flaws intact.
- After applying primer, opt for 220 to 240 grit to level the surface without penetrating deeply.
- For intervals between paint coats, select 320 to 400 grit to foster grip while maintaining smoothness.
- Prior to the final topcoat, employ 400 to 600 grit for an ultra-fine polish on items like cabinets or doors.
Sanding sponges prove useful on irregular shapes. Apply even, minimal pressure to prevent breakthrough into prior layers.
Detailed Steps for Sanding Between Coats
- Allow complete drying of the previous coat to avoid smears or sandpaper clogging.
- Secure fine-grit sandpaper to a block or utilize a sponge for uniform application.
- Sand with gentle strokes in circular or linear patterns, focusing on leveling rather than material removal.
- Clean residue using a tack cloth or lint-free microfiber cloth to eliminate particles.
- Examine for even dullness and tactile smoothness before advancing.
- Proceed with the subsequent coat once the surface appears pristine.
Following this process builds reliable layer integration, yielding an appealing and resilient outcome.
Avoiding Frequent Sanding Pitfalls
Failure to clear dust post-sanding traps particles beneath new paint, forming lumps and irregularities. Coarse grits introduce scratches that show through thin final layers. Excessive sanding risks exposing base materials, necessitating additional coverage.
Sanding damp paint gums up tools and compromises results. Adhere to drying guidelines for each product to maintain efficiency.
Determining When Sanding Is Necessary
Sanding proves optional for flat matte wall paints if surfaces stay clean and recoating occurs promptly. However, semi-gloss, gloss, or high-traffic areas like cabinets and trim demand it for optimal texture.
Professionals incorporate sanding routinely in visible or oil-based applications. The extra effort secures uniformity and longevity, outweighing initial time investment.
Essential Tools for Precise Sanding
Quality tools streamline the task and enhance outcomes.
- Sanding sponges navigate edges and profiles effectively.
- Orbital sanders handle expansive flat areas swiftly.
- Sanding blocks distribute pressure evenly for control.
- Tack cloths or vacuums capture fine dust thoroughly.
- Masks and goggles safeguard against airborne particles.
Equipping properly reduces mess and ensures safety.
Evaluating Time and Cost Benefits
Sanding materials remain affordable relative to repaint expenses from adhesion issues. Basic sandpaper costs far less than paint yet averts extensive corrections. The brief sanding duration pales against hours lost to fixing defects.
Final Preparations and Project Strategy
Integrate sanding into your timeline alongside drying periods. Select grits suited to your surfaces, clean meticulously, and review progress at each stage. For intricate work on cabinets or valuables, professional assistance leverages expertise in preparation techniques.
This approach minimizes errors and maximizes satisfaction, transforming routine painting into a durable enhancement.
Frequently Asked Questions
How Does Sanding Impact Project Costs?
Sanding contributes modestly to expenses, often $0.25 to $0.75 per square foot in labor. Factors include area size, access, and coat count. The enhanced quality justifies this investment through extended finish life.
What Is the Typical Time for Sanding a Room?
Expect 15 to 30 minutes per room based on dimensions and details. Drying intervals represent the primary delay, so schedule generously.
Is Sanding Required After Every Coat?
For premium results, sand between all coats to secure adhesion and evenness. Basic flat walls may limit it to post-primer and pre-final stages.
Which Grits Suit Walls Compared to Furniture?
Walls work well with 220 to 320 grit for general smoothing. Furniture calls for 400 to 600 grit to achieve refined contours.
Does Paint-and-Primer Combo Eliminate Sanding Needs?
Light sanding still boosts bonding, particularly on slick or repainted bases. These formulas perform better with surface scuffing.
What Risks Arise from Skipping Sanding?
Oversight leads to weak bonds, persistent marks, and gloss variations. Long-term effects include peeling or cracking, undermining the entire effort.


