Why Level 5 Drywall Finish Costs Triple the Price
A Level 5 drywall finish sets the benchmark for wall preparation. This method creates an impeccably smooth surface ideal for high-end paints, glossy sheens, or areas with intense lighting. Homeowners value the seamless look, yet the pricing often surprises. The elevated cost stems from superior materials, extensive labor, precise techniques, and skilled execution. Grasping these elements enables informed choices on whether to pursue this finish and how to assess bids from contractors.
Understanding Level 5 Drywall Finish
Drywall finishing follows a five-level system, where each level denotes increasing smoothness. Levels 1 to 4 suffice for everyday interiors with moderate lighting and flat paints. Level 5 surpasses these by applying a thin skim coat across the full surface, erasing seams, tool marks, and texture variations.
The process unfolds in these key stages:
- Tape joints and embed the first layer of compound.
- Apply two additional coats, sanding lightly after each dries.
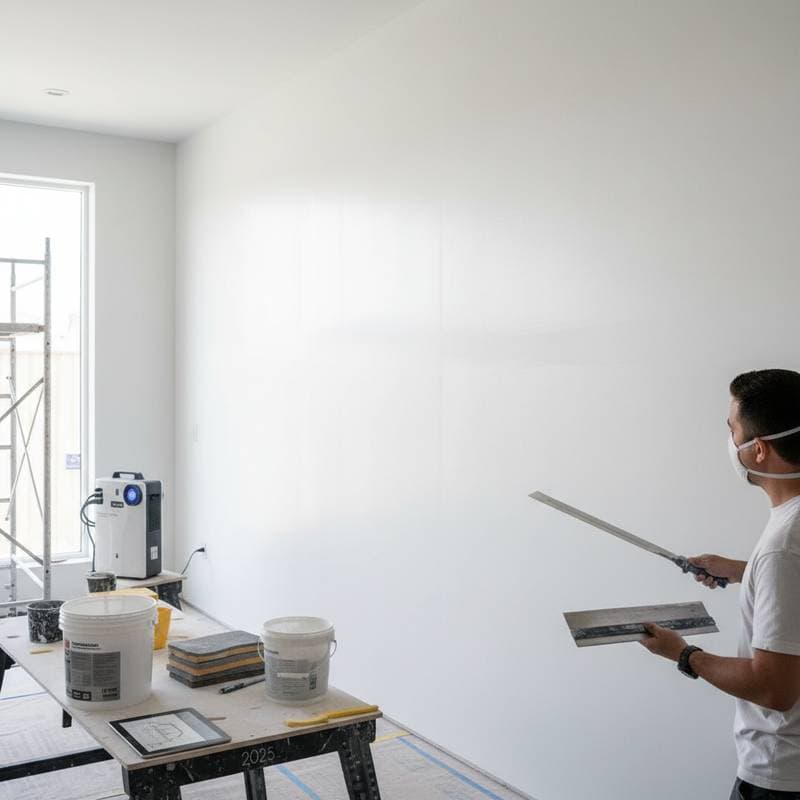
- Spread a uniform skim coat over every inch of the wall or ceiling.
- Sand meticulously and examine under raking light for flaws.
- Prime with a high-quality sealer formulated for flawless adhesion.
This sequence yields walls that appear unbroken, even when light grazes the surface at sharp angles.
Breaking Down Project Costs
Typical Pricing
- Level 4 finish: $1.50 to $2.50 per square foot
- Standard Level 5 finish: $4.00 to $6.00 per square foot
- Premium Level 5 finish: $6.50 to $9.00 per square foot
These figures cover labor, basic materials, and routine prep. Expenses climb for ceilings, tall walls, or intricate designs.
Core Components
- Joint taping with three compound layers
- Complete skim coating
- Detailed sanding and quality checks
- Dust control and site cleanup
- Initial primer coat
Additional Charges
- Pre-finishing repairs or texture stripping
- Custom primers for glossy paints
- Scaffolding for elevated or arched areas
- Protective measures in lived-in spaces
- Expedited schedules or after-hours work
Key Cost Drivers
| Factor | Impact on Cost | Specific Examples |
|---|---|---|
| Surface Prep | +10-25% | Damaged drywall, old paint removal |
| Structural Elements | +15-40% | Sloped ceilings, ornamental details |
| Material Quality | +10-20% | Top-tier compounds, leveling primers |
| Regional Labor | +20-50% | Scarce experts in urban markets |
| Lighting Demands | +15-30% | Sunlit rooms, recessed fixtures |
Reasons for the Significant Price Increase
The gap between Level 4 and Level 5 exceeds a simple extra layer. It demands elevated artistry and scrutiny. The skim coat phase often equals the duration of prior steps, with drying intervals that prolong the schedule and amplify labor expenses.
Several elements account for the potential tripling of costs:
Labor Demands
Level 5 work consumes over double the hours of standard jobs. Applicators feather the skim coat with broad blades, maintaining uniform pressure to avoid laps. Errors necessitate reworking large sections, and labor dominates the budget.
Material Demands
Routine finishes limit compound to joints and screws. Level 5 blankets the surface, tripling consumption. Opt for low-shrink formulas that sand easily, plus primers that fill micro-imperfections, both elevating material outlays.
Site Conditions
Drying hinges on stable humidity and airflow. Fluctuations lead to cracks or blotchy results, prompting redo coats. Teams deploy fans, dehumidifiers, and hygrometers, incurring setup and rental fees.
Rigorous Inspection
Surfaces undergo angled lighting tests to reveal subtle ridges. Spot fixes involve targeted sanding and recoating, preserving the uniform plane essential for paint.
Expert Proficiency
Few tradespeople master Level 5 techniques, such as feathering edges invisibly. Seasoned crews charge premiums for their reliability in delivering paint-ready perfection.
Project Timeline Overview
Level 5 extends beyond quick turnarounds. Coats cure fully between applications, often spanning several days per room. A Level 4 job wraps in three to four days; Level 5 stretches to seven or longer, influenced by scale, weather, and team capacity.
Standard Phases:
- Prep and Initial Taping: One day
- Coats One and Two: One to two days
- Third Coat and Intermediate Sanding: One day
- Skim Coat: One day
- Final Sand and Review: One day
- Prime and Final Cleanup: One day
Humid or cold settings double drying waits, so plan buffers.
Weighing Professional Help Against DIY
Basic levels suit ambitious homeowners with tools and time. Level 5 challenges even seasoned DIYers due to the skim coat's finesse requirements. Uneven application shows through paint, especially in gloss or under spotlights.
DIY Challenges:
- Need wide hawks, stainless trowels, and pole sanders
- Control layer depth to one-sixteenth inch
- Manage heavy dust with vacuums and masks
- Extend effort without pro speed
- Risk repainting if flaws emerge
Professionals streamline the job, minimizing waste and errors for true savings.
Selecting a Reliable Contractor
Prioritize contractors with Level 5 portfolios over bargain rates. Seek those who detail their methods and stand by results.
Vetting Steps
- Validate licenses, bonds, and worker compensation
- Examine photos of skim-coated projects
- Contact recent clients for finish feedback
- Confirm routine Level 5 experience
Bid Evaluation
Secure three itemized proposals covering:
- Hourly rates and material specs
- Coat counts and inspection protocols
- Primer brands and application notes
- Waste handling procedures
- Guarantee periods
Detailed bids reveal thoroughness; steer clear of ambiguities.
Contract Must-Haves
Include:
- Exact scope and standards
- Phased timeline with contingencies
- Milestone-based payments
- Protocols for scope changes
- Multi-year defect warranties
Streamlining Your Project Prep
Ease execution by readying the site. Relocate items, shield surfaces, and sustain airflow to aid drying.
Practical Steps:
- Vacate rooms of furnishings
- Lay heavy-duty tarps over floors
- Secure animals and kids from dust zones
- Target 65-75 degrees Fahrenheit with fans
- Discuss final lighting to guide inspections
Deciding When Level 5 Pays Off
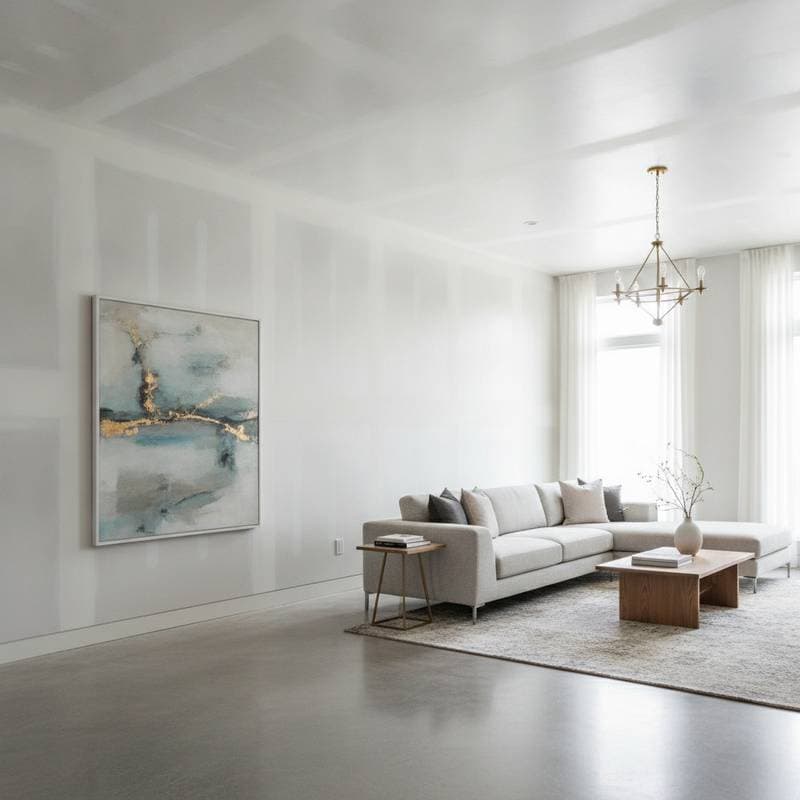
Opt for Level 5 in showrooms, kitchens, or media rooms where light exposes flaws. For casual spaces, Level 4 balances quality and economy. This finish future-proofs walls for evolving decor, ensuring enduring smoothness that enhances any paint choice.
Frequently Asked Questions
Why Does Level 5 Cost More Than Level 4?
The premium arises from extra labor for skim coating, increased material volume, and stringent checks. These elements extend time and resources, often tripling expenses over basic finishes.
How Long Does Level 5 Take?
Expect one week for average rooms. Expanses or adverse conditions add days for curing and refinement.
Is DIY Level 5 Feasible?
It demands advanced skills for even coating. Professionals deliver superior outcomes, avoiding post-paint regrets.
How to Confirm Contractor Capability?
Request work samples, references, and process overviews. Experts articulate their quality assurance steps.
Best Paints for Level 5?
Glossy or satin formulas thrive here, with specialized primers promoting uniform coverage.
Pitfalls of Subpar Level 5?
Inconsistent skimming causes shine variations or seam shadows. Proper pacing and tools avert these.