The $800 Impact of Sanded vs Unsanded Grout
Grout serves as a critical finish detail that often receives little attention until it influences the functionality or appearance of a room. Selecting the appropriate grout type affects durability, texture, and project budget by several hundred dollars. The decision between sanded and unsanded grout appears straightforward, yet it can result in an $800 difference across materials, labor, and long-term maintenance. This article explores the reasons behind this variance and provides guidance to select the optimal option for tile or drywall applications.
Key Differences Between Sanded and Unsanded Grout
Grout occupies the spaces between tiles, preventing moisture infiltration and creating a cohesive appearance. Sanded grout incorporates fine sand particles, whereas unsanded grout maintains a smooth, creamy consistency. This fundamental distinction influences installation behavior, tactile sensation, and long-term performance.
Sanded grout offers enhanced strength and resists cracking in joints exceeding one-eighth inch in width. Contractors frequently choose it for floors or large wall tiles due to its lower cost per pound. Unsanded grout suits narrower joints, delicate surfaces, and glossy tiles prone to scratching. Although it commands a higher price per unit and requires meticulous application, these traits ensure a refined outcome in specific scenarios.
Breaking Down the $800 Cost Difference
The $800 figure represents the comprehensive project expenses, extending beyond materials to include labor, preparation, and upkeep. For a standard bathroom remodel or kitchen backsplash, these elements accumulate significantly.
Material Expenses
- Sanded grout: $20 to $40 for coverage of a medium area
- Unsanded grout: $40 to $70 for equivalent coverage
Labor constitutes the primary cost driver. Sanded grout applies more rapidly and demands fewer corrections, reducing time on site. Unsanded grout necessitates precise techniques, particularly for narrow or vertical joints, which increase labor hours. At prevailing rates for professional tile installers, this translates to a $400 to $600 variation. Potential future repairs, such as regrouting due to improper selection, elevate the total to $800.
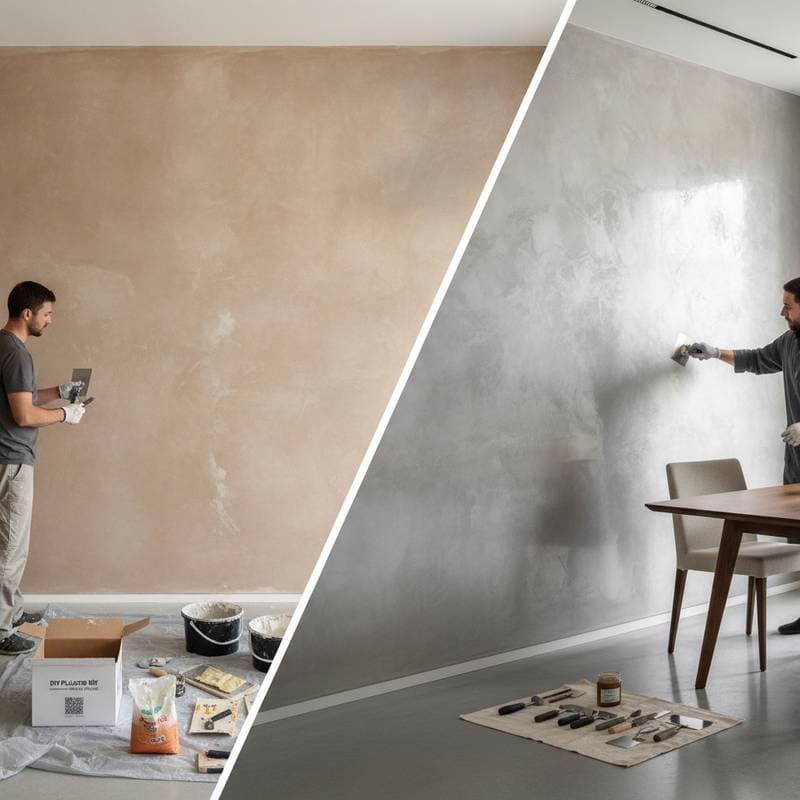
Influence of Texture on Aesthetic Outcomes
Texture from grout alters the ambiance of an interior space. Sanded grout provides a matte, subtly abrasive surface that complements rustic tiles, natural stone, or textured drywall. This quality diffuses light effectively and conceals minor flaws, a technique employed in high-visibility projects like television productions.
Unsanded grout yields a sleek, tactilely smooth finish suitable for glass, polished marble, or reflective surfaces. It imparts a sense of modernity and cleanliness, enhancing both in-person and photographic appeal. However, its reduced grip limits suitability to joints under one-eighth inch, where durability remains uncompromised.
Budget-Friendly Strategies for Grout Selection
Both grout varieties integrate seamlessly into projects across budget levels when aligned with tile dimensions and usage intensity.
Cost-Effective Refresh for Existing Installations
For updating aged tile without full replacement, apply grout colorant or sealer at $15 to $30 per treatment. These products restore appearance and prolong service life by several years, avoiding extensive demolition.
Balanced Approach for Moderate Investments
Opt for sanded grout in primary areas to control expenses while reserving unsanded for accents or fragile tiles. This method harmonizes affordability, resilience, and visual appeal without excess spending.
Integrating Grout with Drywall Finishes
Grout and drywall intersect at transition points, where surface consistency ensures visual harmony. An irregular drywall texture can undermine even the finest grout application. Inspect these junctions under optimal lighting prior to final approval to achieve a seamless result.
Essential Installation Techniques
Follow these steps to optimize grout performance:
- Measure joint widths accurately. Reserve sanded grout for spaces over one-eighth inch; use unsanded for narrower gaps.
- Prepare sample boards by mixing a small quantity and testing on spare tiles. Observe drying time and color compatibility.
- Apply sealant diligently. Unsanded grout requires more frequent resealing to resist staining.
- Clean excess promptly. Remove haze from unsanded grout within the initial setting period to avoid residue buildup.
Achieving Enduring Design Results
The selection of sanded or unsanded grout extends beyond mechanics to encompass spatial sensation, upkeep demands, and investment value. This choice fosters assurance in a project's longevity and aesthetic integrity.
From compact apartment features to comprehensive renovations, prioritize grout that aligns with practical needs. The outcome yields surfaces that endure, function reliably, and enhance daily living over extended periods.