Ceiling Painting Techniques to Eliminate Drips and Reduce Effort
Painting a ceiling presents unique challenges in home improvement projects. Gravity causes paint to run, splatters create extra work, and overhead reaching leads to fatigue. A properly executed ceiling coating, however, enhances room aesthetics by providing a bright, seamless appearance. Success depends on thorough preparation, precise application methods, and appropriate material selection, enabling homeowners to secure a professional result with minimal mess and effort.
Causes of Drips and Streaks on Ceilings
Drips and streaks typically result from excessive paint volume or inconsistent application. Gravity draws surplus paint downward before it spreads evenly. Factors such as low-quality rollers, improper paint dilution, and rushed strokes exacerbate uneven surfaces. Ceilings demand specialized approaches compared to walls, as texture variations, overhead lighting, and viewing angles amplify visible imperfections.
Selecting Essential Tools and Materials
Assemble all necessary items prior to starting the project. Superior tools accelerate the process and maintain cleanliness.
Key supplies consist of:
- Angled sash brush for edge detailing
- Roller frame equipped with an extension pole
- Low-shed roller cover, ideally microfiber or woven polyester
- Durable paint tray featuring a disposable liner
- Painter's tape and protective drop cloths
- Flat or matte ceiling paint formulated for overhead use
Roller nap length plays a pivotal role in coverage quality. Opt for a 3/8-inch nap on smooth surfaces to ensure even distribution without excess buildup. For textured ceilings, select a 3/4-inch nap to penetrate irregularities effectively. Mismatched rollers often produce patchy areas or unwanted splatter.
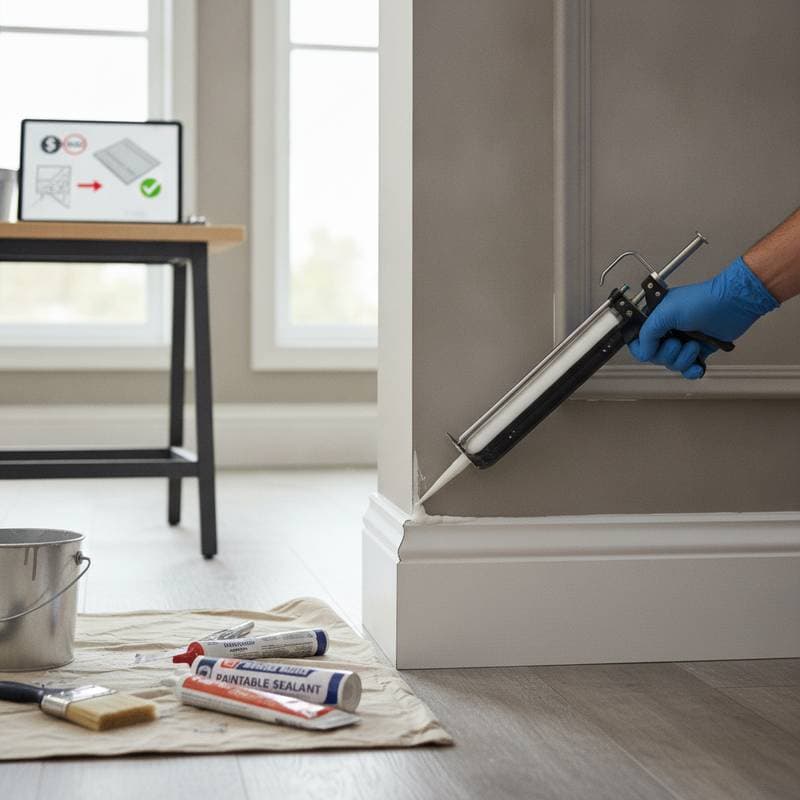
Preparing the Area for Optimal Results
Preparation exceeds painting duration in many cases yet prevents subsequent issues. Relocate furniture or shield it with plastic sheeting. Apply tape precisely along wall-ceiling junctions, around light fixtures, and over vents. Detach removable ceiling elements, such as smoke alarms or fixture covers, when feasible. Eliminate dust and webs using a damp cloth or vacuum extension to promote uniform paint adhesion.
Address stains or water damage with a stain-blocking primer to block bleed-through and enhance opacity. Inspect older ceilings for fissures or loose paint, then repair and sand these spots for a level base. A pristine, consistent surface minimizes defects during application.
Detailed Project Cost Analysis
Typical Cost Categories
- Basic scope: $150 to $300 for a compact room ceiling
- Moderate scope: $350 to $700 for average-sized areas
- Advanced scope: $800 to $1,500 for expansive or angled ceilings
Standard Inclusions
- Labor covering preparation and application
- Suitable paint and primer for ceilings
- Post-project cleanup and material disposal
Additional Expenses
- Drywall repairs or stain treatment ($50 to $200)
- Specialty finishes, such as texturing or color gradients ($150 to $400)
- Furniture relocation or enhanced fixture safeguards
Influences on Total Expenses
| Factor | Impact Level | Specific Instances |
|---|---|---|
| Ceiling elevation | High | Vaulted designs necessitate scaffolding |
| Surface state | Medium | Fissures or discoloration extend prep work |
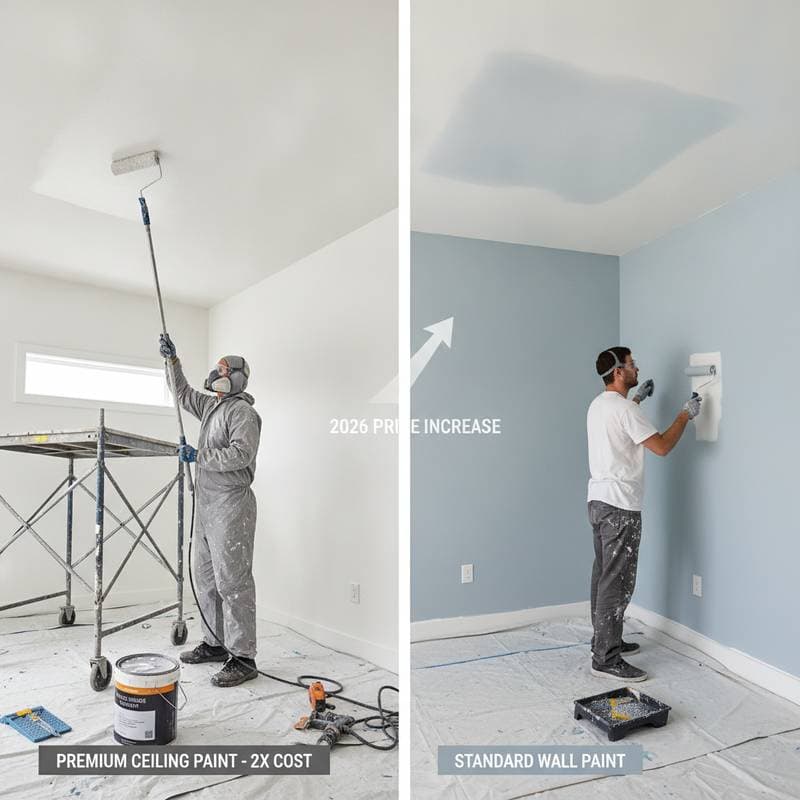
| Paint grade | Flexible | High-end formulas reduce required layers |
| Local labor pricing | Flexible | Metropolitan regions incur elevated fees |
Application Methods to Avoid Drips
Effective rolling prevents paint from descending onto surfaces below. Load the roller sparingly by dipping it briefly, then distribute excess across the tray's textured ramp. Divide the ceiling into manageable zones and apply paint in a W-shaped motion for uniform spread. Apply consistent, light pressure to avoid forcing paint outward.
Preserve a wet edge through slight stroke overlaps, eliminating lap marks from drying disparities. Favor two modest coats over a single heavy application for superior smoothness and longevity. This layered strategy yields a durable, even sheen.
Efficiency Strategies for Quicker Completion
Professional outcomes require minimal time investment through strategic choices. Implement these approaches to streamline the workflow.
- Employ an extension pole: Reach distant areas without repeated ladder adjustments.
- Select quick-dry formulations: Enable rapid second coats and shorten overall project duration.
- Illuminate adequately: Use adjustable lights to reveal overlooked sections and ensure comprehensive coverage.
- Detail edges initially: Brush around borders and fixtures before rolling to prevent smudges and simplify revisions.
- Sequence logically: Begin at the farthest point and progress toward the doorway, avoiding passage beneath wet paint.
Deciding Between DIY and Professional Services
Simple ceilings in modest rooms suit DIY efforts with basic equipment. Intricate setups, including elevated or patterned surfaces, demand expert handling for safety and precision. Contractors manage extensive preparation, such as detailed masking, repairs, and debris removal, with efficiency.
Initial professional fees exceed DIY outlays, yet they avert costly errors like uneven repaints. Experts utilize industrial rollers, spray systems, and access platforms for drip-free uniformity. For compromised ceilings with repairs needed, specialized primers ensure robust bonding and concealment.
Cost Comparison: DIY Versus Hiring Experts
| Scope | DIY Estimate | Expert Estimate | Considerations |
|---|---|---|---|
| Compact bedroom | $100 to $150 | $250 to $400 | Basic tools suffice for amateurs |
| Standard living area | $150 to $250 | $400 to $700 | Speed advantages with pros |
| Multiple rooms | $300 to $400 | $900 to $1,500 | Efficiency scales in favor of services |
DIY options cut labor expenses, though account for personal time, tool acquisition, and physical strain. Experts deliver swift, assured quality.
Steering Clear of Typical Errors
Common pitfalls include overfilling the roller, neglecting wet edges, and insufficient lighting, all leading to runs and inconsistencies. Skip hurried applications; allow proper drying intervals between coats. Test paint consistency on a scrap surface to confirm flow without thinning errors. These precautions foster reliable, attractive results.
Project Planning Essentials
Outline your timeline, budget, and resources upfront. Assess ceiling dimensions and condition to estimate materials accurately. Schedule during mild weather to aid ventilation and drying. Review local regulations if structural changes accompany the paint job. Thoughtful planning transforms the task into a rewarding enhancement.
Frequently Asked Questions
What Determines Ceiling Painting Expenses?
Room dimensions, elevation, and repair needs primarily drive costs. Compact, level ceilings range from a few hundred dollars, whereas expansive or irregular ones surpass one thousand. Supplementary elements like primers or custom effects increase the sum.
How Much Time Does Ceiling Painting Require?
A standard room demands four to six hours, encompassing setup and finishing. Expansive or rough-textured ceilings may extend to eight hours or more. Experienced teams often halve durations through optimized tools and processes.
Is DIY Suitable, or Should Experts Handle It?
DIY suits accessible, uncomplicated ceilings in limited spaces. Engage professionals for elevated, flawed, or detailed designs needing advanced safety measures. They guarantee even application and thorough post-work care.
How to Select Appropriate Ceiling Paint?
Choose flat or matte varieties that conceal flaws and diffuse light. Overhead-specific formulas possess higher viscosity to resist sagging. Neutral tones amplify brightness and spatial perception.
Which Preparation Measures Are Crucial?
Evacuate or protect furnishings, secure borders with tape, mend imperfections, and cleanse thoroughly. Primer application secures adhesion and blocks underlying issues. These steps reduce the need for corrections.
How to Address Post-Painting Drips or Streaks?
Permit full drying, then lightly sand imperfections before feathering on a fresh thin layer. Extensive flaws may warrant sectional repainting. Future prevention involves premium rollers and controlled application volumes.