Expert Sanding Techniques to Halve Prep Time
A flawless paint finish requires thorough preparation, yet sanding often presents the most time-intensive challenge in any project. Many professionals and homeowners alike view this step as laborious. However, by applying targeted strategies, it becomes possible to reduce sanding time by 50 percent while ensuring a smooth, professional outcome that enhances the final appearance.
Select the Appropriate Grit Sequence from the Start
Selecting the correct grit prevents unnecessary effort and ensures efficient material removal. Beginning with an overly fine grit polishes the surface without addressing underlying imperfections, leading to extended work. Instead, initiate with a coarser option to eliminate raised areas or remnants of prior finishes, then progress to finer grits for refinement.
Consider this structured progression for common surfaces such as wood, drywall, or previously painted areas:
- Coarse removal (60 to 80 grit): Targets thick layers of paint, uneven edges, or applied fillers to achieve rapid initial leveling.
- Intermediate smoothing (100 to 120 grit): Addresses remaining scratches and creates a more uniform texture.
- Fine preparation (150 to 220 grit): Prepares the surface for optimal adhesion of primer or topcoat by minimizing visible marks.
Adhering to this sequential approach avoids the need for corrective passes, which can double the required time. Professionals recommend testing a small area first to confirm the starting grit suits the material's condition.
Utilize Efficient Power Tools for Accelerated Results
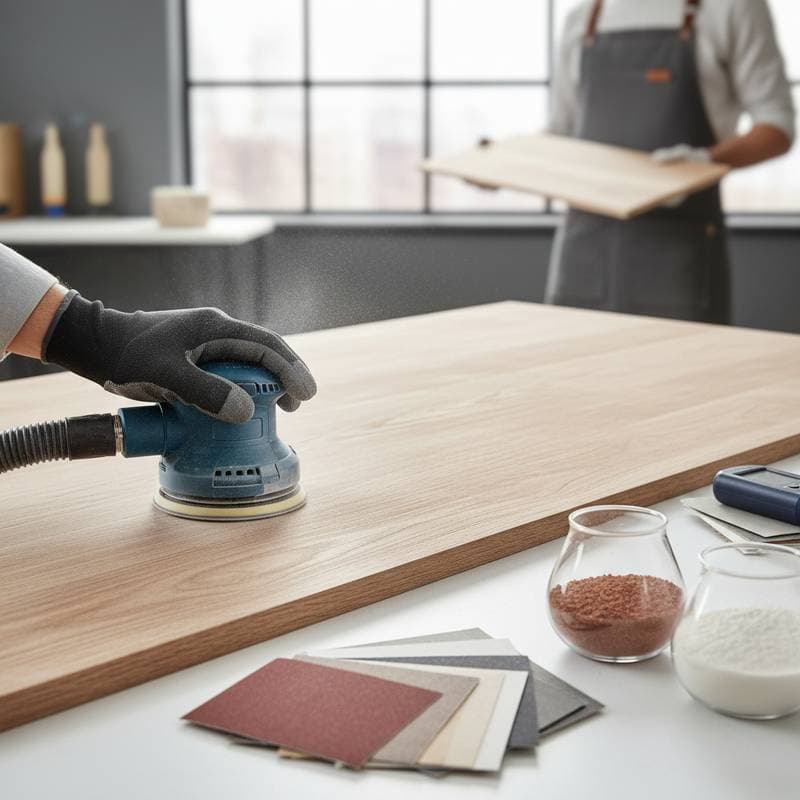
Investing in appropriate tools transforms sanding from manual drudgery into a streamlined operation. For expansive surfaces like walls or doors, a random orbital sander excels by removing material swiftly while minimizing the risk of circular swirl patterns common with other models. In confined spaces such as corners or moldings, opt for a detail sander or flexible sanding sponge that conforms to irregular contours.
A practical enhancement involves connecting the sander to a vacuum system via a compatible hose. This setup captures airborne particles immediately, preventing abrasive clogging that slows performance. Cleaner abrasives maintain cutting efficiency, and the reduced dust accumulation simplifies post-sanding cleanup, saving additional hours on larger projects.
Determine the Optimal Method: Dry Versus Wet Sanding
Dry sanding suits initial preparation stages where speed and dust tolerance allow for straightforward material removal. For achieving an ultra-smooth finish on elements like cabinetry, doors, or detailed trim, transition to wet sanding using grits of 220 or finer. The water acts as a lubricant, embedding fine particles and reducing the incidence of micro-scratches that could affect paint adhesion.
After wet sanding, allow the surface to air dry fully, typically for several hours depending on humidity and ventilation. Premature application of finishes can trap moisture, leading to adhesion failures or blemishes. This method, though requiring extra drying time, yields superior results on high-visibility areas and justifies the investment for professional-grade outcomes.
Incorporate Sanding Screens and Mesh Pads for Consistency
Traditional sandpaper often clogs with debris, necessitating frequent replacements that interrupt workflow. Sanding screens provide a durable alternative, featuring an open mesh that resists buildup and permits easy cleaning by rinsing or vacuuming during use. These prove particularly effective on drywall joints or broad flat panels, where uniform abrasion prevents gouging.
Mesh pads integrate seamlessly with orbital sanders, allowing dust to pass through perforations rather than accumulating on the surface. This feature extends the life of each pad, reducing the frequency of changes and associated costs. For projects involving multiple coats or repairs, these tools ensure even pressure distribution, contributing to time savings without compromising quality.
Tailor Techniques to Fit Any Budget Level
Effective sanding does not require expensive equipment; the key lies in strategic selection based on project scale and financial constraints. At the entry level, manual methods using sanding blocks or sponges wrapped in sheet abrasives offer control for small tasks. Frequent inspection and replacement of worn sheets maintain sharpness, ensuring steady progress without fatigue.
For moderate investments, a random orbital sander paired with durable discs accelerates coverage on medium-sized areas. Regular vacuuming during operation controls dust and preserves tool efficiency. At the premium tier, integrate a dedicated dust-extraction unit with high-end mesh abrasives to handle extensive renovations, minimizing health risks from particulates and reclaiming hours otherwise spent on remediation.
Each approach scales to deliver proportional benefits, emphasizing preparation planning over expenditure. Evaluate the surface area and desired finish to allocate resources effectively.
Perform Essential Checks to Verify Readiness
Efficiency in sanding hinges on objective assessments rather than guesswork. Run your hand over the surface to detect any remaining irregularities; a truly prepared area feels uniformly smooth without catches. Illuminate the work at a low angle to reveal glossy or matte inconsistencies that indicate uneven abrasion.
Finally, pass a tack cloth across the area; it should collect minimal residue if the surface is primed for the next step. Should issues persist, apply a single pass with a finer grit targeted at problem zones, then re-evaluate. These checkpoints prevent downstream problems like poor paint adhesion, ensuring the entire process remains on schedule.
Sustain Long-Term Surface Integrity Through Preparation
Mastering these techniques extends beyond initial projects to simplify ongoing maintenance. Future touch-ups apply evenly over a well-sanded base, reducing the effort needed for refreshes. Early detection of wear becomes straightforward, allowing light sanding between coats to preserve vibrancy.
These methods, refined through professional applications on high-stakes builds, adapt equally well to residential settings. From cabinet refinishing to trim repainting or furniture restoration, prioritizing intelligent preparation yields enduring, visually appealing results. Focus on these steps to achieve professional standards with reduced demands on time and energy.


