Battle of Strippers: Pros' Top Pick for 2025 Prep
Surface preparation forms the foundation of any professional paint job. Regardless of the quality of the paint or the expertise of the painter, the final result hinges on the condition of the underlying surface. Removing old coatings, contaminants, and residues promotes strong adhesion and ensures durability. Professional painters and contractors recognize that selecting the appropriate stripping method saves labor time, avoids damage to the surface, and establishes a solid base for new applications. The ongoing discussion among experts centers on chemical, mechanical, and hybrid stripping techniques, with the optimal selection varying by project size, surface material, and safety considerations.
Understanding Paint Stripping Methods
Paint stripping eliminates old coatings to reveal a clean substrate. Professionals employ three primary methods: chemical stripping, mechanical sanding, and hybrid or eco-friendly systems. Each technique presents unique advantages and limitations, and the ideal approach aligns with the surface material and the state of the existing finishes.
Chemical Strippers
Chemical strippers work by dissolving old paint, varnish, or lacquer through active chemical compounds. Earlier versions featured harsh solvents, whereas modern formulations incorporate safer, low-odor ingredients. These strippers suit detailed surfaces, such as moldings and ornamental trim, where sanding could alter fine features. The key benefit lies in minimal dust production and uniform removal on uneven areas. However, users must neutralize and rinse residues completely to prepare the surface for repainting, which adds to the cleanup effort.
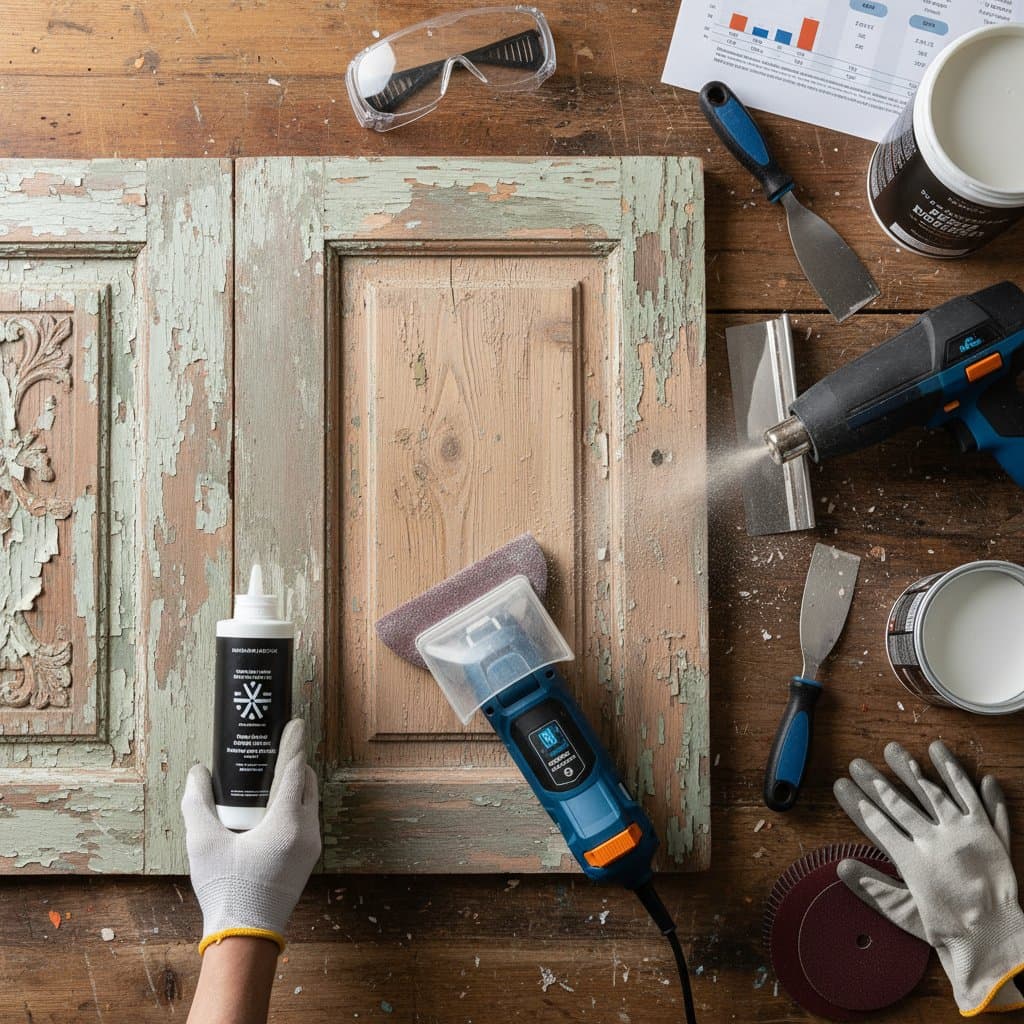
Mechanical Sanding
Sanding serves as the preferred technique for expansive, flat areas like exterior siding, decks, or tabletops. This method employs abrasives to abrade away paint layers while refining the surface texture. It delivers instant visible progress and enables exact control over the final smoothness. Experts typically progress from coarse grits for rapid removal to finer ones for polishing. Dust creation poses the main challenge, necessitating robust ventilation and personal protective equipment.
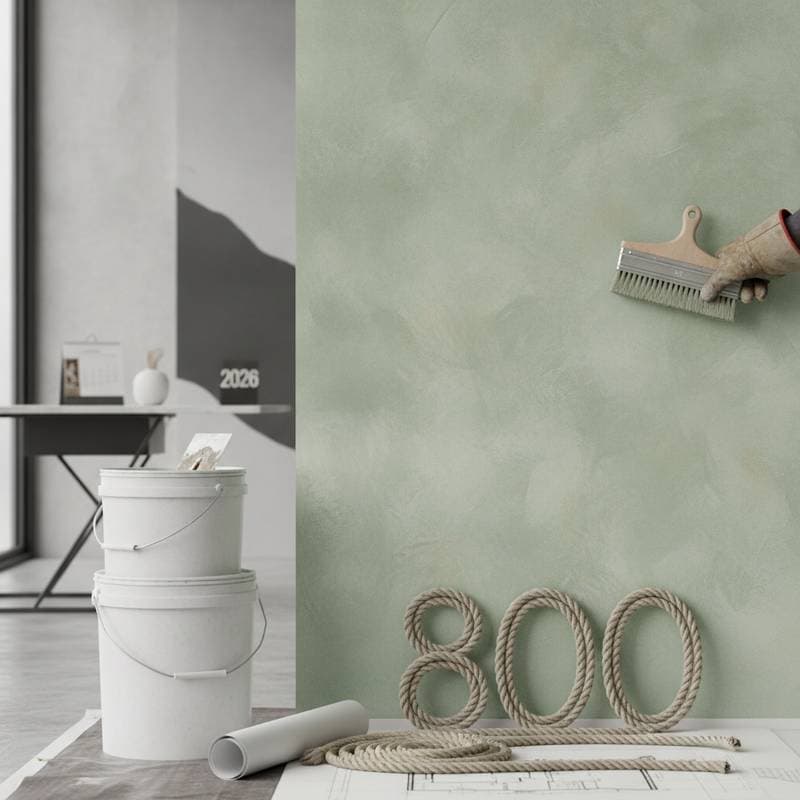
Hybrid and Eco-Based Systems
Hybrid systems integrate mild chemical agents with light mechanical action. These options feature biodegradable compositions that soften paint for straightforward scraping or gentle sanding. Such methods curb emissions and lessen ecological footprint without sacrificing effectiveness. Professionals increasingly adopt these solutions for residential and commercial endeavors that prioritize both performance and environmental responsibility.
Project Cost Breakdown
Average Cost Ranges
- Basic surface prep: $2 to $4 per square foot
- Standard paint stripping: $4 to $7 per square foot
- Premium or detailed restoration: $7 to $12 per square foot
What's Included
- Labor for stripping and subsequent cleanup
- Materials including strippers, scrapers, and sanding equipment
- Safety equipment and ventilation arrangements
- Waste management and pre-painting surface evaluation
What Costs Extra
- Repairs to compromised wood or metal bases
- Application of primers or sealants post-stripping
- Handling of hazardous waste from legacy coatings
- Additional time for intricate architectural elements
Factors That Affect Final Cost
| Factor | Cost Impact | Examples |
|---|---|---|
| Surface type | Higher for intricate or irregular areas | Moldings, trim, sculpted wood |
| Coating layers | Rises with additional layers of old paint | Heritage building restorations |
| Access difficulty | Extends labor duration | Elevated ceilings, tall walls, exterior siding |
| Environmental safety | Elevates expense for certified green products | Low-VOC or biodegradable strippers |
Comparing Professional and DIY Options
Homeowners occasionally undertake stripping tasks independently, though outcomes differ significantly. Professionals provide specialized equipment, proven techniques, and safety protocols. While DIY approaches cut labor expenses, they frequently extend project timelines and heighten the risk of substrate harm.
DIY stripping proves suitable for modest tasks, such as refurbishing furniture or a solitary door. Individuals require investments in safety apparel, reliable strippers, scrapers, and abrasives. The primary hurdle involves thorough residue removal and surface neutralization to avoid adhesion issues in subsequent painting.
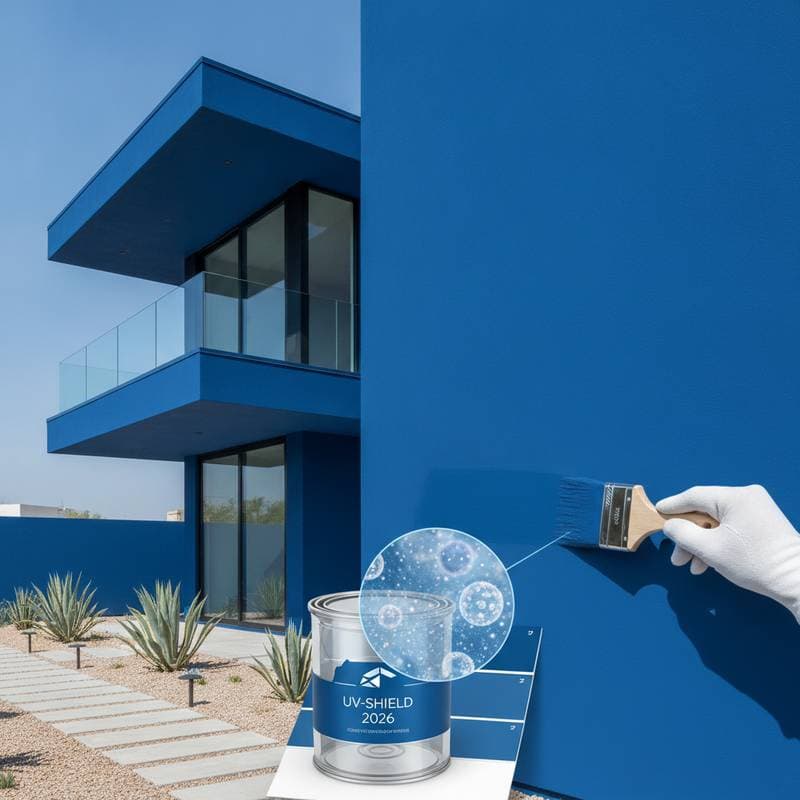
Professional services excel for broad areas, outdoor facades, or projects with layered coatings. Certified contractors adhere to regulations for lead-containing paints, dispose of waste correctly, and deliver a primed-ready surface. Their use of industrial tools accelerates completion while upholding quality standards.
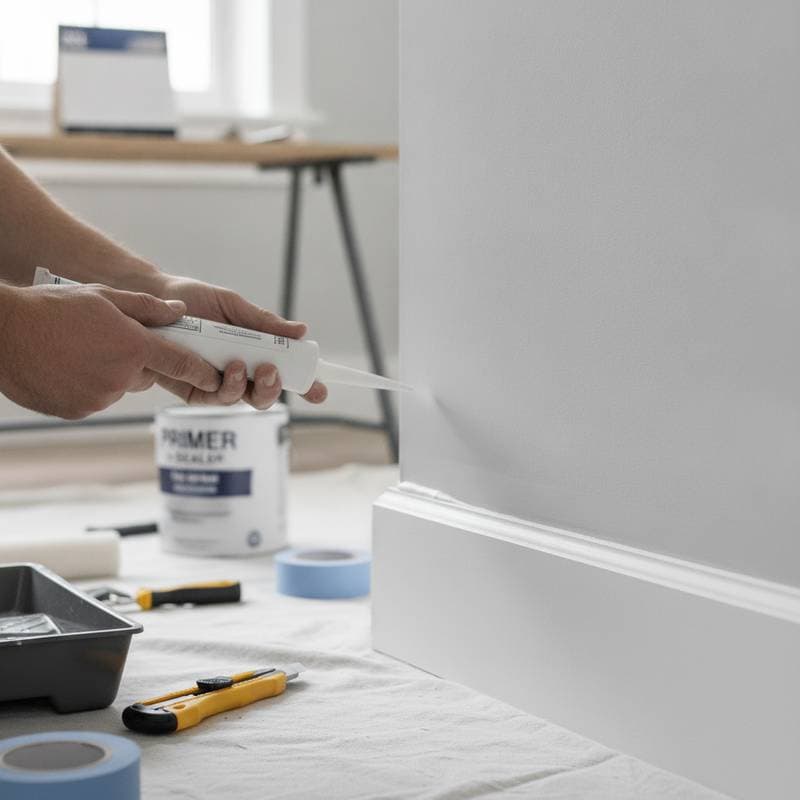
Preparing for the Stripping Process
Prior to commencing, clear the workspace and shield adjacent areas with plastic sheeting to contain debris and residues. Enhance air circulation through fans or open windows. Technicians initiate by testing the method on a discreet section to verify surface compatibility. Following stripping, allow full drying to avert defects like bubbling in new coats.
Cleanup demands equal attention to the removal phase. Experts neutralize chemical remnants and perform light sanding for even texture. They scrutinize for imperfections or weakened spots, addressing them promptly before applying finishes. This methodical approach yields enduring, professional-grade outcomes.
Making the Right Choice
The selection of stripping method hinges on substrate material, paint thickness, and site conditions. Seasoned painters maintain a variety of tools to address diverse scenarios. On wood, apply gel-form chemical strippers to safeguard natural grain and prevent scratches. For metals, opt for abrasive blasting or sanding to attain evenness without distortion. Masonry benefits from water-based solutions that avoid discoloration and maintain integrity.
Prioritize efficacy alongside safety in decision-making. Confirm that products comply with prevailing regulations and that hired teams possess coverage for chemical handling. Establish clear dialogues with painters regarding timelines, methods, and post-job protocols to foster project success.
Frequently Asked Questions
1. What determines the cost of paint stripping?
Costs vary based on surface extent, paint layer count, and chosen technique. Chemical methods incur higher charges due to material costs and extended cleanup, whereas sanding offers economy on accessible flats. Ornate features or remote locations amplify labor requirements.
2. How long does a typical stripping and prep project take?
Compact interior tasks span one to two days, whereas extensive exteriors demand more time influenced by drying periods and climate. Elaborate restorations extend further owing to layered applications and precision demands.
3. Should I attempt paint stripping myself or hire a professional?
DIY suits minor pieces with adequate preparation, ventilation, and gear. Larger or aged structures warrant expert intervention for safety and superior finishes, particularly with potential lead hazards.
4. How do I choose the right contractor for surface preparation?
Verify credentials, coverage, and client feedback. Inquire about familiarity with relevant materials and techniques. Insist on a comprehensive quote detailing components and processes. Reputable providers clarify procedures and address concerns.
5. What should I expect during the stripping process?
Anticipate particulate matter or scents based on the approach. Teams safeguard surroundings, ensure airflow, and execute meticulous post-removal sanitation. Completion involves assessment and readiness for overlying layers.
6. What are common problems to avoid during paint stripping?
Hastening steps, neglecting neutralization, or mismatched products lead to failures in adhesion or material harm. Conduct preliminary tests and observe protocols to sidestep expensive errors.