Sanded vs. Unsanded Grout: The 2025 Wall Texture Innovation
Homeowners increasingly seek innovative methods to customize interiors beyond conventional drywall techniques like knockdown or orange peel. Grout, traditionally used for tile joints, now serves as a versatile medium for crafting textures that emulate stone, plaster, or artisanal surfaces. Selecting between sanded and unsanded grout influences the final appearance, longevity, and installation process, enabling informed choices aligned with specific design visions and practical requirements.
Understanding Sanded and Unsanded Grout
Grout consists of a cement-based compound designed to fill spaces, yet it excels in wall texturing applications. Sanded grout incorporates fine sand aggregates, which impart a gritty texture and enhanced structural integrity. Unsanded grout, free of these particles, offers a fluid, creamy composition ideal for precise, seamless applications.
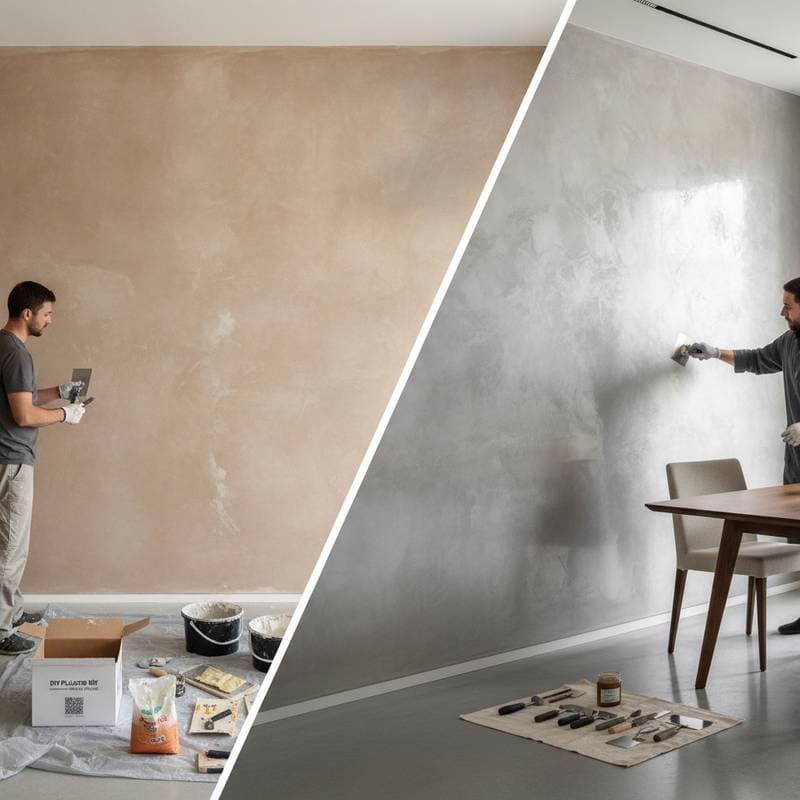
In wall texturing, sanded grout produces robust, dimensional surfaces akin to natural stone or weathered stucco, capturing light to create dynamic shadows. Unsanded grout, by contrast, yields refined, flowing finishes resembling polished plaster, suitable for subtle elegance. These properties guide selections based on surface scale, environmental factors, and stylistic preferences.
Project Cost Analysis
Typical Pricing
- Basic texturing: $1.50 to $2.50 per square foot
- Standard decorative application: $2.50 to $5.00 per square foot
- Custom premium finishes: $5.00 to $8.00 per square foot
Included Elements
Estimates encompass grout materials, whether sanded or unsanded; preparatory steps like patching cracks and applying primer; essential tools including trowels, sponges, and applicators; labor for mixing, texturing, and refining surfaces; plus post-application cleanup and quality checks.
Additional Expenses
- Intricate designs or multi-layered textures: $1.00 to $2.00 per square foot
- Color tinting or pigment integration: $50 to $150 per batch
- Protective sealants: $0.50 to $1.00 per square foot
- Pre-texture drywall repairs: Variable based on damage extent
Influencing Variables
| Factor | Impact on Cost | Specific Instances |
|---|---|---|
| Surface Condition | +10% to +30% | Presence of cracks, moisture damage, or irregularities |
| Design Intricacy | +20% | Layered techniques or integrated color variations |
| Regional Labor Rates | Highly variable | Urban versus rural pricing disparities |
| Grout Selection | +15% | High-end brands or customized formulations |
Performance Characteristics on Wall Surfaces
Sanded grout forms a textured, resilient layer that enhances visual depth through its granular composition. This material diffuses light unevenly, mimicking organic elements like concrete or aged masonry, while its density minimizes shrinkage and fractures on expansive areas. Proper priming ensures strong adhesion to drywall, although the thicker mix demands deliberate spreading to achieve uniformity without clumps.
Unsanded grout provides a supple, even application for sleek or artistic results. Its smooth viscosity facilitates control with tools like brushes or rollers, ideal for accent features or continuous patterns. This type suits smaller zones where precision trumps bulk strength, delivering a matte, inviting tactile quality.
Project Timeline Overview
Grout texturing projects unfold in structured phases to guarantee quality outcomes.
-
Preparation Phase (1 to 2 days)
Clean surfaces thoroughly, repair imperfections, and apply primer to promote bonding and prevent absorption issues. -
Application Phase (1 to 3 days)
Prepare grout batches to optimal thickness, apply in manageable sections, and sculpt textures using selected implements. -
Curing Phase (2 to 4 days)
Allow undisturbed drying in a well-ventilated area to avoid defects from rapid moisture loss. -
Finishing Phase (1 day)
Incorporate sealants, paints, or tints as needed to protect and refine the aesthetic.
Accent walls may conclude within a week, whereas comprehensive room treatments extend due to sequential curing demands.
DIY Versus Professional Execution
Project scope and skill level dictate whether to proceed independently or engage experts. Grout work involves precise mixing and physical application, where inconsistencies can compromise results. Professionals deliver uniform textures through specialized equipment and proven methods, mitigating risks like bubbling or delamination.
DIY efforts thrive under these conditions:
- Limited scope, such as a single accent wall under 100 square feet.
- Familiarity with compounds like joint filler or plaster.
- Preference for unsanded grout, which forgives minor errors in spreading.
Opt for professional services in scenarios including:
- Extensive areas or elevated installations requiring scaffolding.
- Elaborate motifs or depth variations.
- Prerequisite structural fixes or advanced sealing protocols.
Experts also recommend compatible primers and finishes to extend surface lifespan.
Choosing a Qualified Contractor
Prioritize specialists in ornamental finishes over routine drywall handlers, as grout texturing parallels plaster craftsmanship. Review portfolios showcasing comparable textures, confirm credentials like licensing and bonding, and solicit client feedback from analogous undertakings.
Secure itemized proposals detailing hours, material volumes, and outcome expectations. Evaluate bids from multiple sources for competitive insights. Strong candidates demonstrate transparency in discussing options, hues, and upkeep strategies prior to commencement.
Homeowner Preparation Steps
Clear the workspace by relocating furnishings and shielding floors against debris. Ensure ample airflow to manage dust from mixing and smoothing. For colored effects, validate pigments on test panels to confirm hue stability.
Post-completion, examine under varied illumination for evenness in pattern and tone. Promptly resolve discrepancies through targeted reapplication, capitalizing on the material's pliability during initial set.
Durability and Upkeep Essentials
Sealed grout textures withstand daily use effectively, yet demand gentle handling. Employ mild, non-abrasive solutions for cleaning, steering clear of solvents that degrade barriers. Sanded surfaces benefit from soft-bristled vacuuming to clear embedded particles; unsanded ones respond well to light moist wiping.
Address emerging fissures by abrading the spot, patching with matching grout, and reapplying protection. Regular assessments preserve both form and function over years.
Launching Your Texture Initiative
Initiate by pinpointing the envisioned style, collecting reference visuals to convey intent. Collaborate with contractors to align supplies and approaches. Establish a comprehensive budget accommodating materials, workforce, and contingencies like unforeseen fixes.
For trial runs, experiment on scrap panels to gauge mix ratios, set times, and tool interactions. This practice builds confidence for broader implementations, ensuring polished, regret-free transformations.
Common Queries Addressed
How do costs for sanded and unsanded grout materials compare in texturing?
Sanded varieties typically range from $15 to $25 per bag, benefiting from simpler formulations, whereas unsanded options span $20 to $30 due to refined components. Professional application of sanded grout may elevate labor expenses through added smoothing time, potentially balancing initial savings.
What is the full curing duration for grout textures?
Expect two to four days for complete hardening, influenced by layer depth and ambient moisture. Sanded grout often extends this period owing to higher water retention; test solidity before overlaying finishes.
Does grout texturing lend itself to DIY?
It suits modest endeavors like feature walls, particularly with unsanded grout for its forgiving nature. Sanded applications demand greater expertise to prevent irregularities, favoring pros for intricate or large-scale work.
Key traits in a texturing contractor?
Seek expertise in decorative plastering, validated insurance, and visual proof of prior textures. Insist on scripted proposals with timelines to affirm professionalism.
Can textures be colored during or after application?
Incorporate pigments at mixing for integral tones, or apply paints post-cure using vapor-permeable formulas to safeguard texture integrity against dampness.
Prevalent challenges in grout texturing?
Issues like irregular curing, splits, or shade variances stem from improper ratios or inadequate priming. Consistent environmental controls and thorough sealing avert these pitfalls.